Mind Dump Brainstorming
If you are unfamiliar with Brainstorming, please read the Core Concept document first: https://docs.minddump.uk/brainstorming
Where Mind Dump Fits: The Personal Ideation Canvas
While many modern brainstorming tools are designed for real-time corporate collaboration, Mind Dump occupies a unique space: it is a digital canvas built specifically for individual ideation and personal thought capture. It serves as a hybrid solution—giving you the tactical, visual freedom of a manual sticky note session but backed by the power of a digital database. Because it focuses on the individual rather than a shared environment, it eliminates common group brainstorming issues like "groupthink" or waiting for your turn to speak, allowing you to focus entirely on your own exploratory process.
The Mind Dump brainstorming workflow is built around two core phases designed to maximise your creativity:
Phase 1: Expansive Thinking (Zero Structure) The core concept behind Mind Dump's brainstorming system is to support ideation by initially stripping away all structure. Structural barriers can often depress the creative process. In this first phase, you are encouraged to work as non-structurally as possible, getting thoughts out of your head and onto the digital board without worrying about where they belong. The only structural tool provided at this stage is the optional use of coloured labels. You can use colours for any purpose when mapping your thoughts.
Phase 2: Organic Organisation (Affinity Clustering) The second part of the Mind Dump approach allows you to start organising your thoughts, but in a way that avoids early constraints. You are encouraged to simply drag and drop your ideas into columns without naming the columns first.
This technique—often referred to as affinity mapping in professional ideation—encourages you to group ideas together based on their natural similarities and shared traits. Rather than try to force your raw ideas into rigid, pre-labelled buckets, you let the relationships between them define the groups.
Labelling the buckets comes only after they have been grouped. Once you see how your thoughts have naturally clustered together, you can then give the column a name that accurately reflects the ideas inside it. This ensures your final database structure is dictated by your actual thoughts, rather than forcing them to fit a predetermined structure.
Phase 3: The Outcome: Exporting Your Ideas The immediate outcome of this brainstorming process is the generation of a visual mind map and an OPML export. OPML files are a standard format used to interchange structured data between different applications. Because many mind mapping and outliner systems can import OPML, your neatly organised thoughts are now completely portable and ready for further development on other systems.
The Brainstorm Workspace: Layout & Essentials
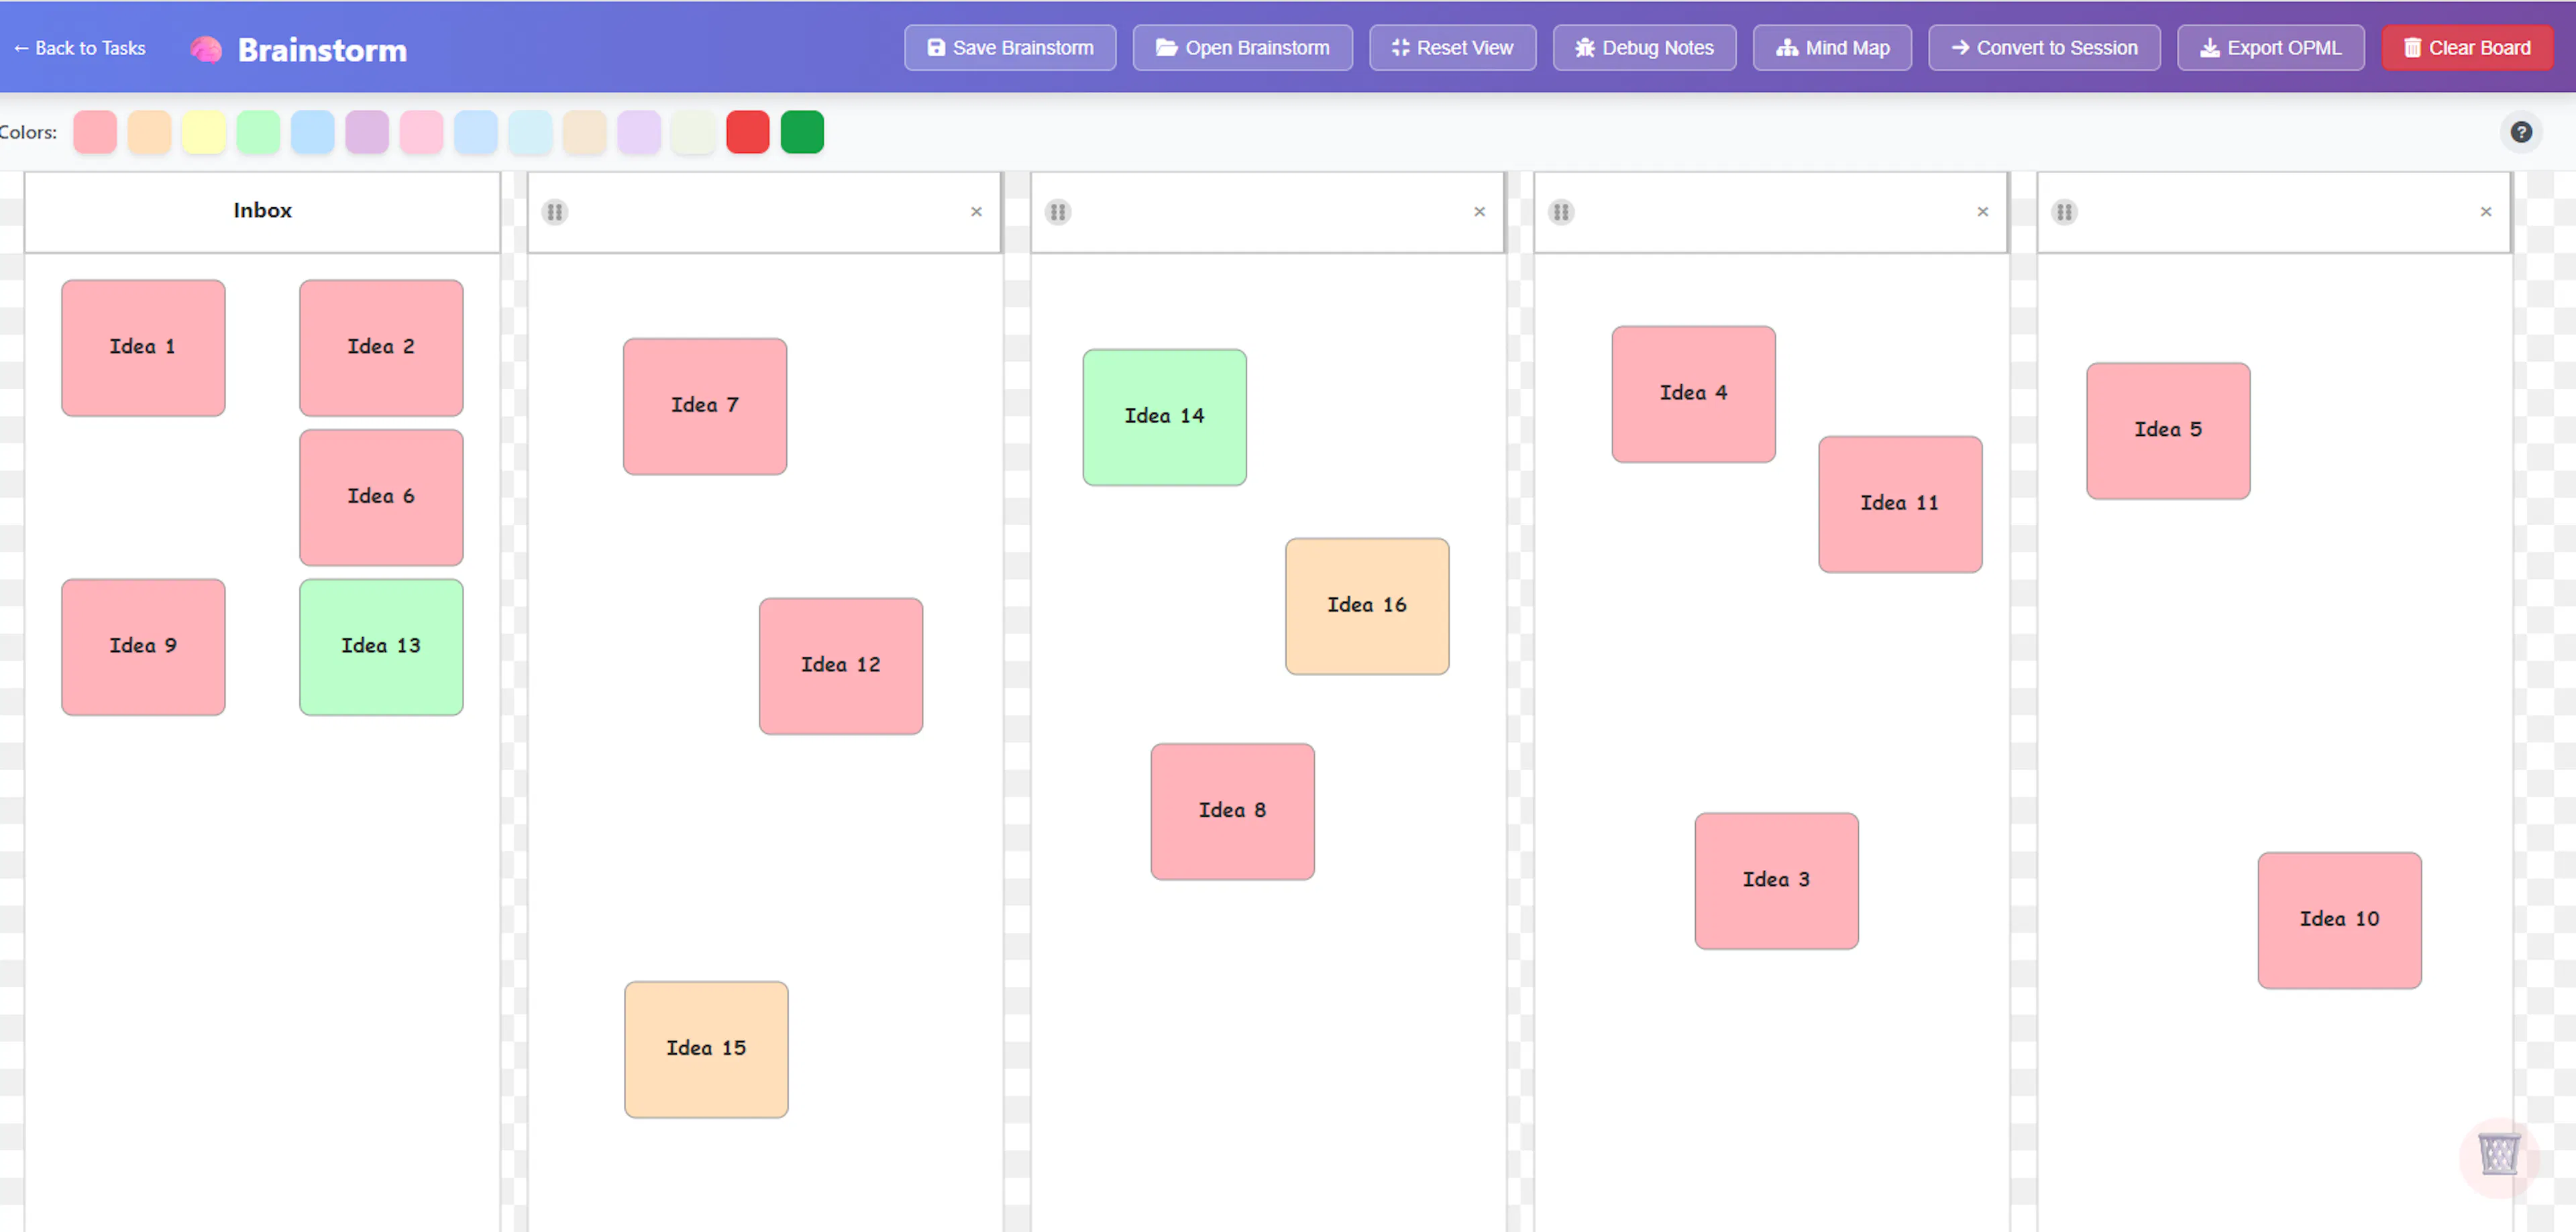
When you first open the Brainstorm view, you will see a clean, digital canvas. Here is a quick tour of the layout to help you get your bearings:
- The Top Menu Bar: Along the very top of the screen is your main tool menu (we will explore each specific button a bit later). On the far top-left of this bar, you will find a link to exit the Brainstorm screen and return to your main database.

- The Colour Palette (Note Creation): Just below the top menu bar, you will see an array of pastel-coloured squares, as well as bright red and green. This is your starting point for generating ideas. Clicking on any of these colours will immediately open an input space for you to type a new note.

- The Columns (Your Organisation Zone): Below the colour palette is the main canvas, which is divided into columns where you will map out your thoughts.
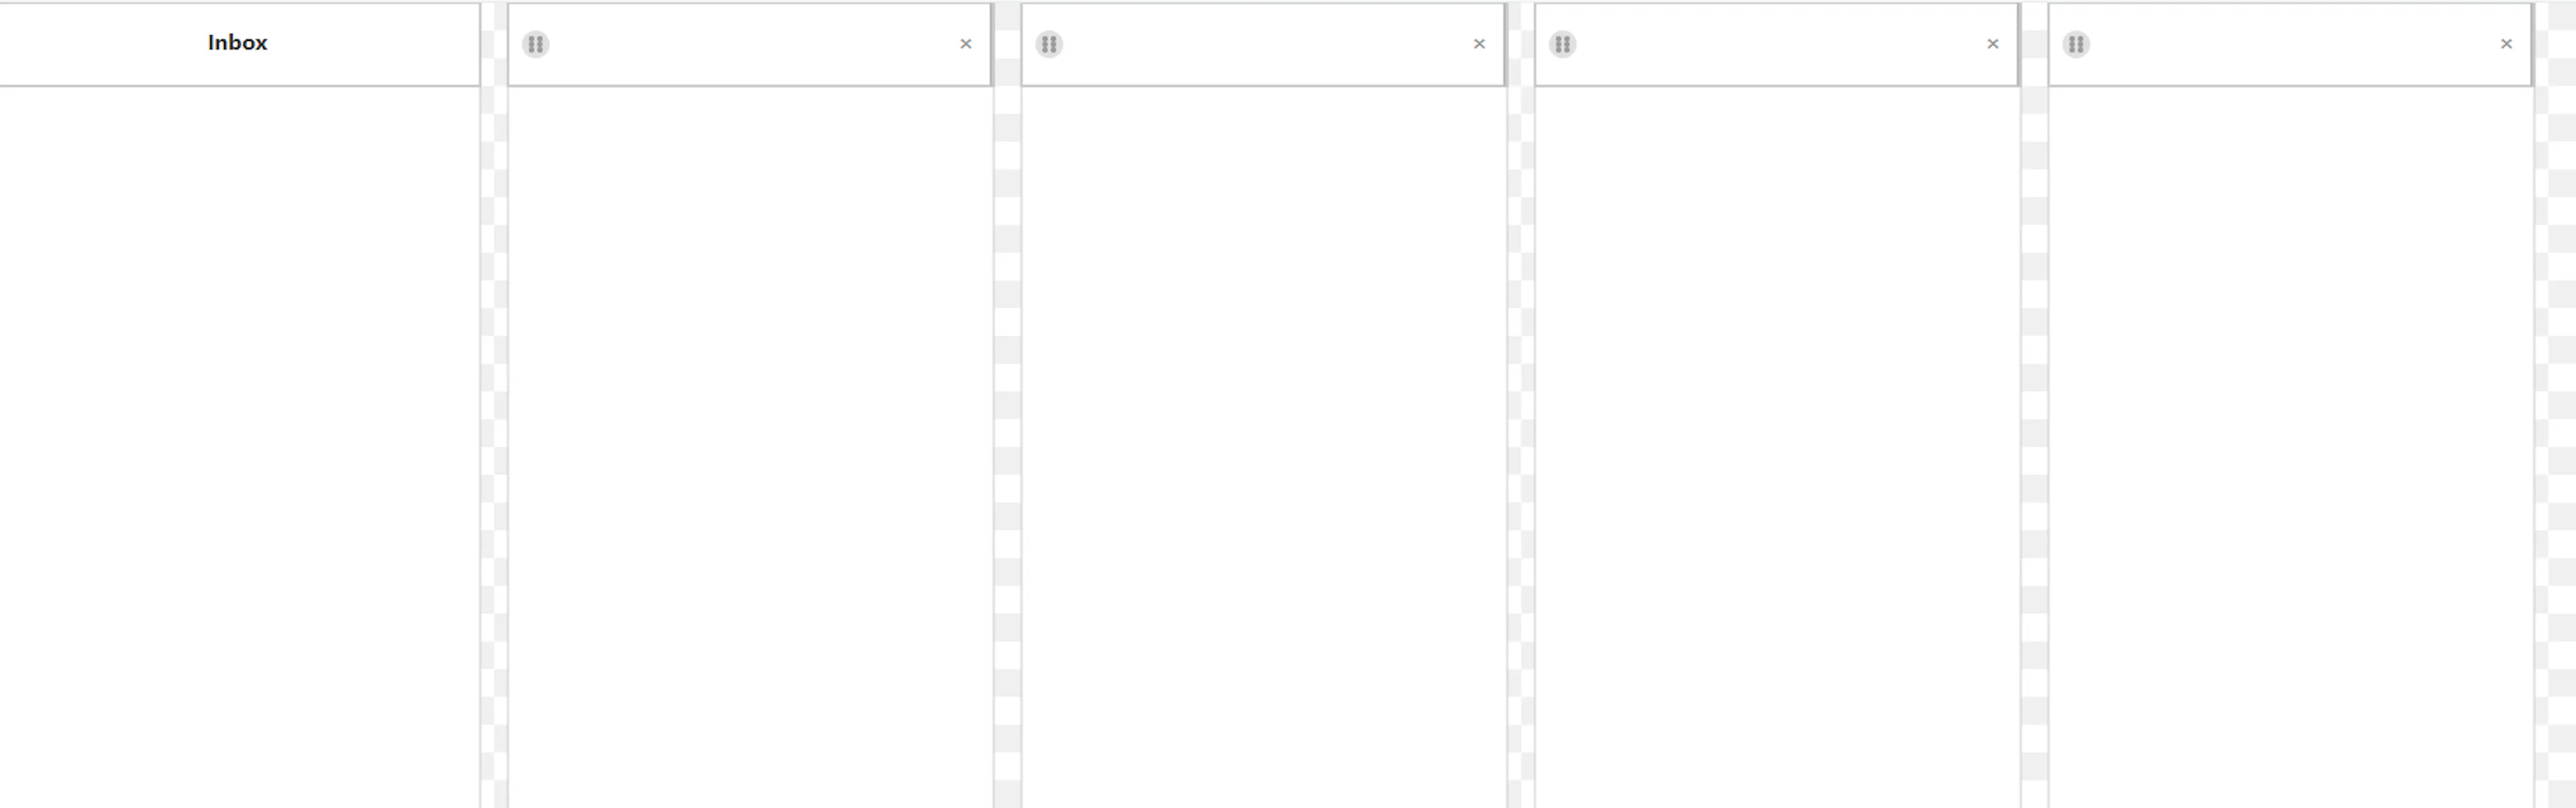
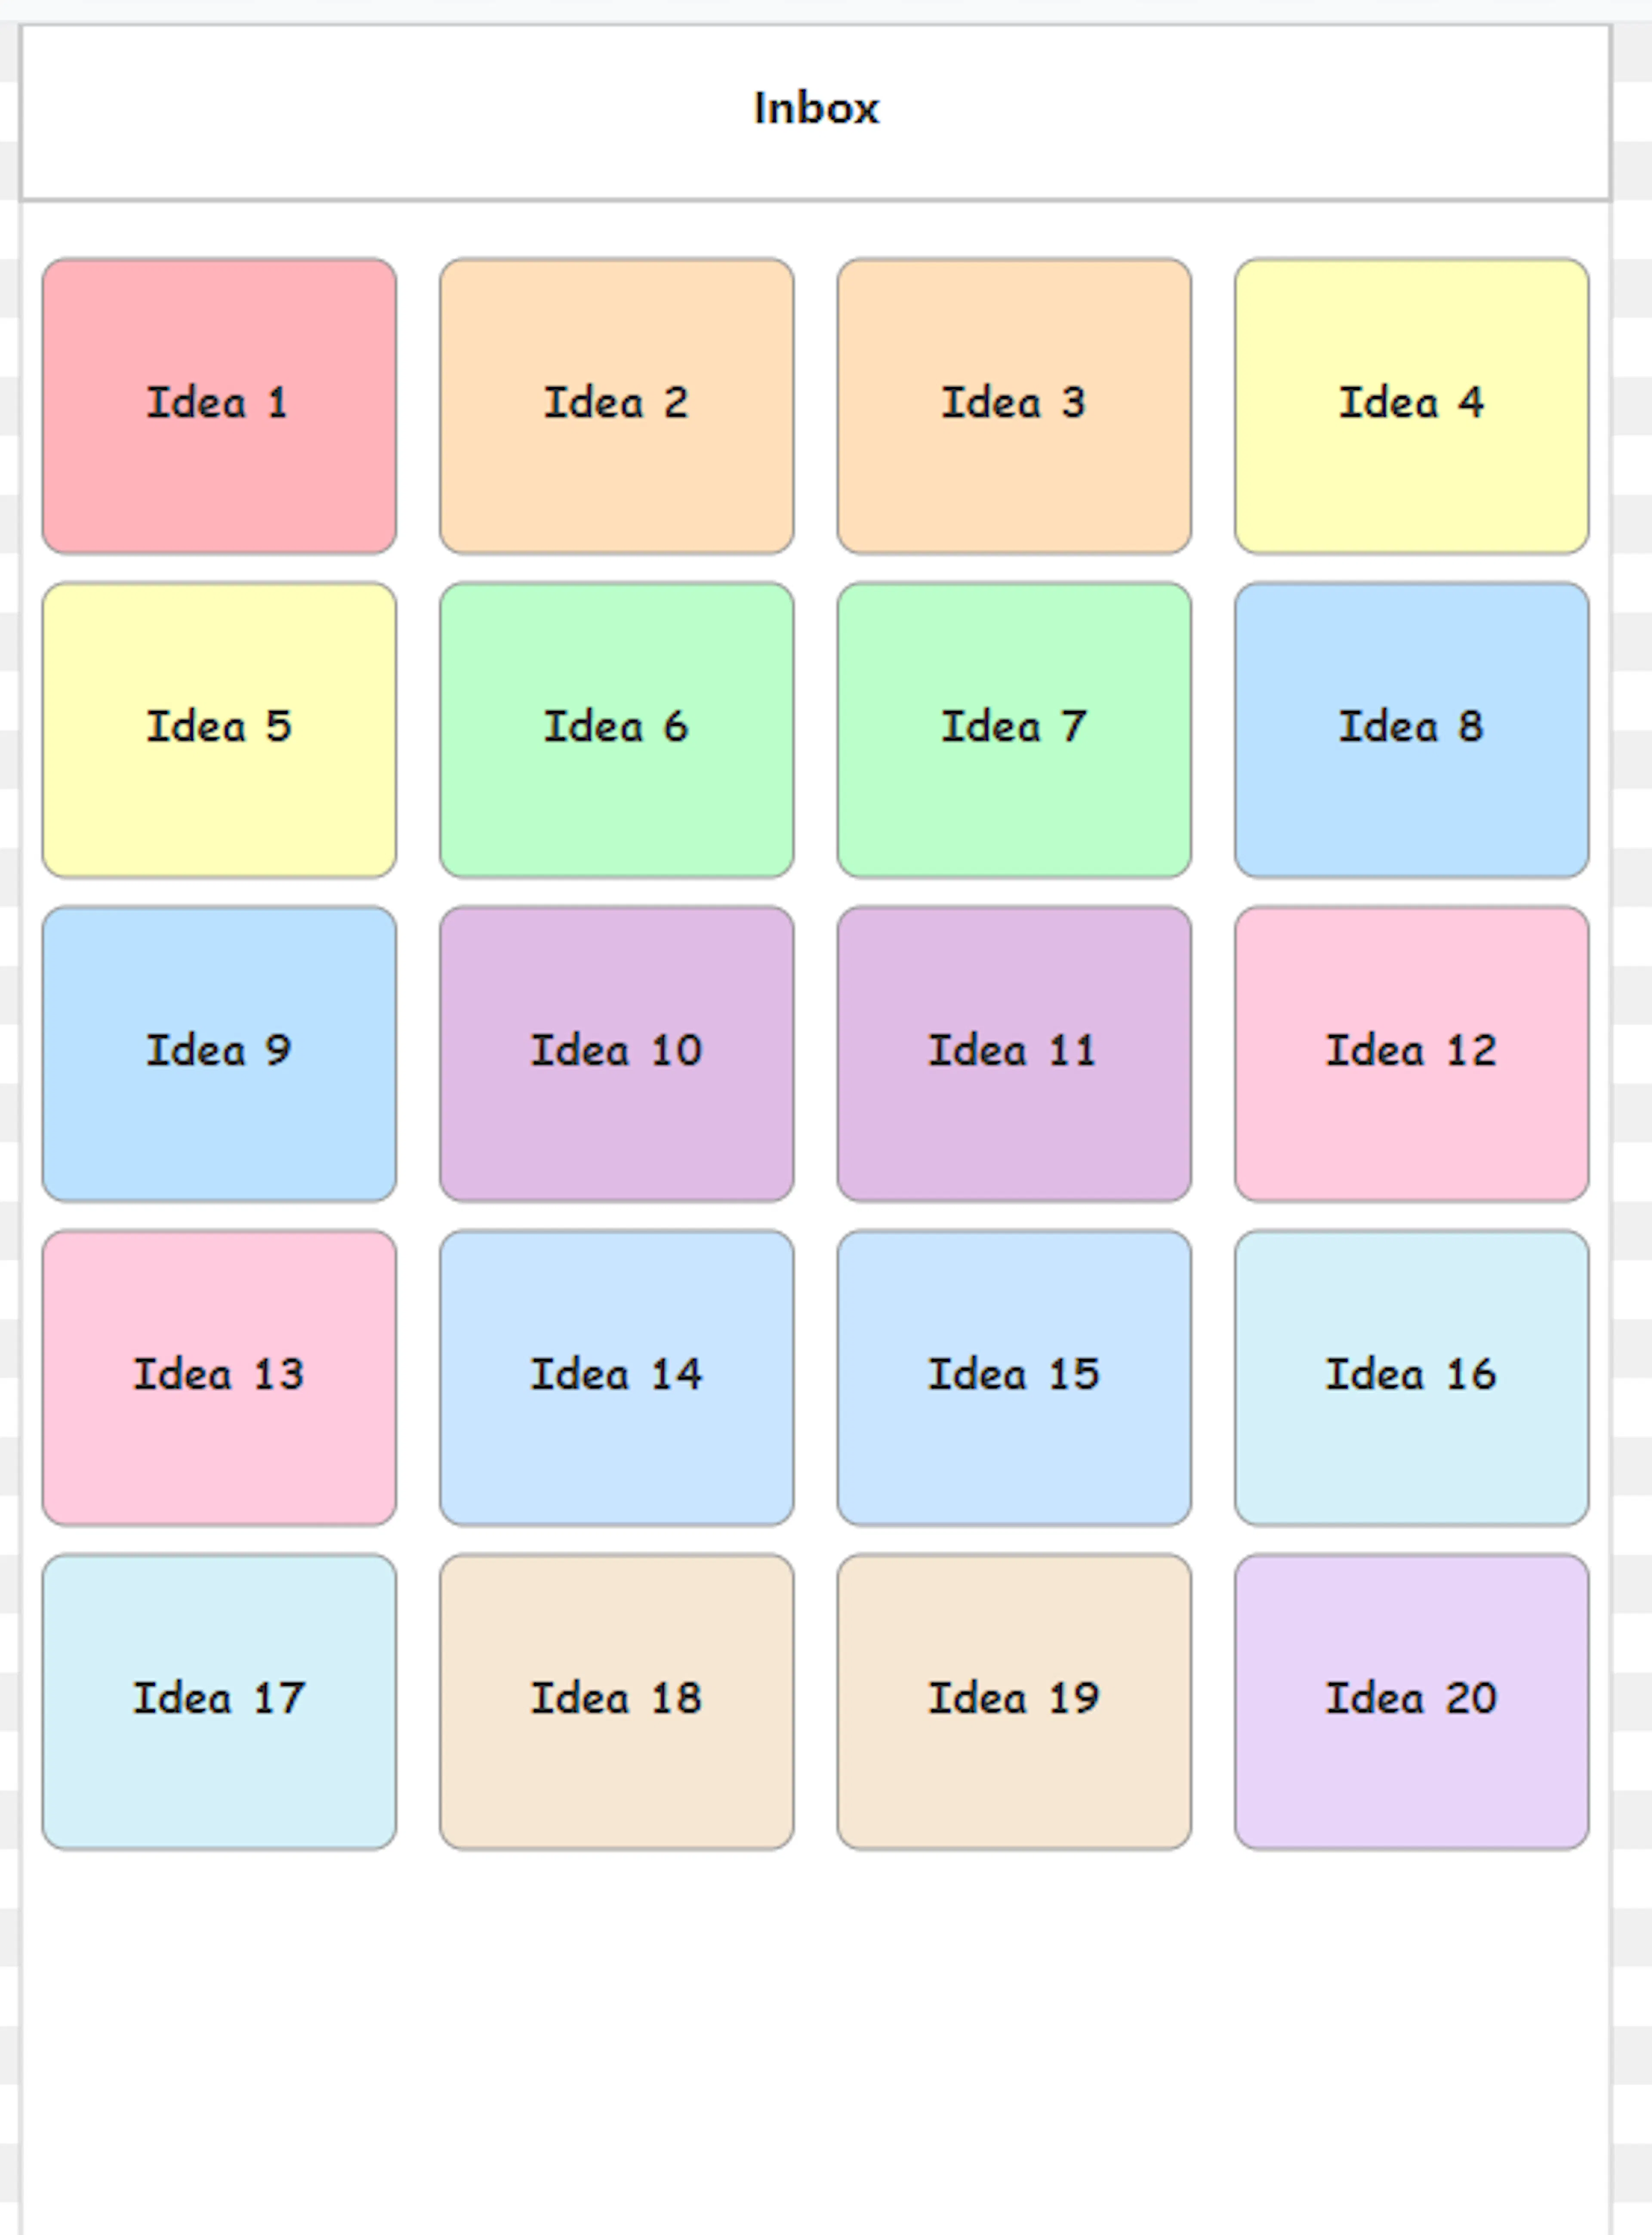
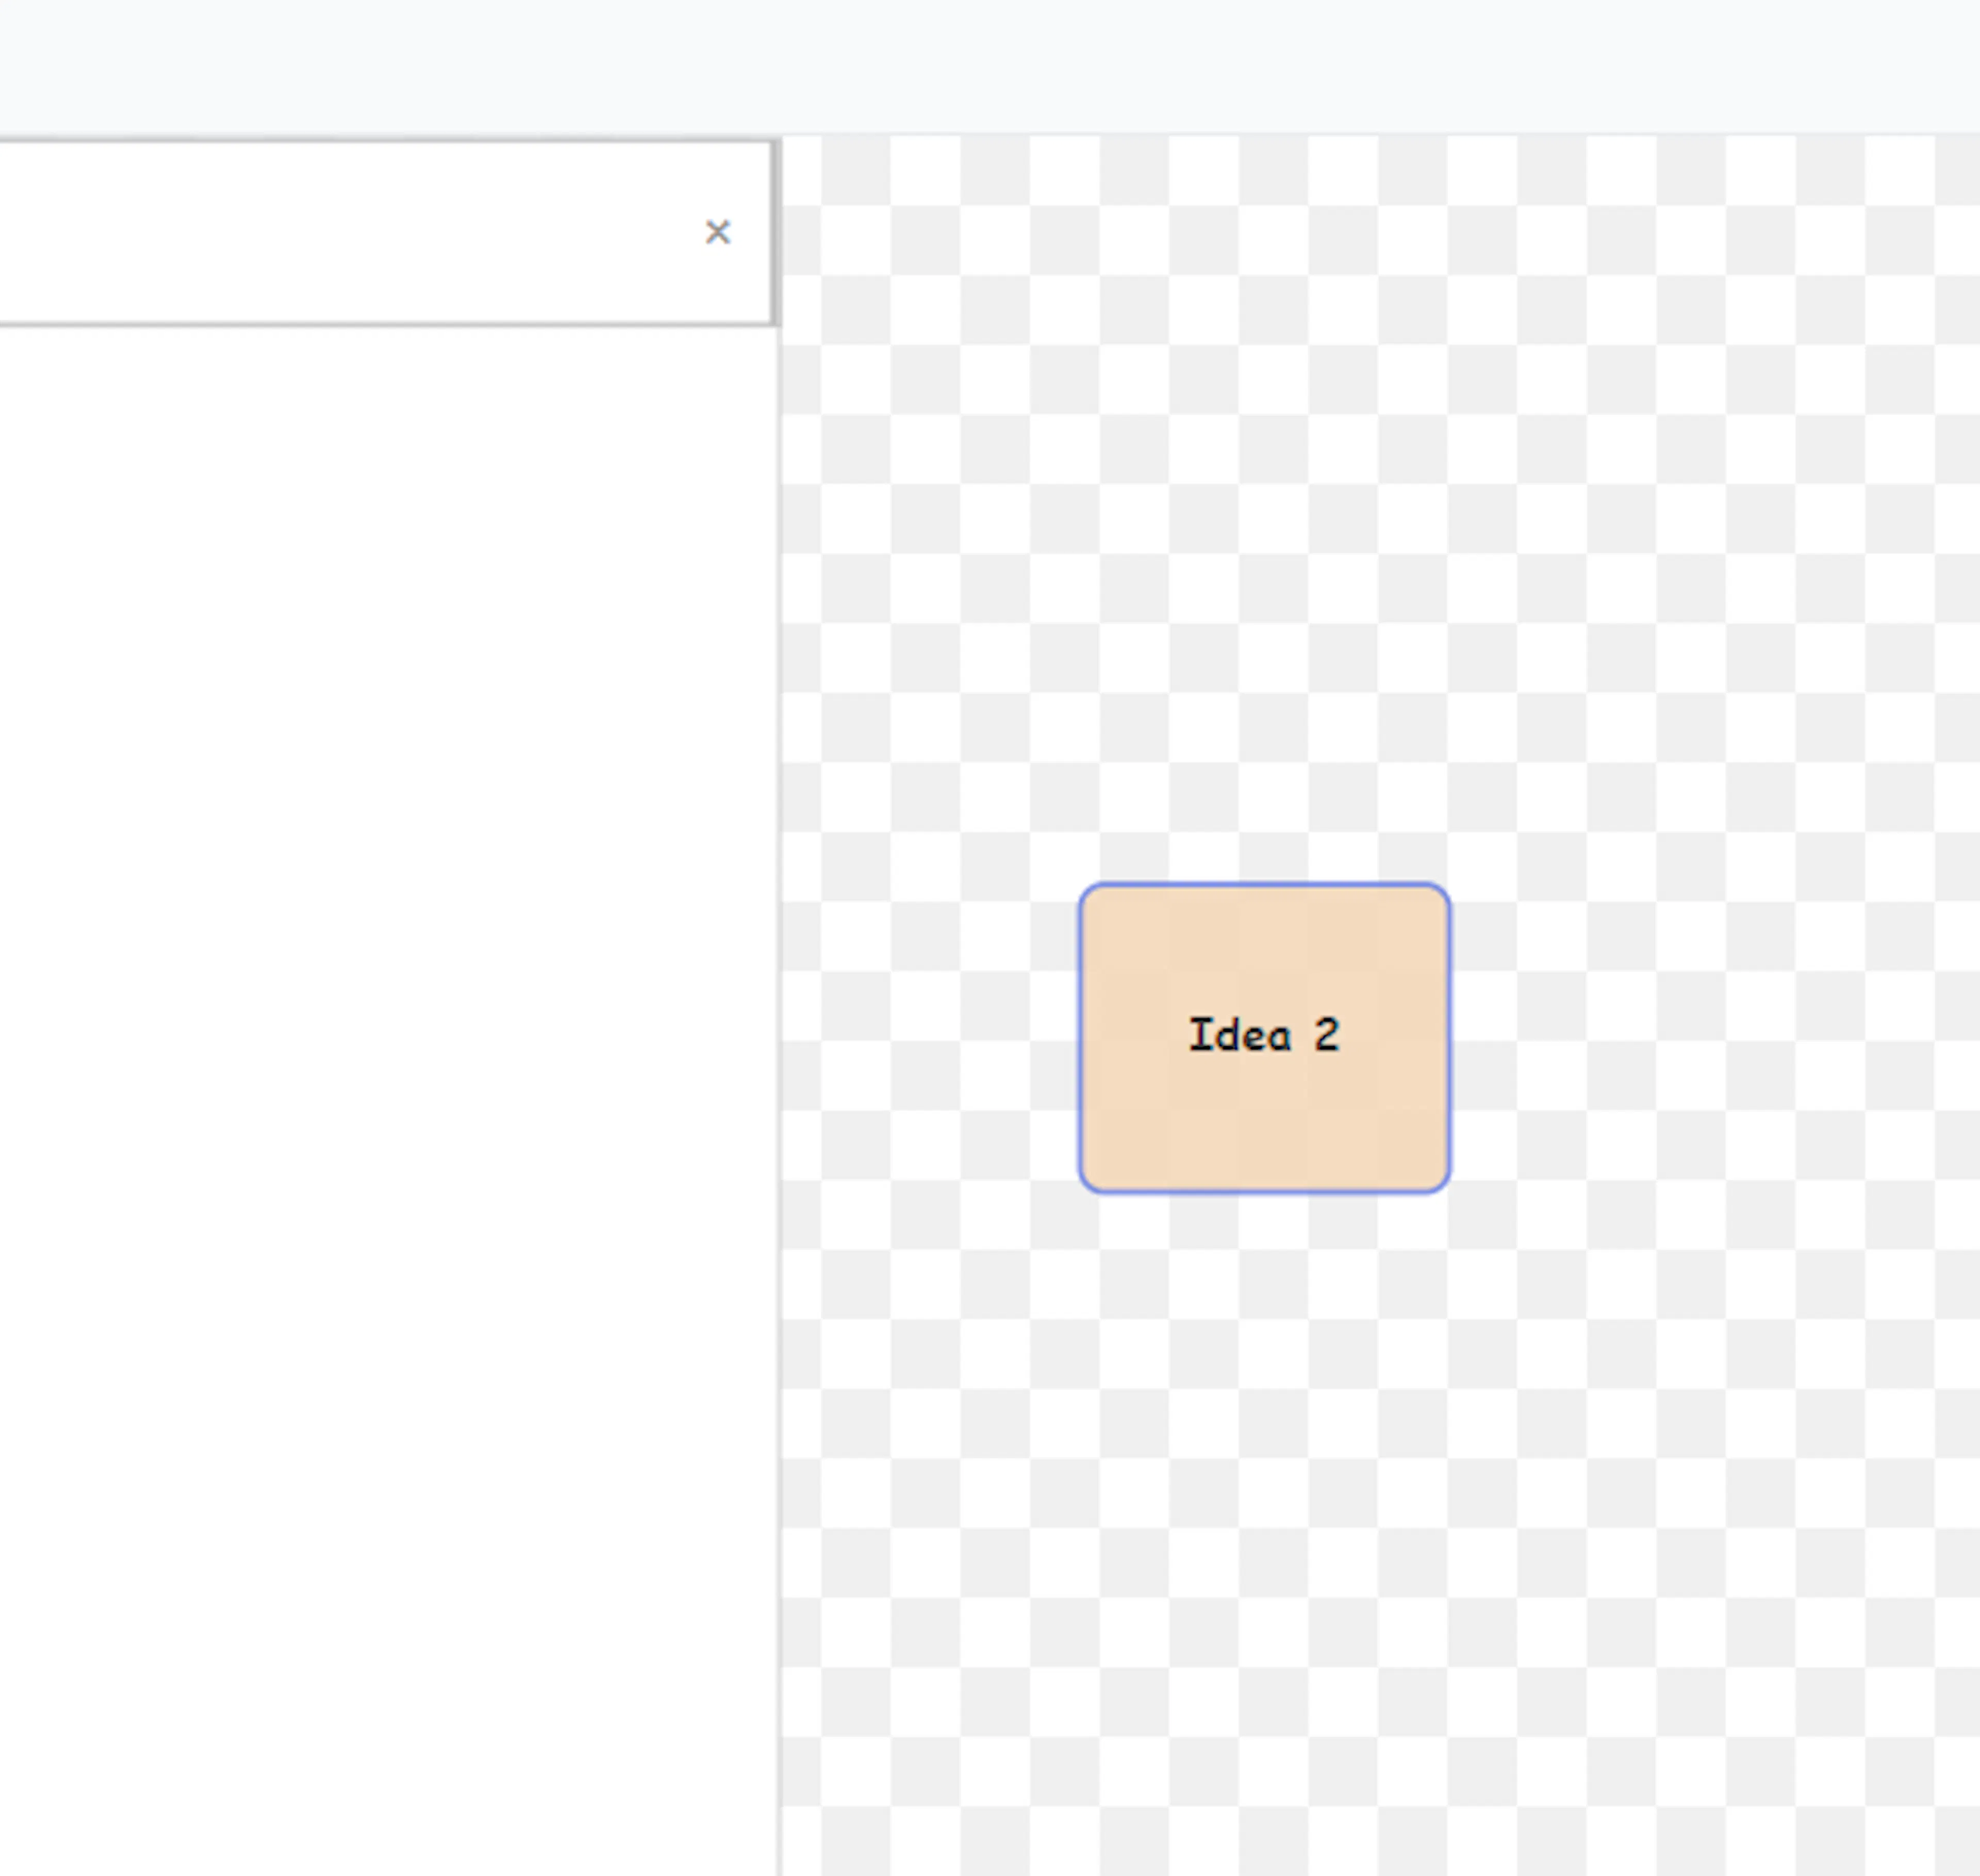
- The Inbox: The very first column on the left is your "Inbox." This is the default landing zone, where your newly created notes are initially stored while they await organisation.
-
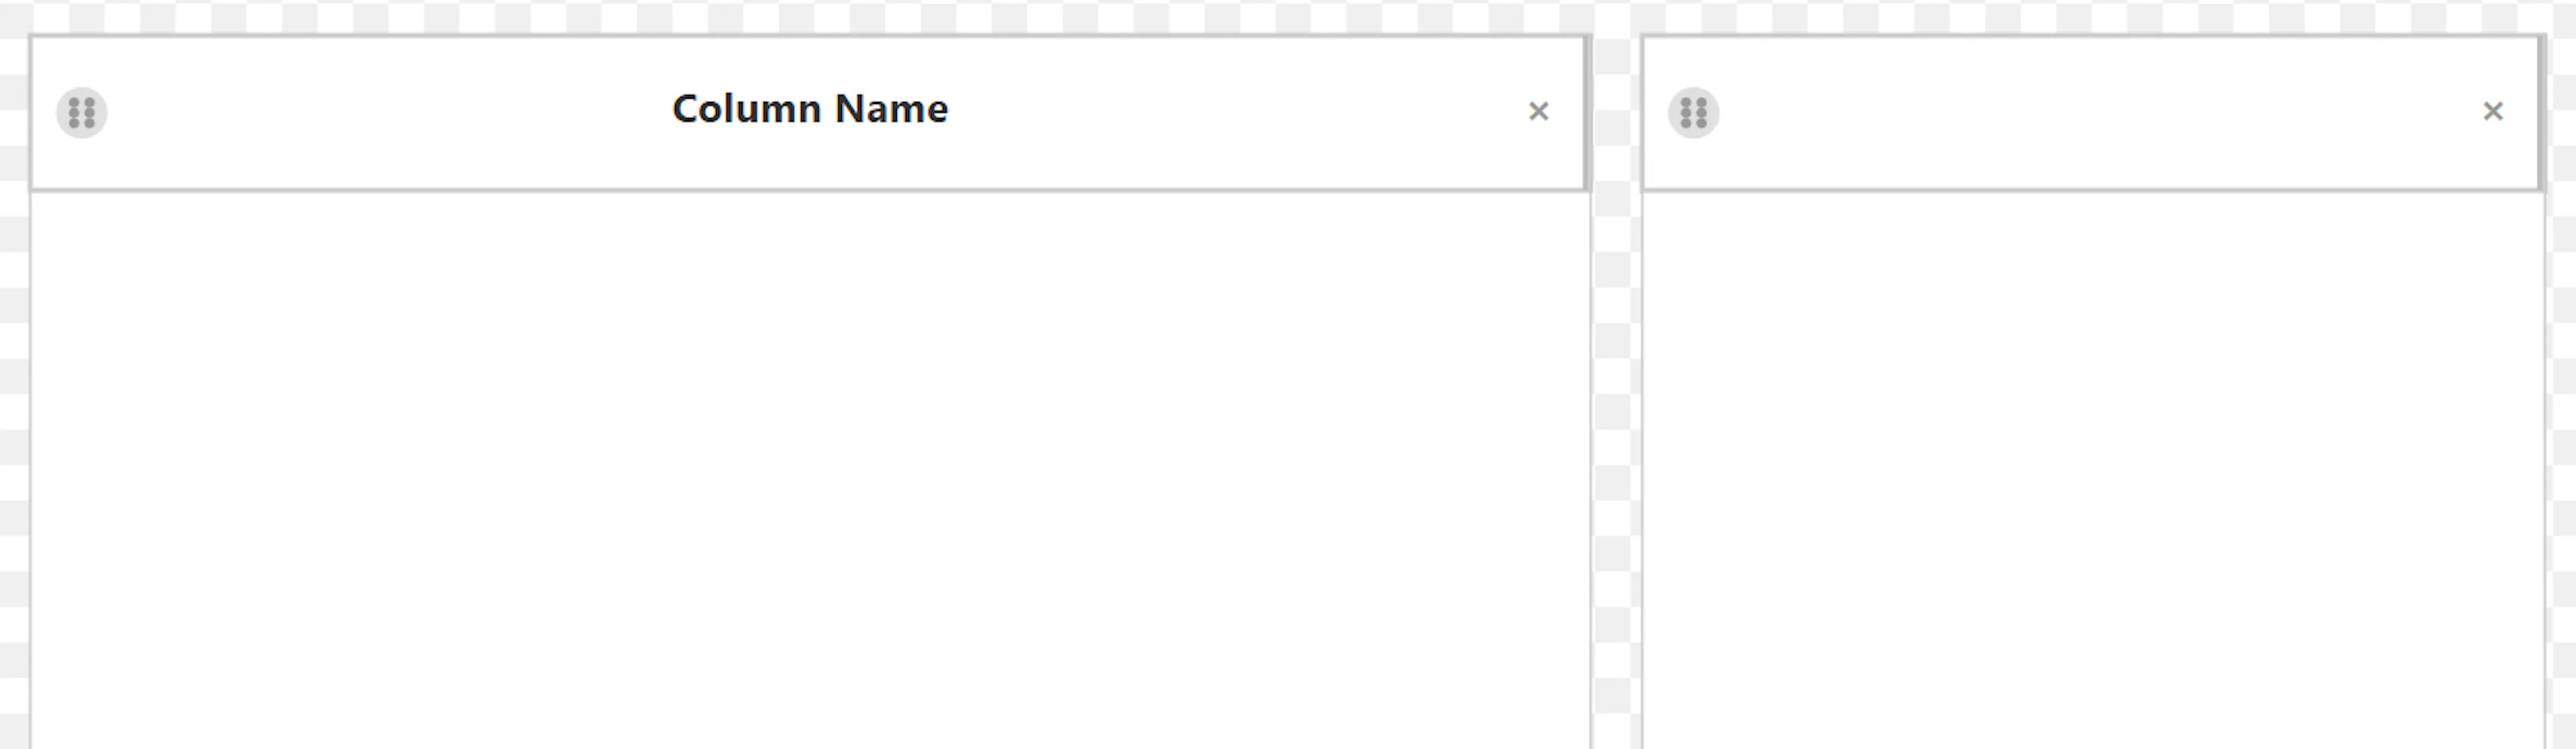
Standard Columns: Next to the Inbox, the board initially provides 4 blank columns. These start out completely unlabelled to encourage unconstrained thinking. You can type a name into the column headings at any time once your ideas start forming natural groups. (You can also create more columns as needed, which we will cover later).
-
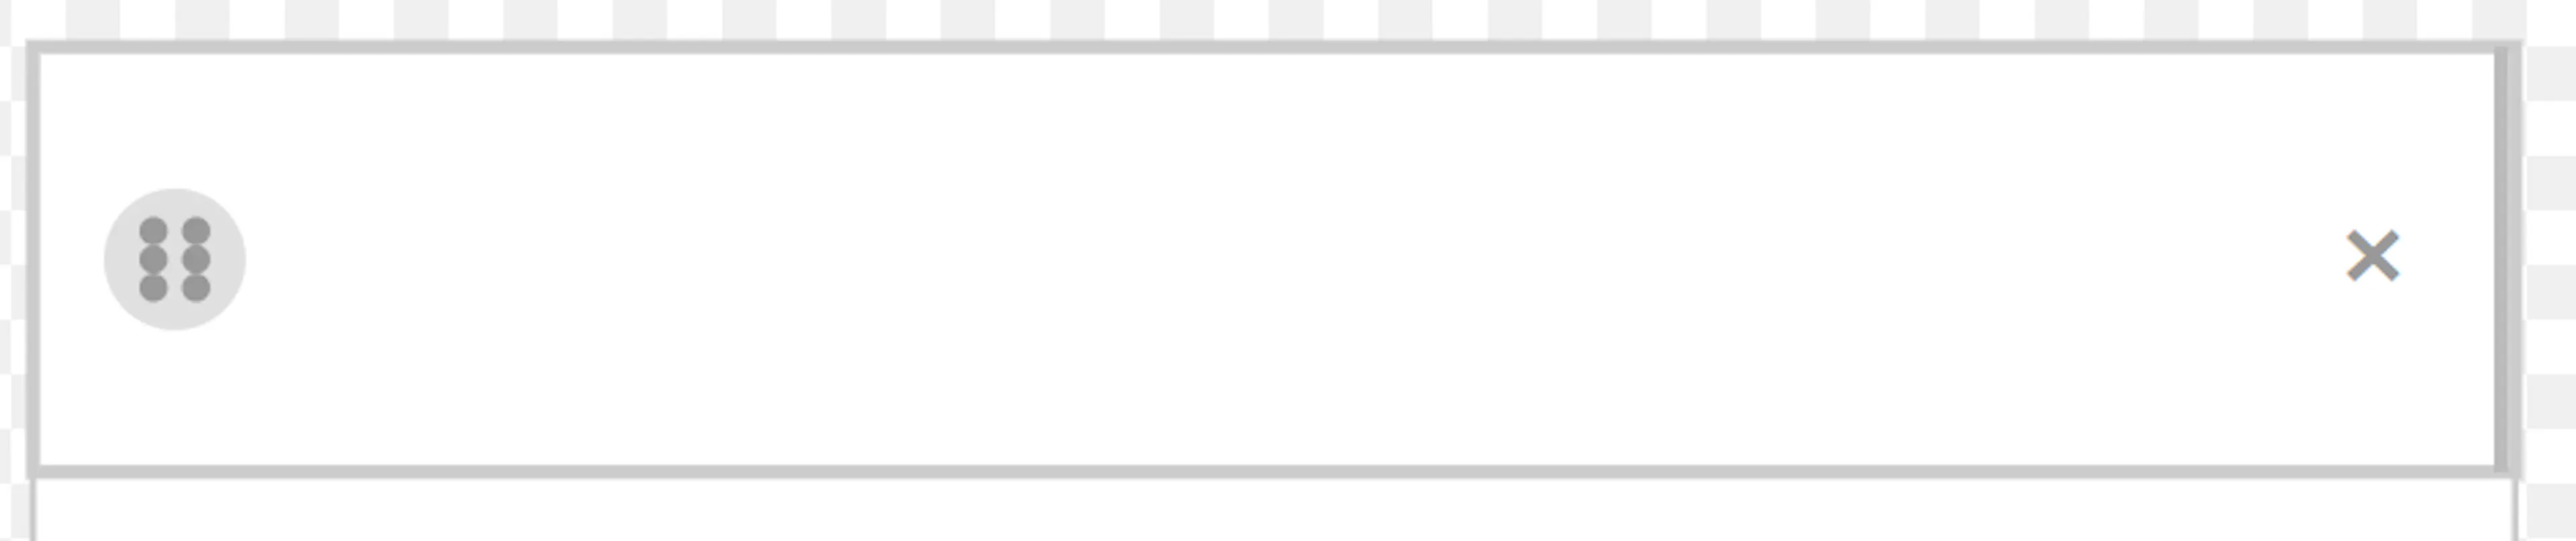
Column Controls: You can easily adjust your workspace using the icons at the top of each column. Use the drag handle icon at the top to click and reorder your columns across the board, or click the 'X' at the top right of any column to delete it. You can also expand the column width using the handle on the right of the column header. Please see the section on Managing Your Columns, below.
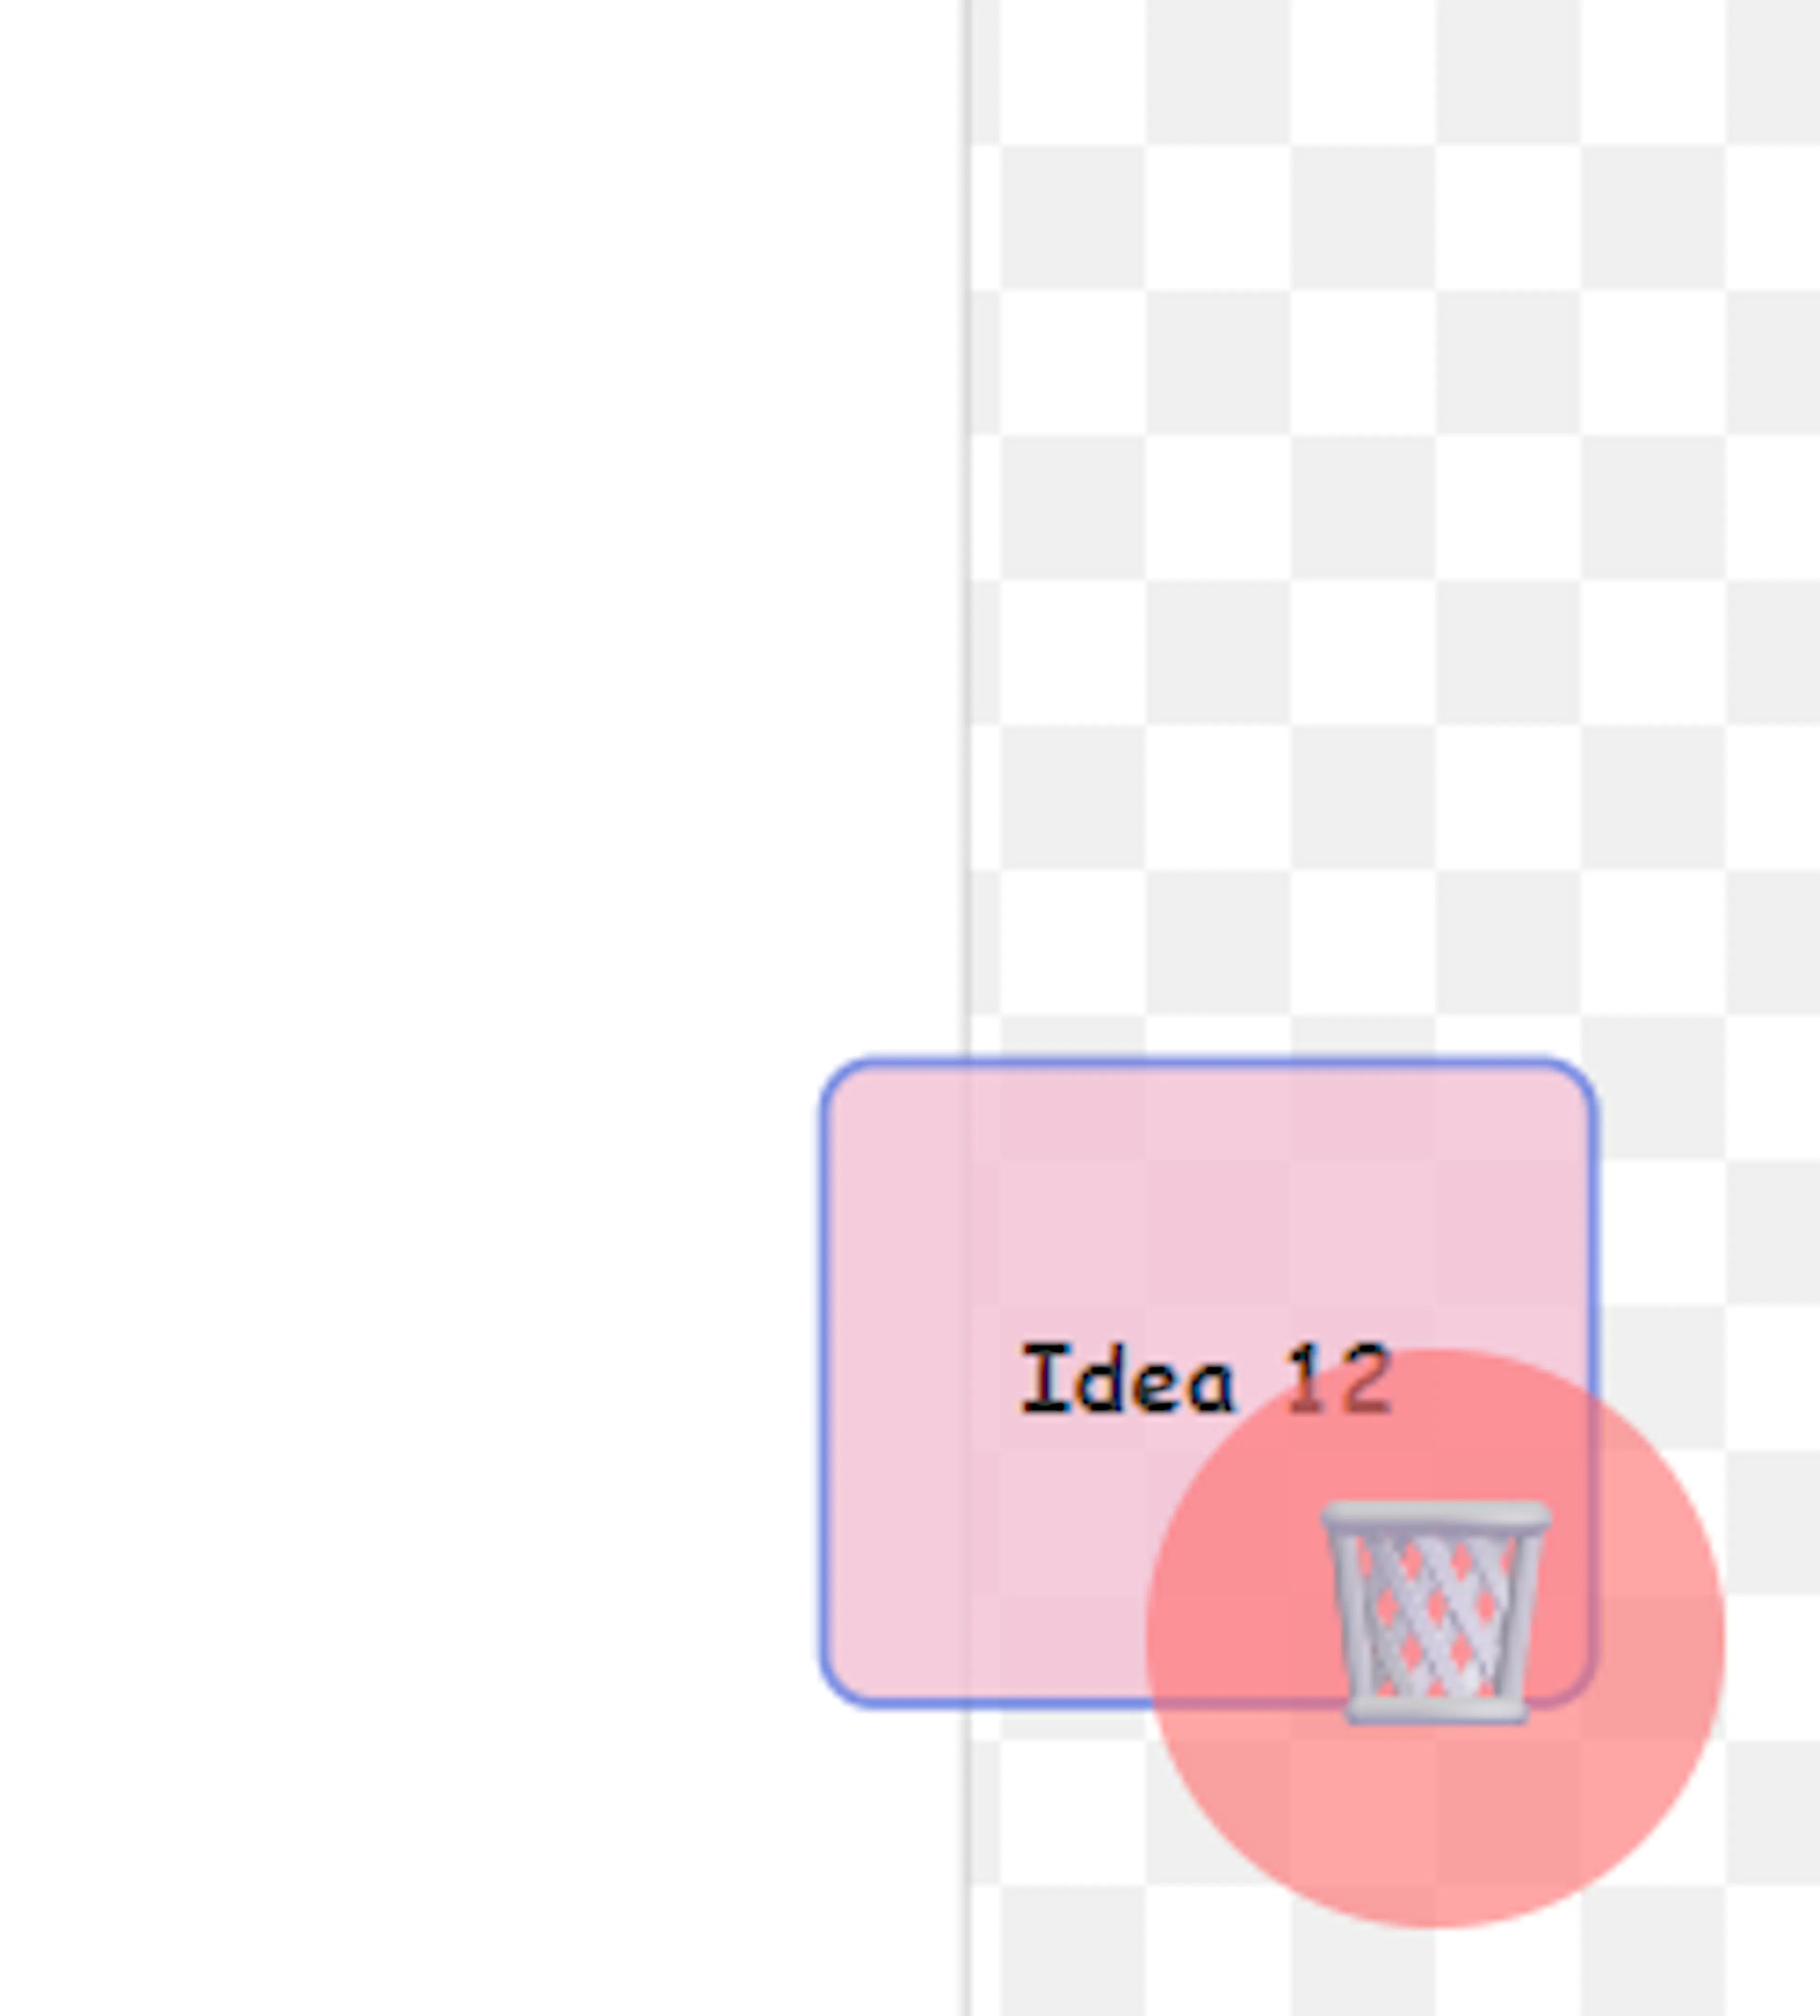
- The Dustbin: In the bottom right corner of your screen, you will notice a dustbin icon. If an idea doesn't pan out and you want to delete a note, simply click and drag the note directly over this dustbin to discard it.

- The Flexible Canvas (Pan & Zoom): The canvas is highly flexible, allowing you to fluidly zoom and pan across your workspace. The columns could have been rendered as a rigid structure with static scroll bars, but that format is not conducive to free interaction. Instead, the entire column structure is "free" so you can seamlessly interact with your display.
-
Navigating: Use your mouse to click and drag to pan across the board, and use your mouse wheel or trackpad to zoom in and out of the canvas.
-
Reset View: If you ever lose your place, simply click the Reset View button in the top menu bar. This will instantly re-centre the canvas and automatically adjust the zoom level to accommodate all of your columns neatly within the screen.

Strategic Color Choices (Pastels & Emotive Hues)
The colour palette at the top of your canvas is primarily filled with soft pastels. These were deliberately chosen so they do not appear too stark or visually overwhelming as your board fills up with notes. However, you will also notice a bright red and a bright green option. These are included because of their deeply ingrained, universal associations (such as Good/Bad, Start/Stop, or Safe/Danger). By utilising these specific "emotive" colours, you can create a powerful visual shorthand that helps you organically structure your ideas. Effective colour coding is a proven method for mitigating information overload during complex brainstorming sessions. Using these emotive colours allows you to quickly scan your canvas and immediately understand the status, risk, or sentiment of an idea with a simple glance.
Capturing Your Ideas (Note Creation)
Now let's look at how to actually get your ideas onto the board. The note capture process is designed to be fast and fluid so nothing interrupts your train of thought:
-
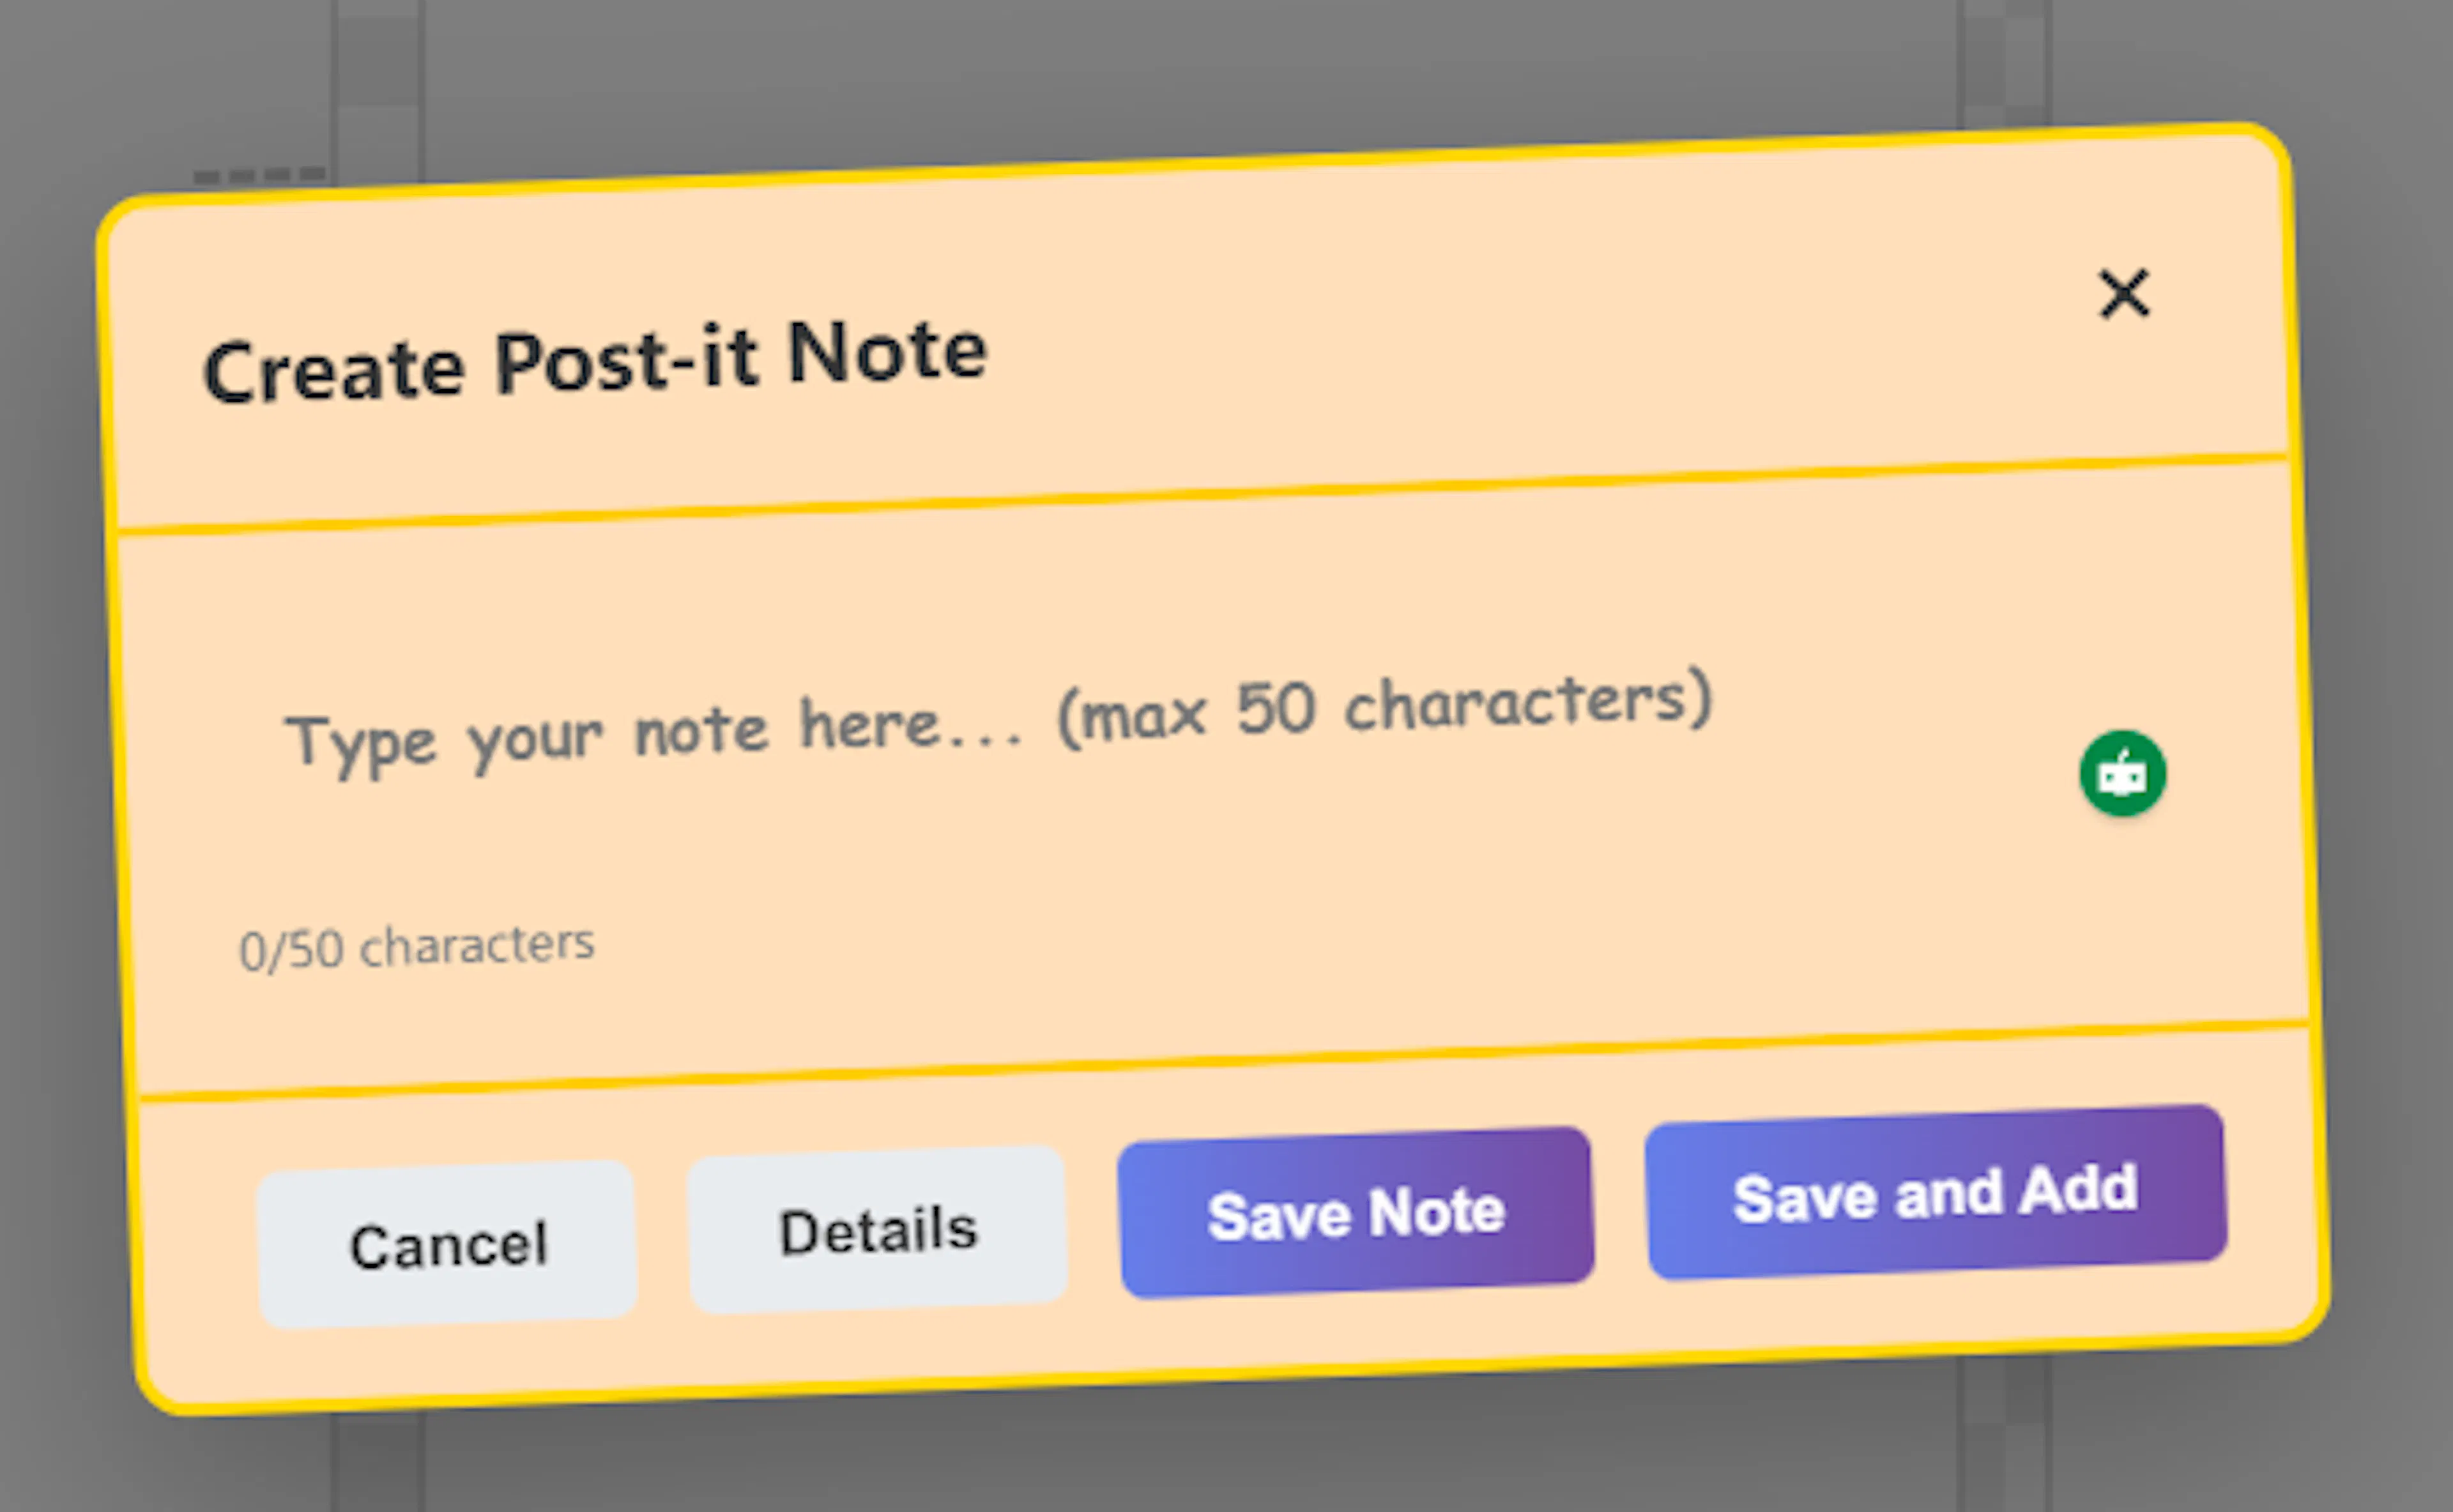
Add a New Note To add notes, simply click on any of the coloured squares at the top of the palette. An entry screen will pop up right in the middle of your workspace. (Please see the section below about the coloured squares.)
-
Keep it concise. This central box is where you type your idea. To encourage punchy, easily scannable thoughts, you are limited to entering up to 50 characters on a single line.
-
Saving and Submitting to the Inbox Once your idea is typed out, you have a few different ways to submit it to your inbox column, depending on your workflow:
-
The Enter Key (Rapid Fire): Pressing the Enter key will save your note to the inbox and immediately open a fresh, empty entry box. This is the best method for rapid-fire brainstorming when you want to dump a quick succession of ideas out of your head.
-
The Save Button: Clicking either of the Save buttons at the bottom of the box will send the note to the Inbox and then close the entry screen, returning you to the board.
-
The Tab Key: Alternatively, pressing the Tab key on your keyboard will also create the new note in the inbox and close the entry box.
- Capturing Complexity: The Details Button (Notes)As mentioned earlier, we deliberately limit your main note titles to 50 characters. This restriction is designed to keep your board clean, succinct, and easy to scan at a glance. However, we never want a character limit to stifle your ideation process or cause you stress. Trying to force a complex, nuanced thought into a tiny 50-character box can interrupt your creative flow, and we don't want a single drop of your inspiration to be lost. To solve this issue, we included the optional Details feature. How to Expand Your Ideas: When you are typing a new idea in the Note Creation dialogue box and realise it requires more explanation, simply click the Details (or Notes) button. This instantly opens an expanded note-taking area. Here, you are given up to 500 characters of extra space to flesh out your thoughts, capture the nuances, and easily get yourself out of a "complexity fix." This ensures your main canvas remains a highly visual map of punchy ideas, while the vital, deeper context of your complex thoughts is safely stored away for later development.

- Cancelling a Note. If you change your mind and want to discard the note before saving, you can click Cancel or press the Esc (Escape) key on your keyboard to close the box.
Safety Feature: Don't worry if you accidentally hit cancel or the Esc key after starting to type text into the box! The system will pop up a confirmation message to ensure you actually want to close it, saving you from accidentally losing your entry.
Optional Structure: Labeling Your Colours
While we strongly encourage a "zero-structure" approach at the beginning of your brainstorming sessions, we also recognise that you sometimes need a simple way to identify where your ideas are coming from. For example, if you are working with a client, you might *need *a way to quickly differentiate their input from your own.
Using colour-coding in digital brainstorming software is a proven method to differentiate individual contributions and reduce confusion. However, the human brain isn't always adept at retaining what each colour represents. In a complex session, participants can easily lose sight of the original reason for using a particular colour.
To solve this issue, we have updated the colour square system, so you can add textual labels to it.
Wait, doesn't this break the rule of "no upfront ordering"?******************************** Yes, it does! But this feature is completely******************************optional********************************. It is simply a tool available to augment your brainstorming feature only when you genuinely need it. The labelling system is solely designed to assist you in identifying the source of your ideas when the information is essential.
Please don't feel pressured to add labels to the colour. This is particularly important during face-to-face group brainstorming. Identifying a contributor can detrimentally affect their input. If labels are not absolutely necessary, then don't use them.
How to Use Colour Labels
- Adding a label:To name a colour, right-click on any of the coloured squares in the top palette and enter your text. To ensure your top menu remains neat and uncluttered, your text is limited to a maximum of 8 characters.

-
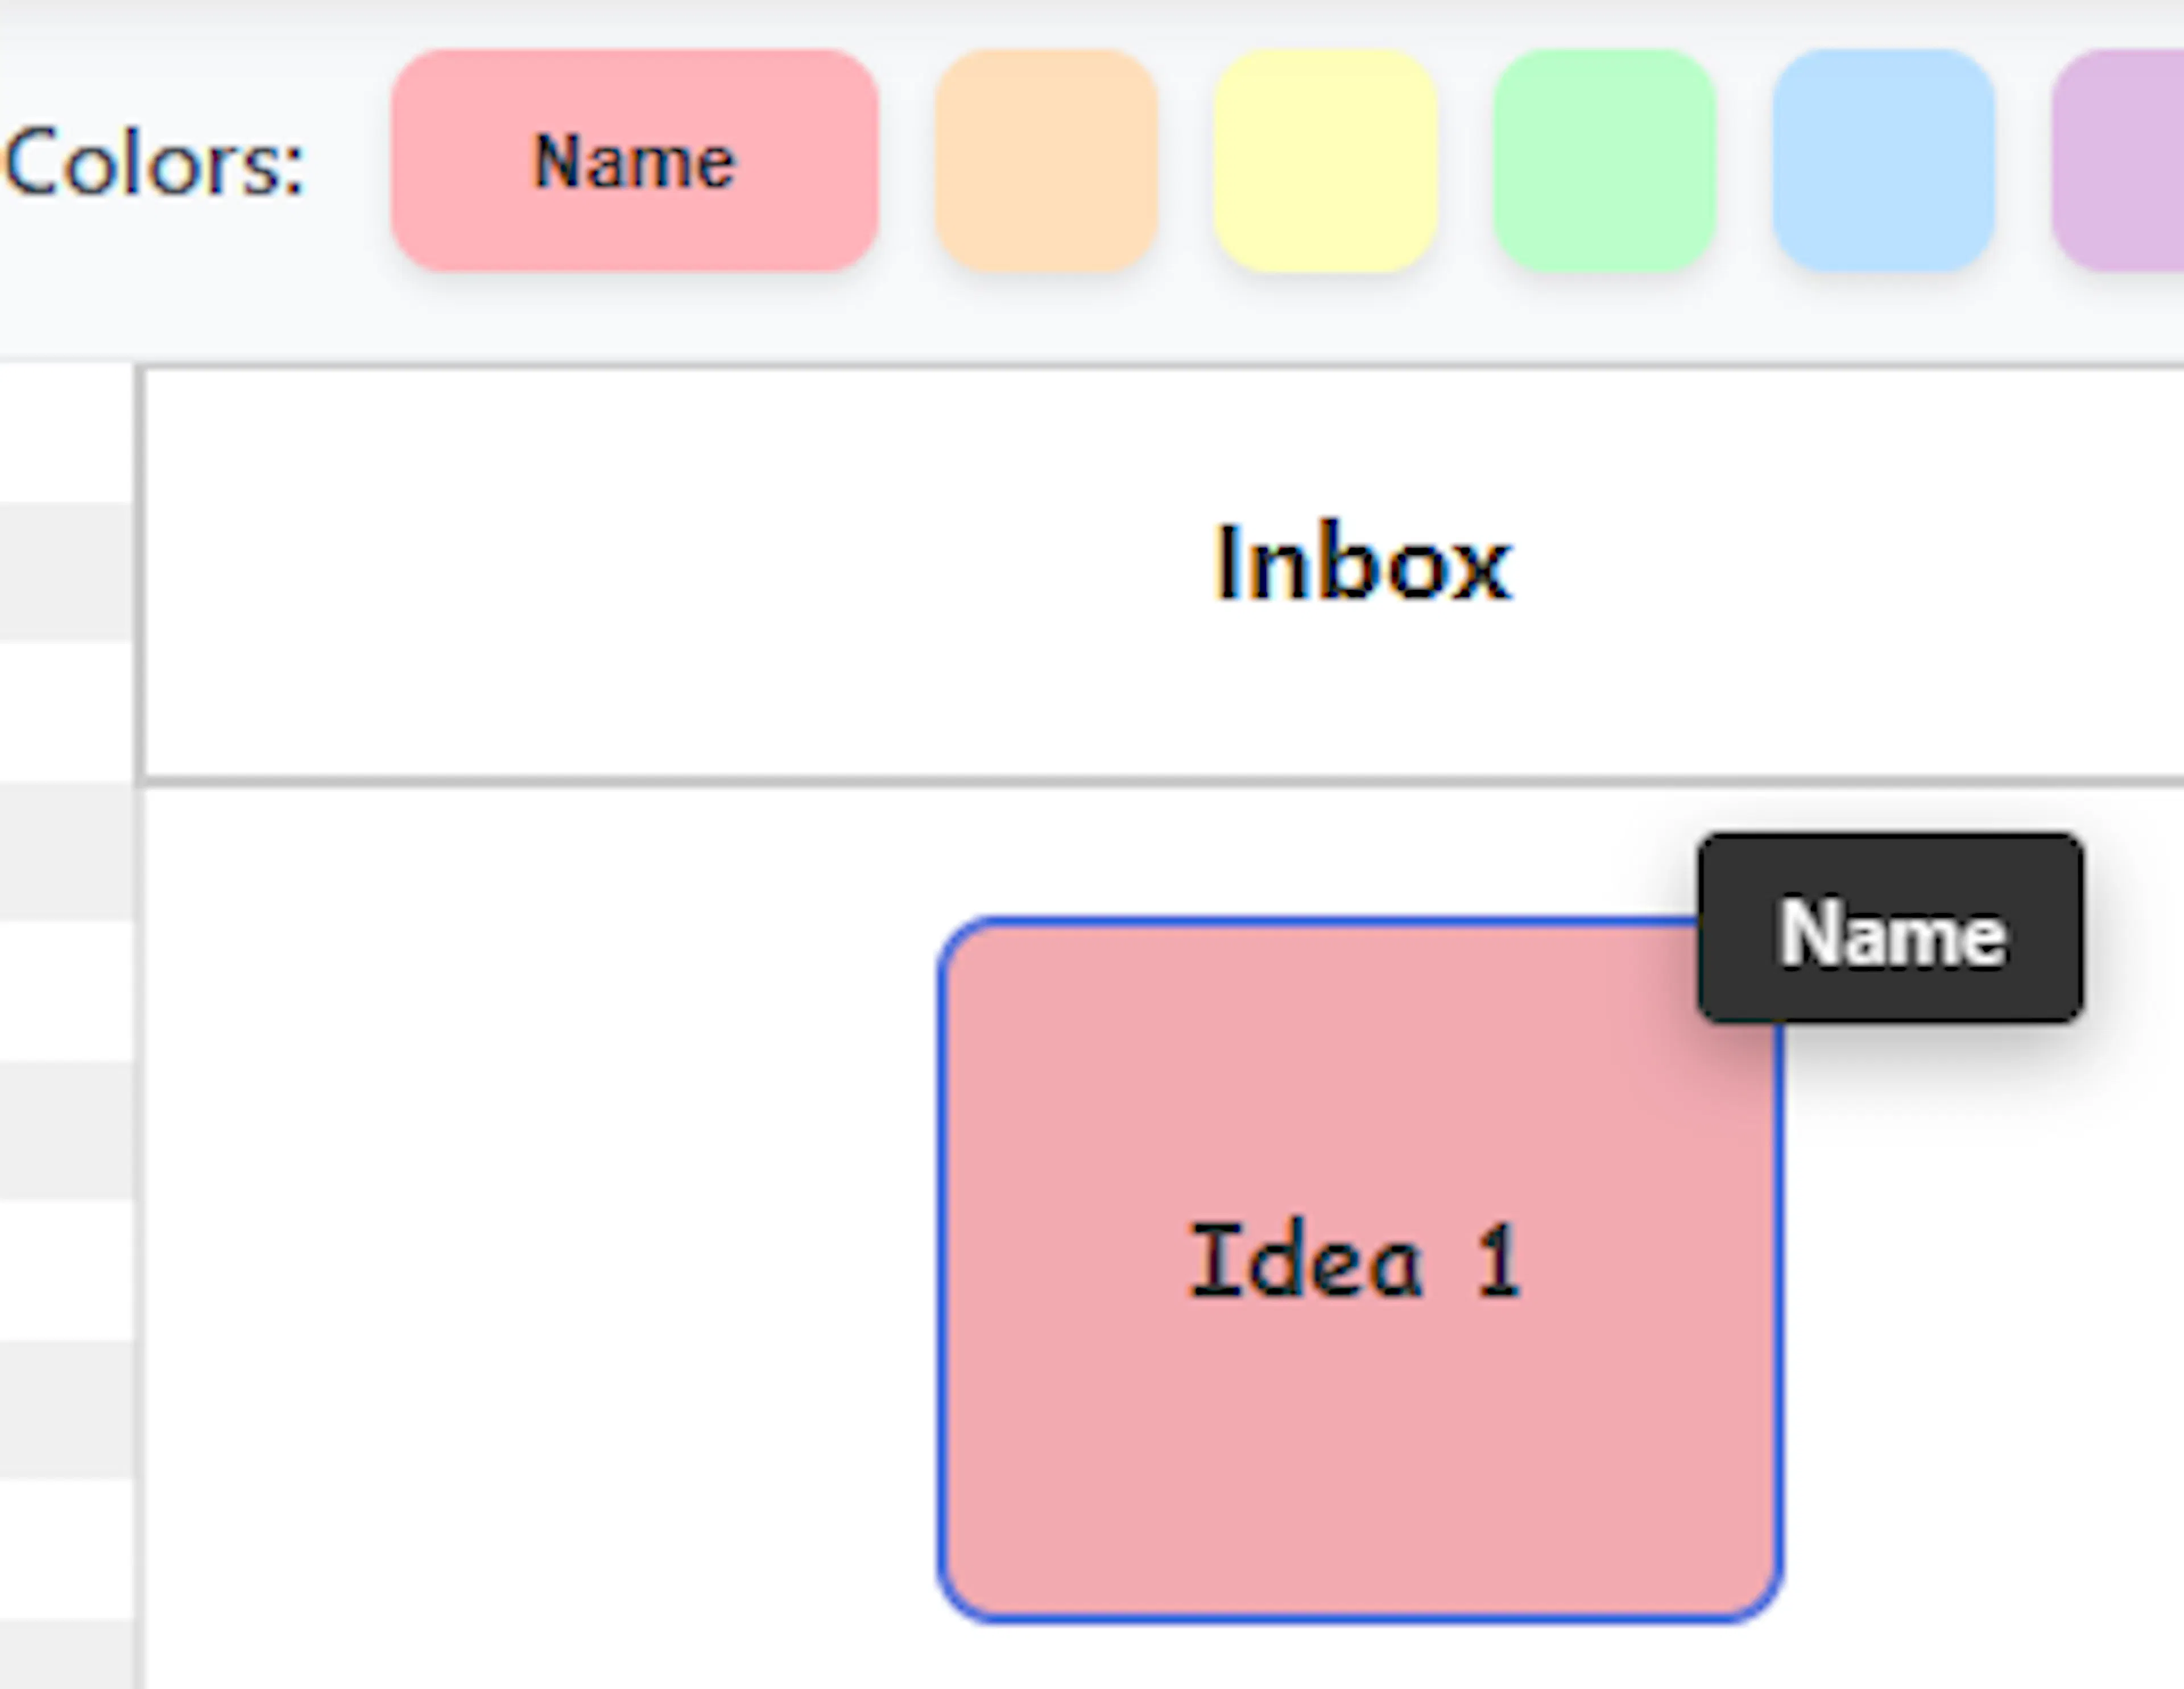
Visual Confirmation: Once you enter the text, you will notice that the coloured square has been slightly enlarged to clearly display your new label.

-
Helpful Tooltips: You don't have to constantly look back at the top menu to remember your colour associations. Once your notes are placed on the board, simply hover your mouse cursor over any note. A tooltip will immediately appear, showing the text label associated with that note's colour.
Refining Your Ideas (Editing Notes)
As your brainstorming session progresses, you might want to tweak or expand upon an idea you've already written down.
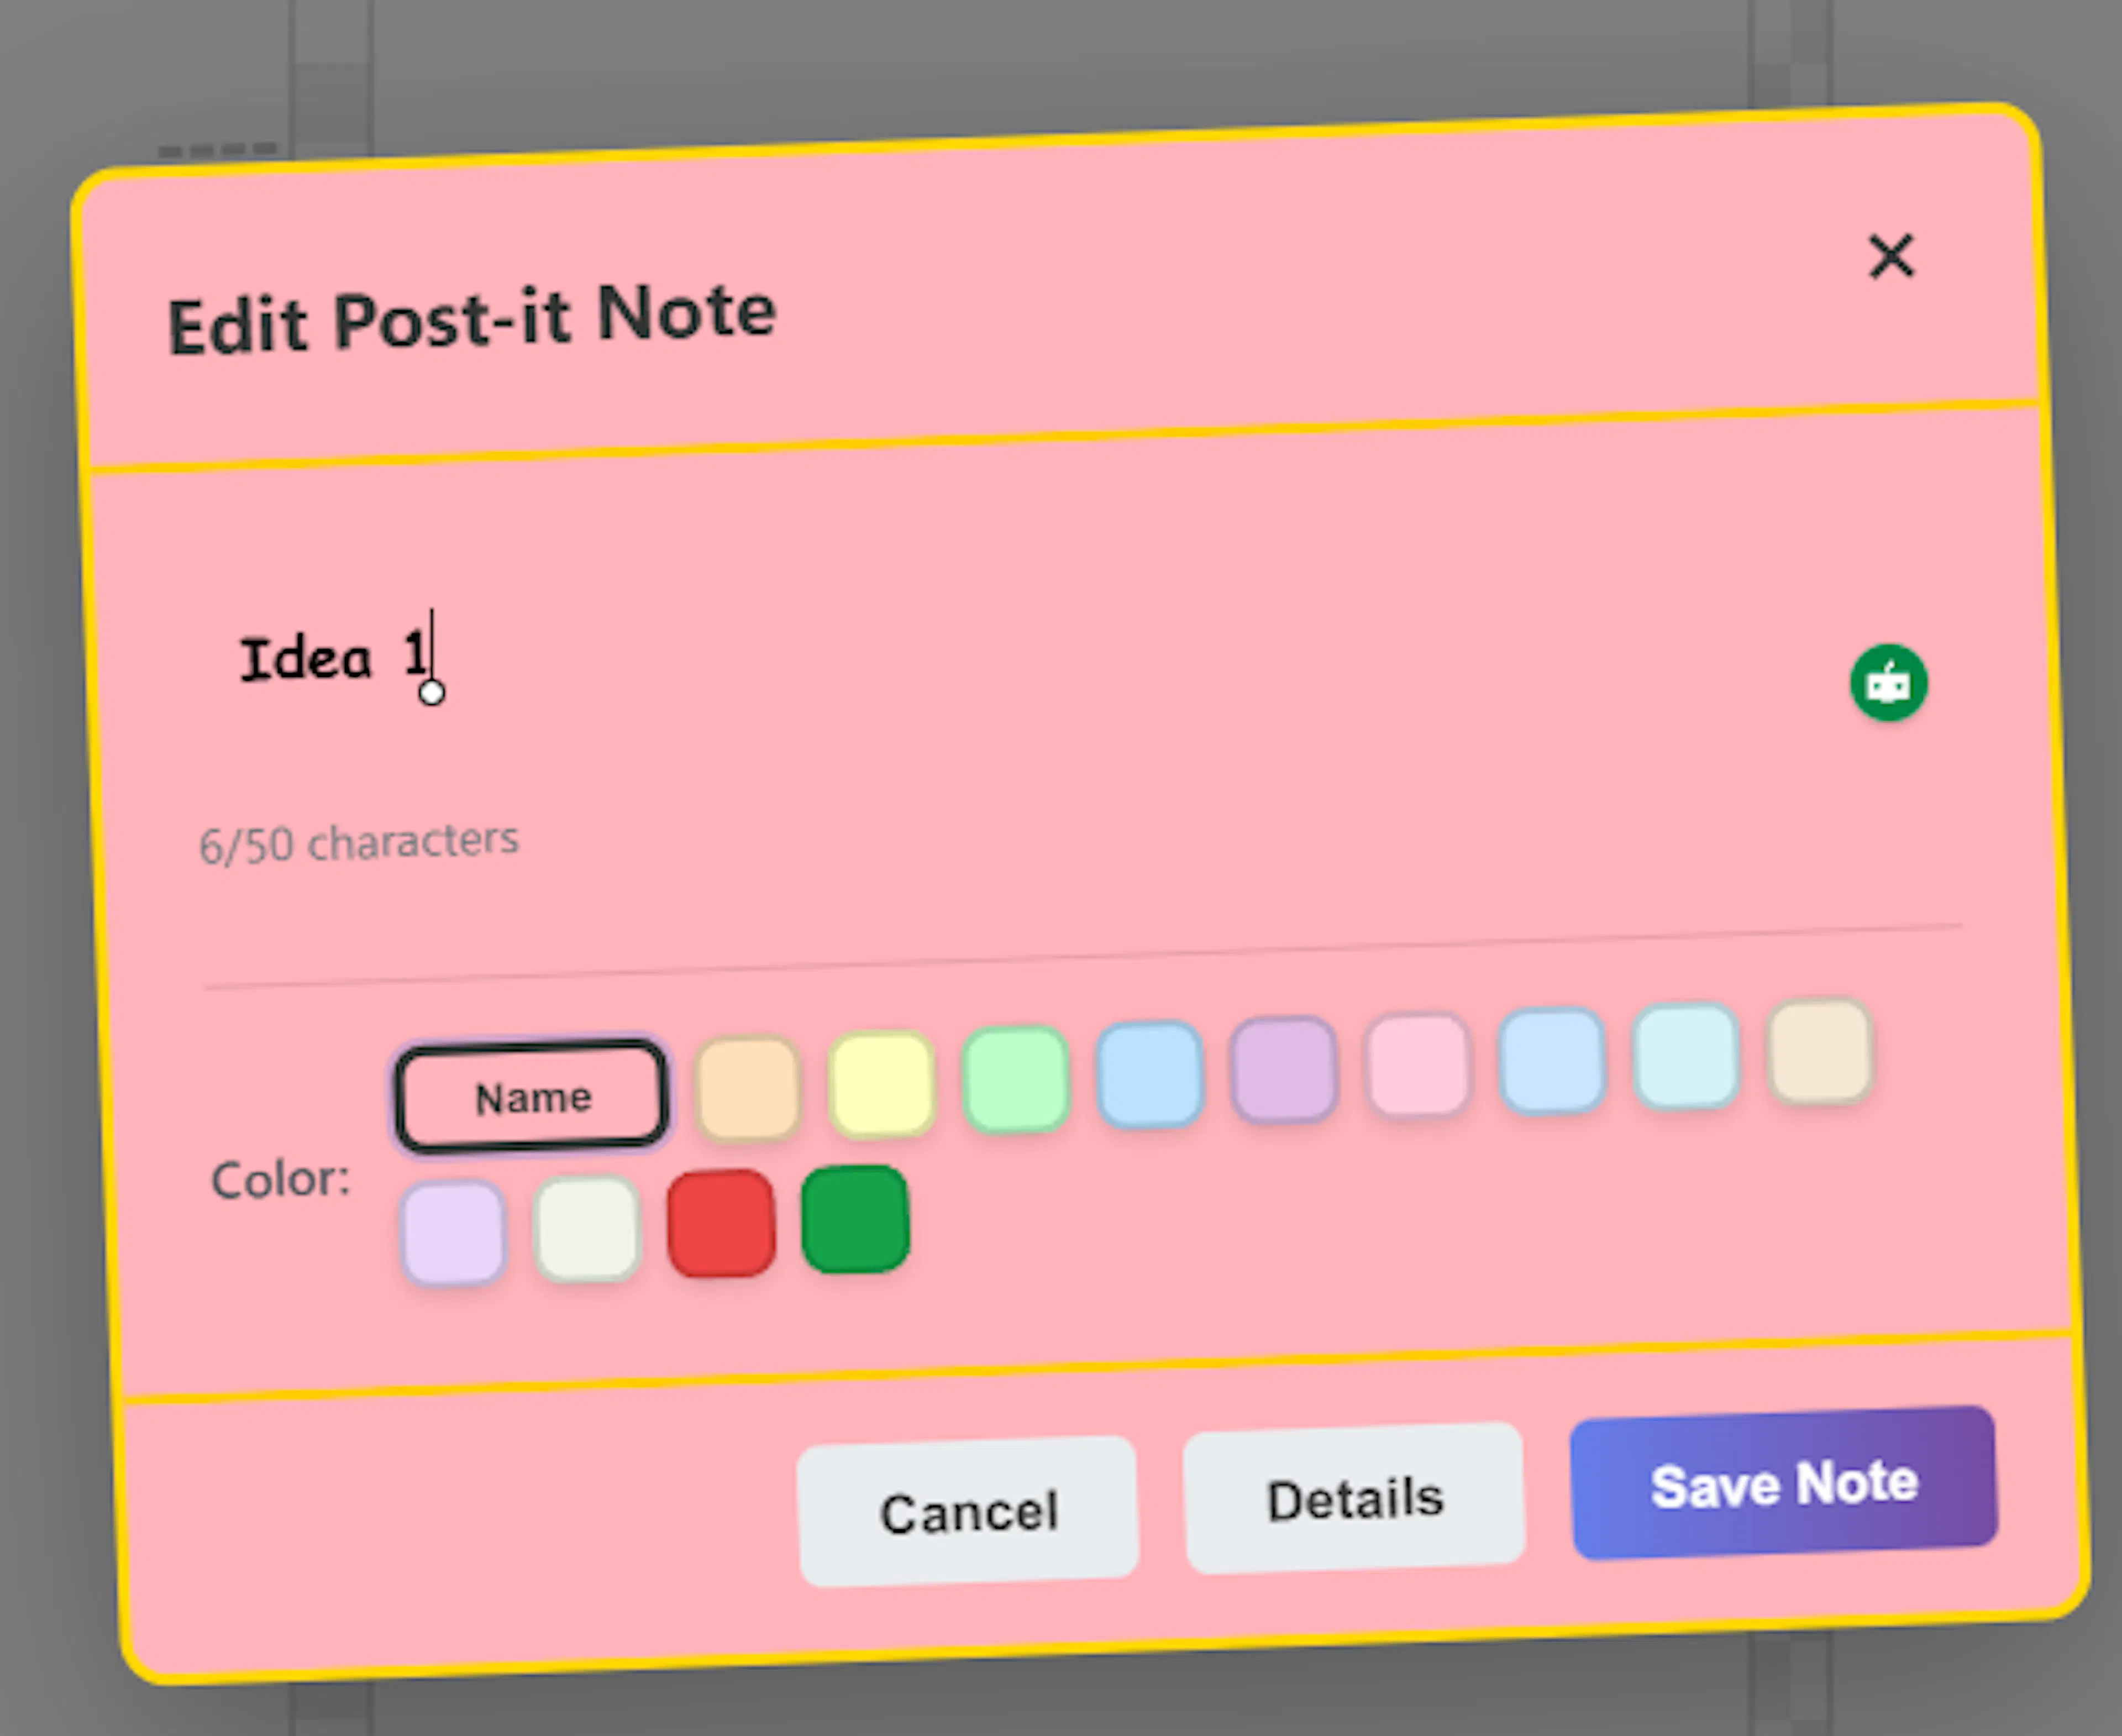
Editing an Existing Note To change the text of a note you have already created, simply right-click on the note itself. The edit box will immediately appear in the centre of your screen, displaying the current text that's ready for updates.
- Changing the Color While the edit box is open, you can also change the note's colour. This is particularly useful when colour coding is an essential part of your brainstorming process. At the bottom of the edit box, you will see a palette displaying the available colours and their text labels (if you have applied any). Simply click the correct colour square to change the note's colour.
Once you change your text or colour, you have two options:
-
Saving the Change: Click the Save Note button (or press
Ctrl+Enter) to save your new text and confirm your colour change, applying them to the note on the board. -
Cancelling the Edit: If you change your mind and want to keep the original text and colour, you can close the edit box without saving by clicking the Cancel button or simply by pressing the Esc key on your keyboard.
Positioning and Organising Your Notes
1. The Inbox and the Infinite Canvas As you create new notes, they will automatically collect in your Inbox column, stacking up to four columns deep, neatly as you go. They will continue to accumulate here until you stop adding new ideas and are ready to organise them. Remember that the pan and zoom features give you an infinite canvas to collect and view an endless number of notes.
2. Grouping by Commonality The first step in organising your thoughts is to drag your notes out of your inbox and into the blank columns, looking for commonalities between them. How you define this commonality is entirely up to you. Placing a note into a column is not a permanent grouping; you can continue to drag your notes freely around across the board until you are happy with their locations. Note: as you remove notes from the inbox, gaps appear in the inbox; this prevents the inbox notes from annoyingly leaping around, which could hinder your organisation process. However, adding a new note will reorder the structure into neat columns. This is to use the available space for new notes.
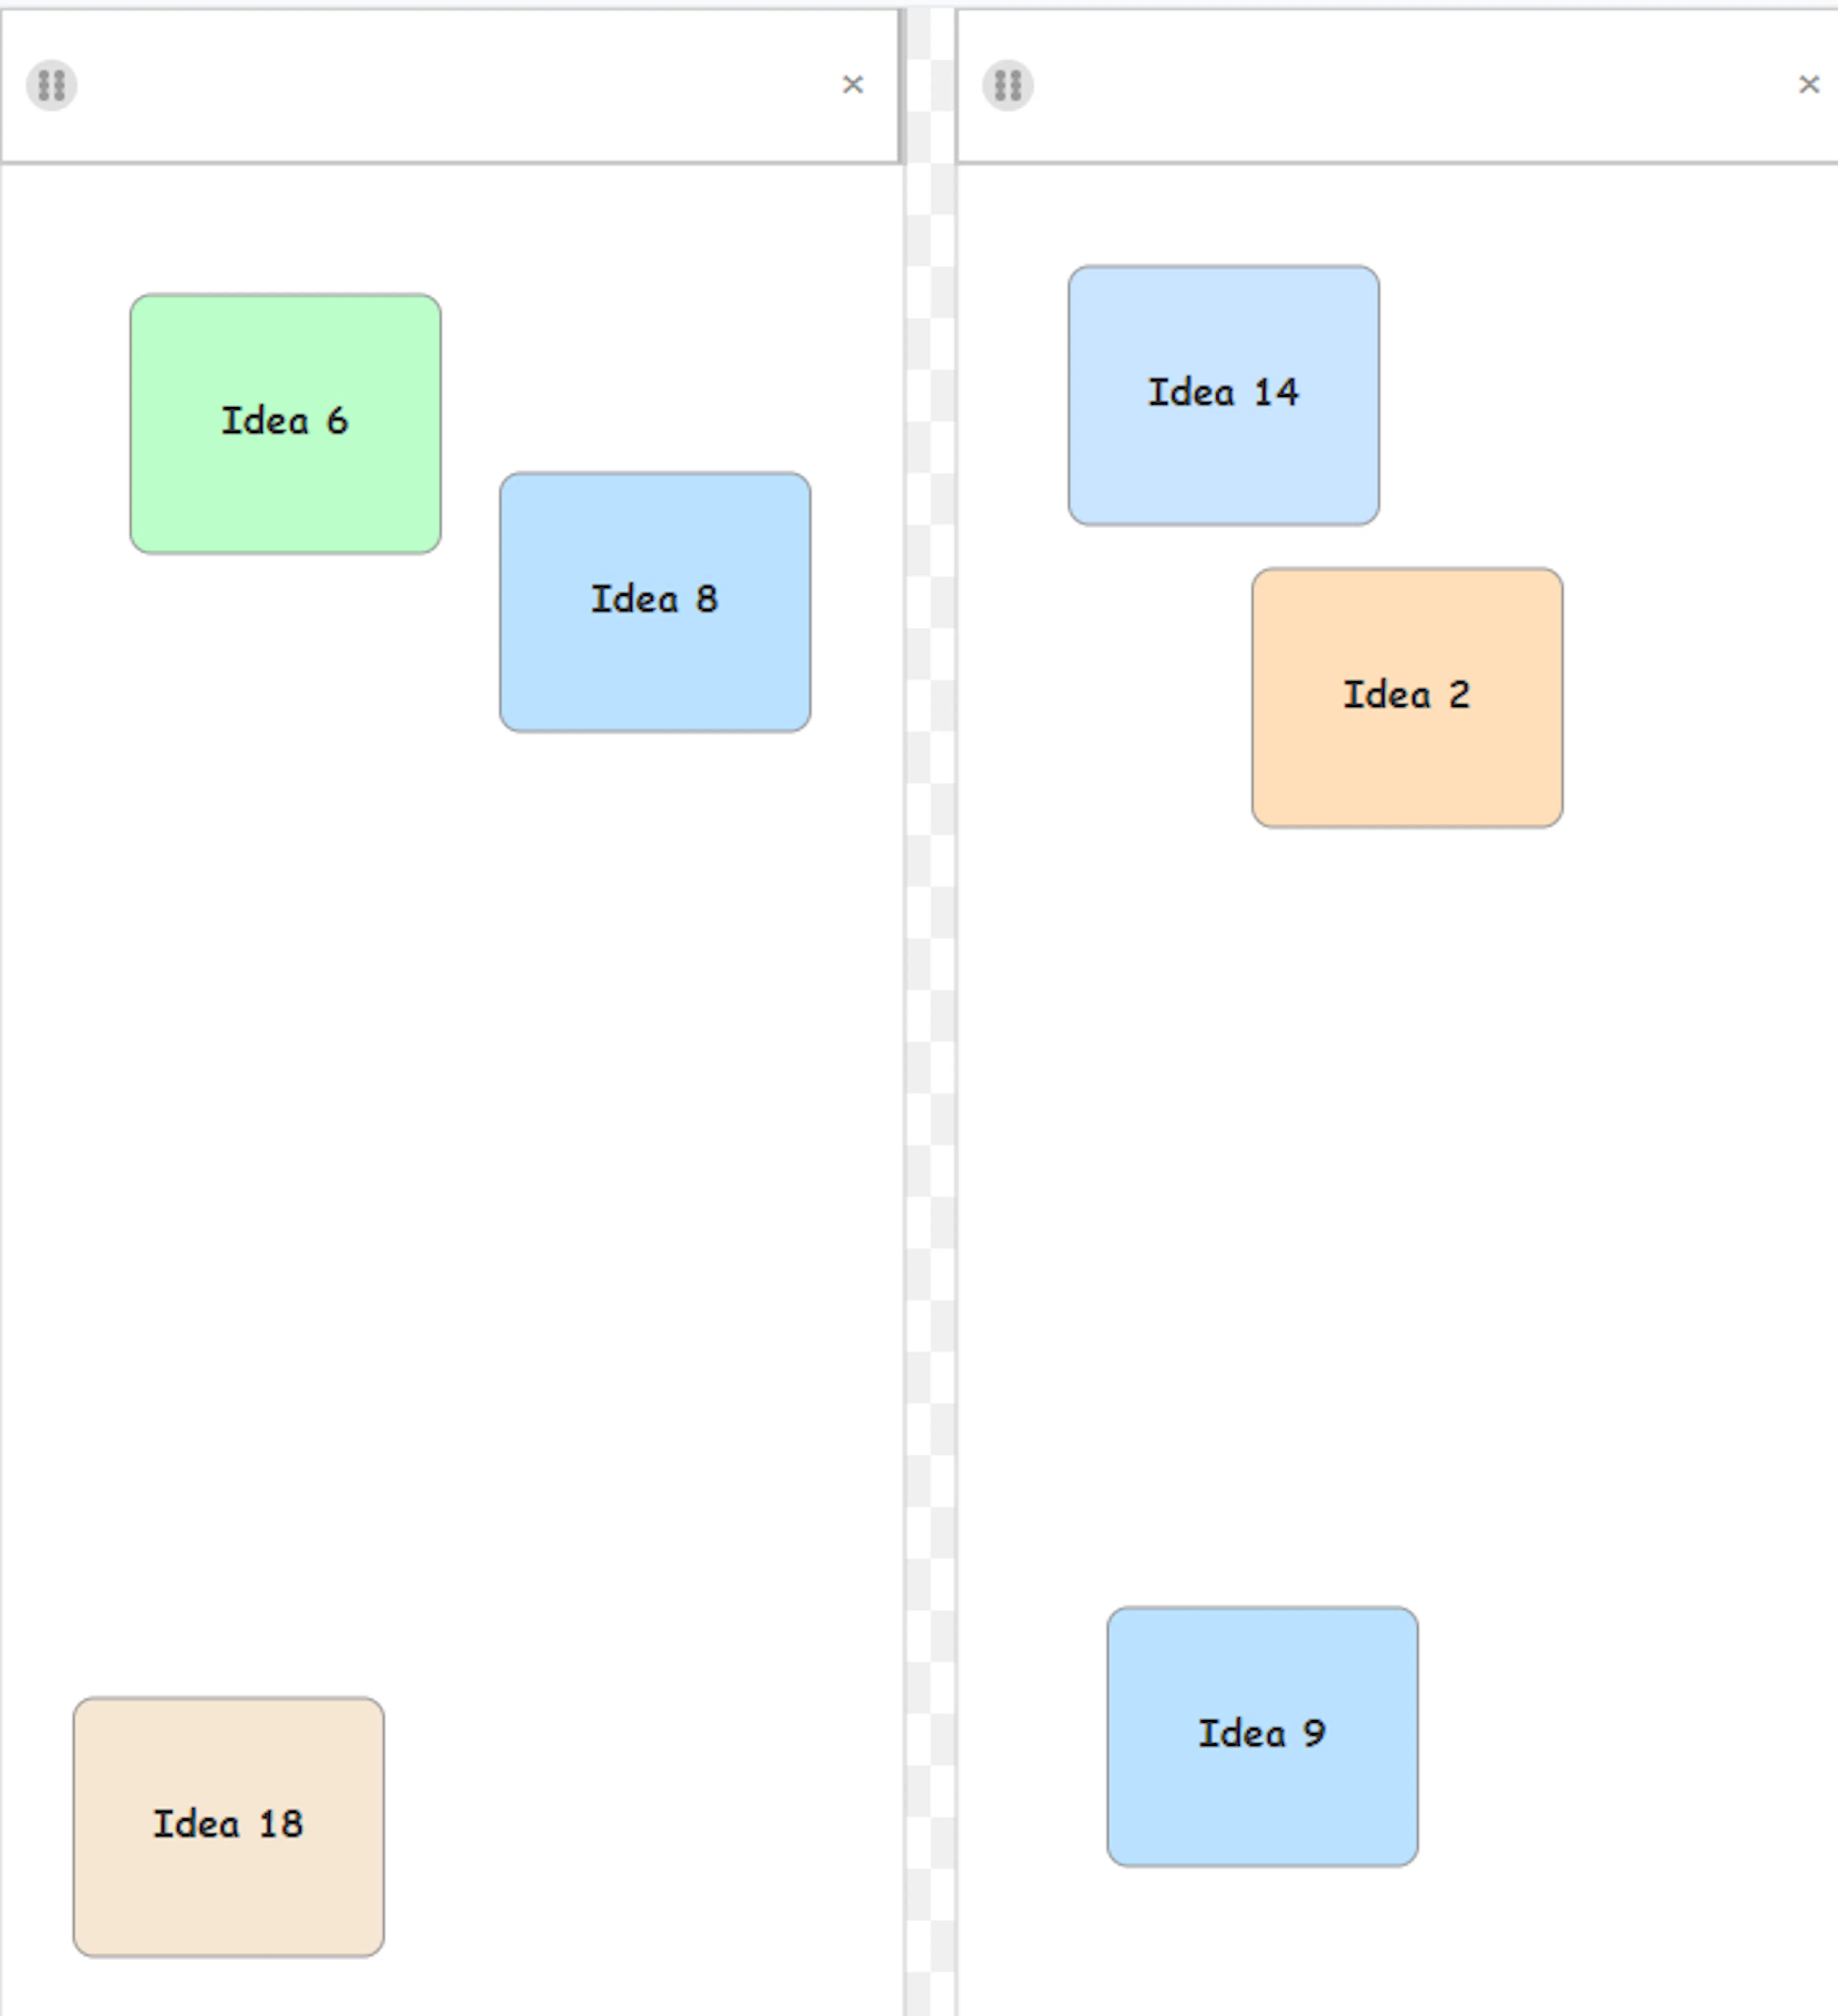
3. Free Placement (No Snapping) While the inbox stacks your notes automatically, the organising columns deliberately do not employ a "snap-to-grid" feature. Snapping notes rigidly into place can inhibit your natural thought process. Instead, each column allows for completely free, unstructured placement.
For example, if three notes share a theme, but two are very closely related and the third is more of an outlier, you can physically position the two closer together and place the third further away. By utilising a free-placement system, you can visually reflect the exact distances of these relationships without the system imposing a rigid structure. You can then step back, see these distant relationships, and make informed choices about the final position of the note.
4. Creating New Columns If you fill up your default columns and need a new category, simply drag a note over to the open space on the right-hand side of your very last column and drop it. A new column will immediately appear, ready to accept more notes. You can create as many columns as you want, but don't make your structure too complex.
5. Deleting Notes If you decide an idea is a dead end, just click and drag the note directly into the dustbin icon located in the bottom right corner of your screen to delete it.
Magnet Mode (Preventing Misplaced Notes)
To ensure your ideas are neatly organised, the brainstorming board requires that each note fit entirely within the bounds of a single column. It actively prevents you from accidentally dropping a note in the empty "gutter" between two columns.
If you try to drop a note so that it spans across a column divider, the system will reject the placement and trigger a safety feature called Magnet Mode. When this scenario happens:
-
The Note Stick: The note becomes "magnetised" and stays attached to your cursor, continuously following your mouse movements.
-
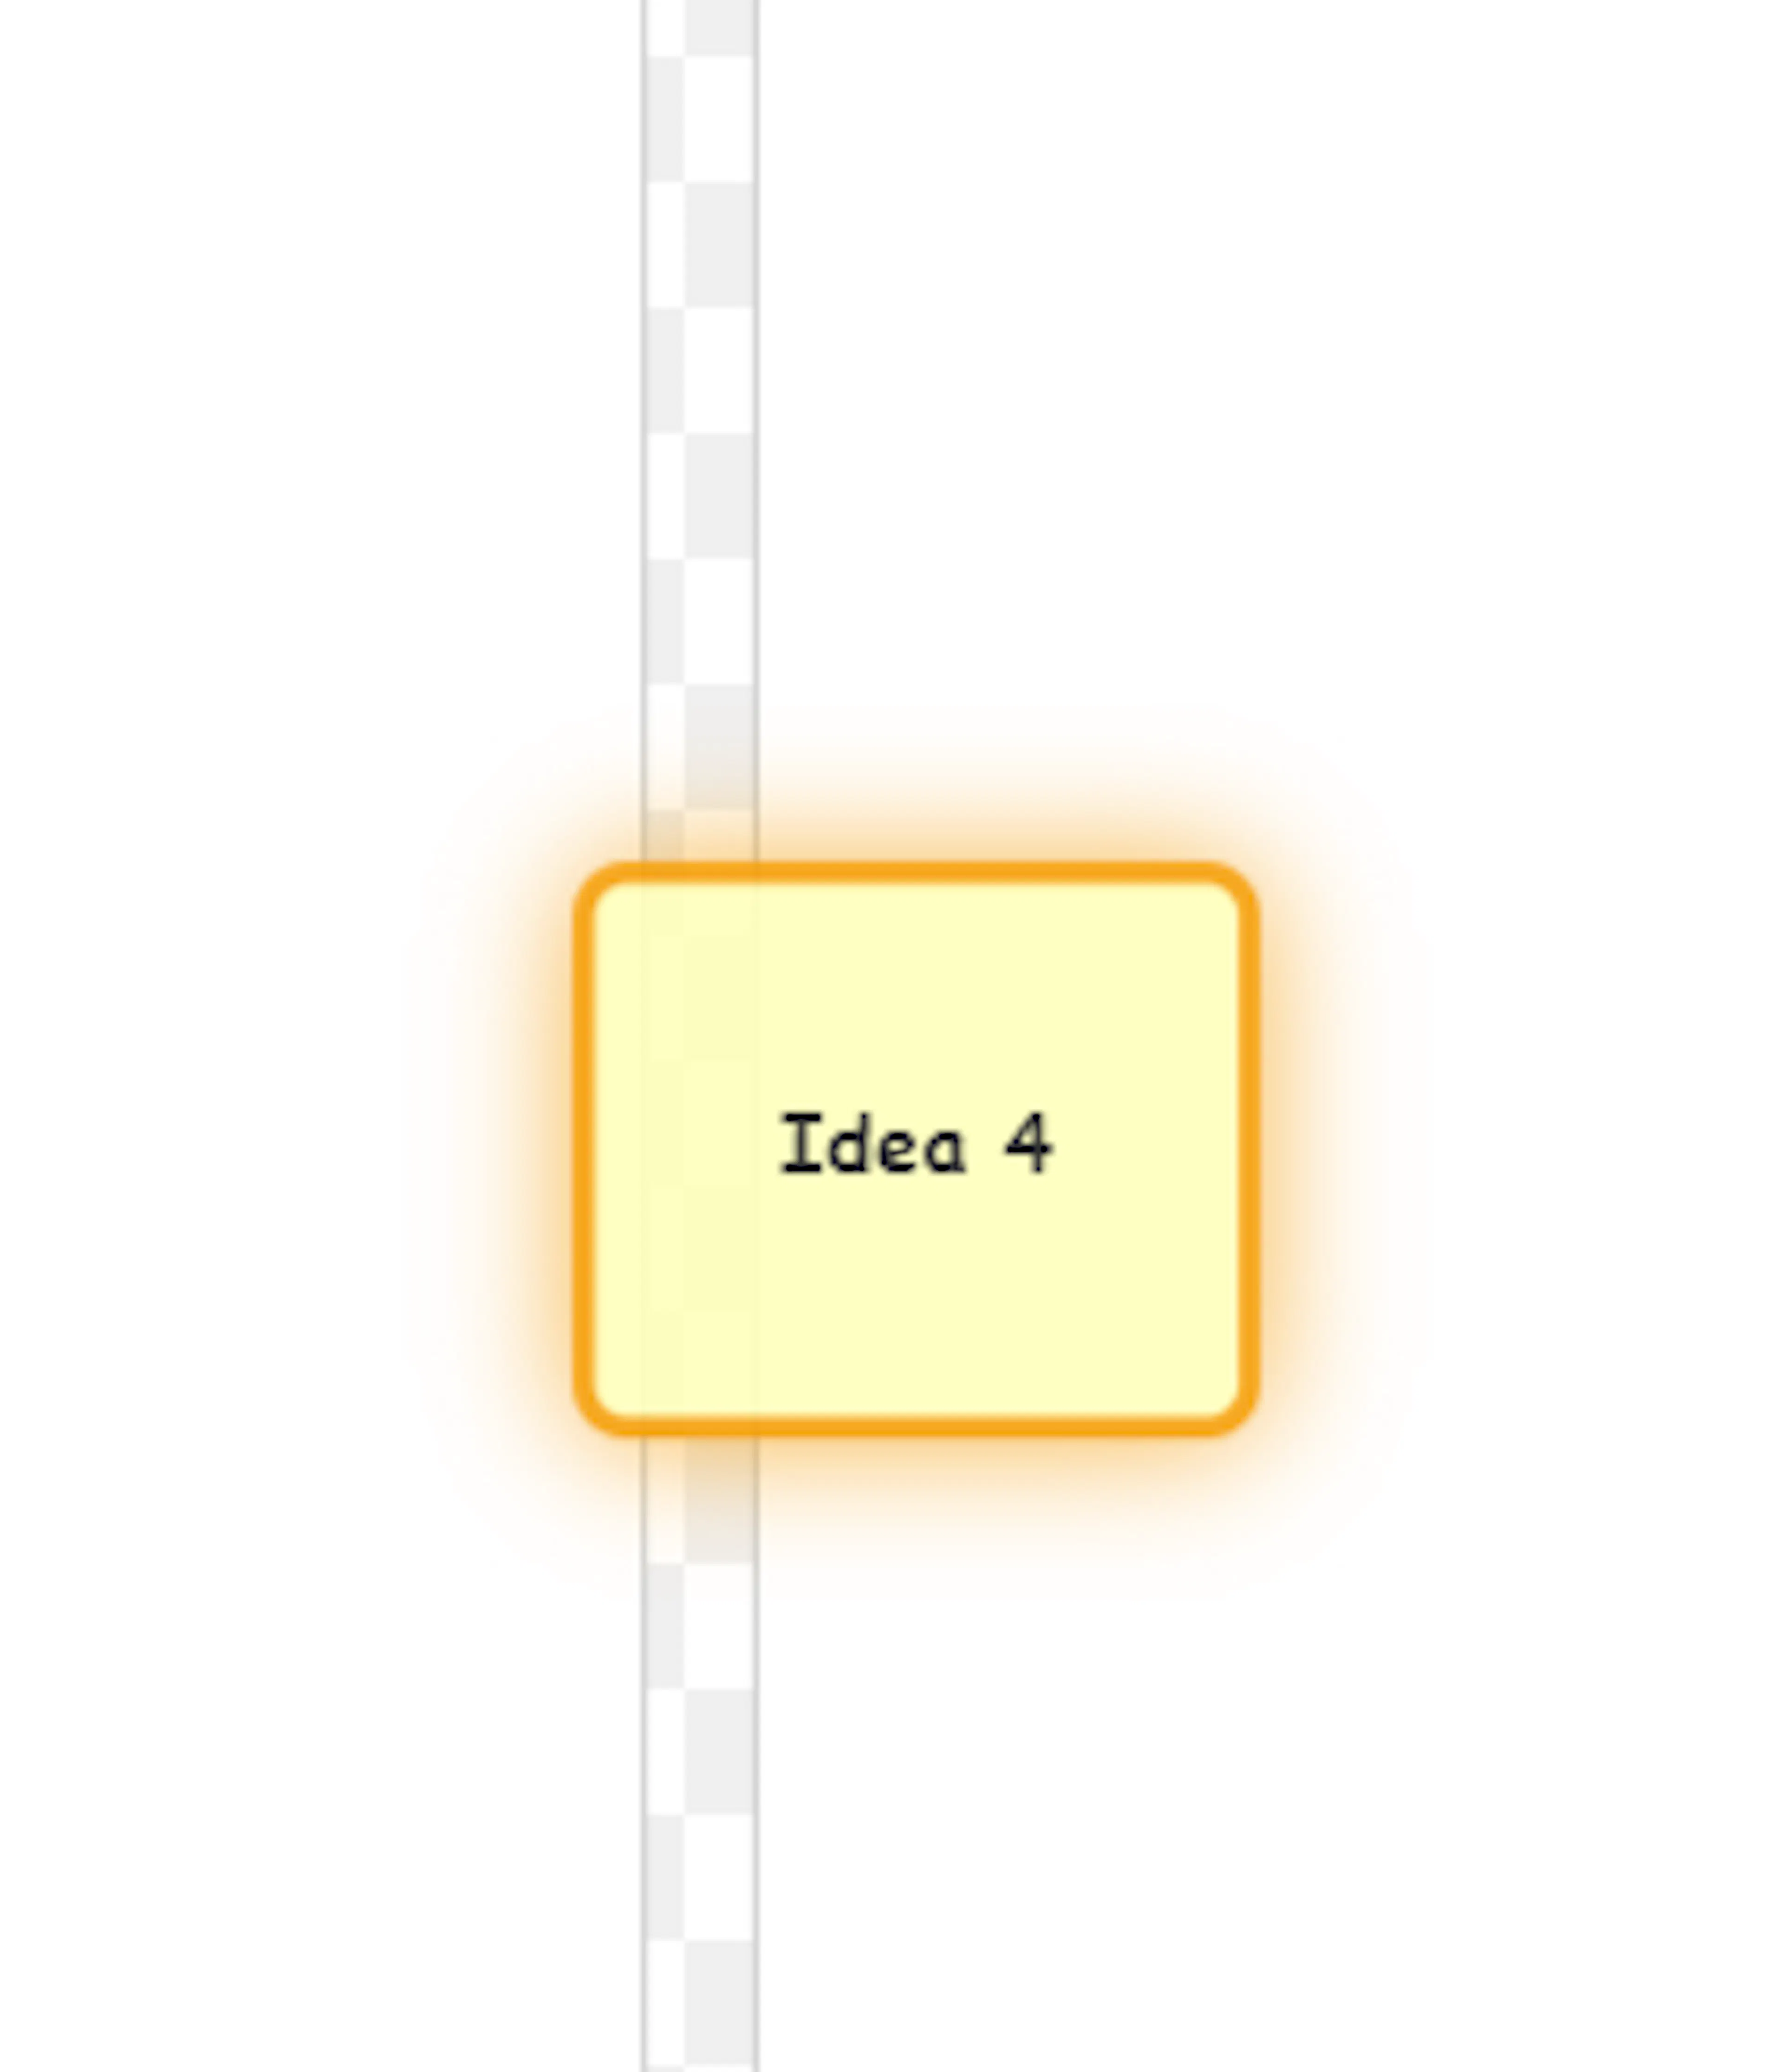
Visual Warning: The note will pulse with an amber border to let you know it is stuck and needs a valid home.
-
The Fix: To release the note, simply move your cursor until the note is positioned completely inside a valid column, and click your left mouse button to finalise the drop.
(Note: As we covered earlier, the only exception to this strict placement rule is if you drop a note into the blank space to the far right of your final column—instead of bouncing back, this action will automatically generate a brand new column to hold the note).
Structural Refinement: Managing Your Columns
As previously explained, your column headers start off completely unnamed. This is intentional, as forcing yourself to make definitive decisions about a group's name or purpose too early can stifle creativity and create structural barriers. Once your grouping process is complete and your notes are in place, the natural categories will likely become obvious, and you can begin naming your groups.
Here is how you control and manage your columns:
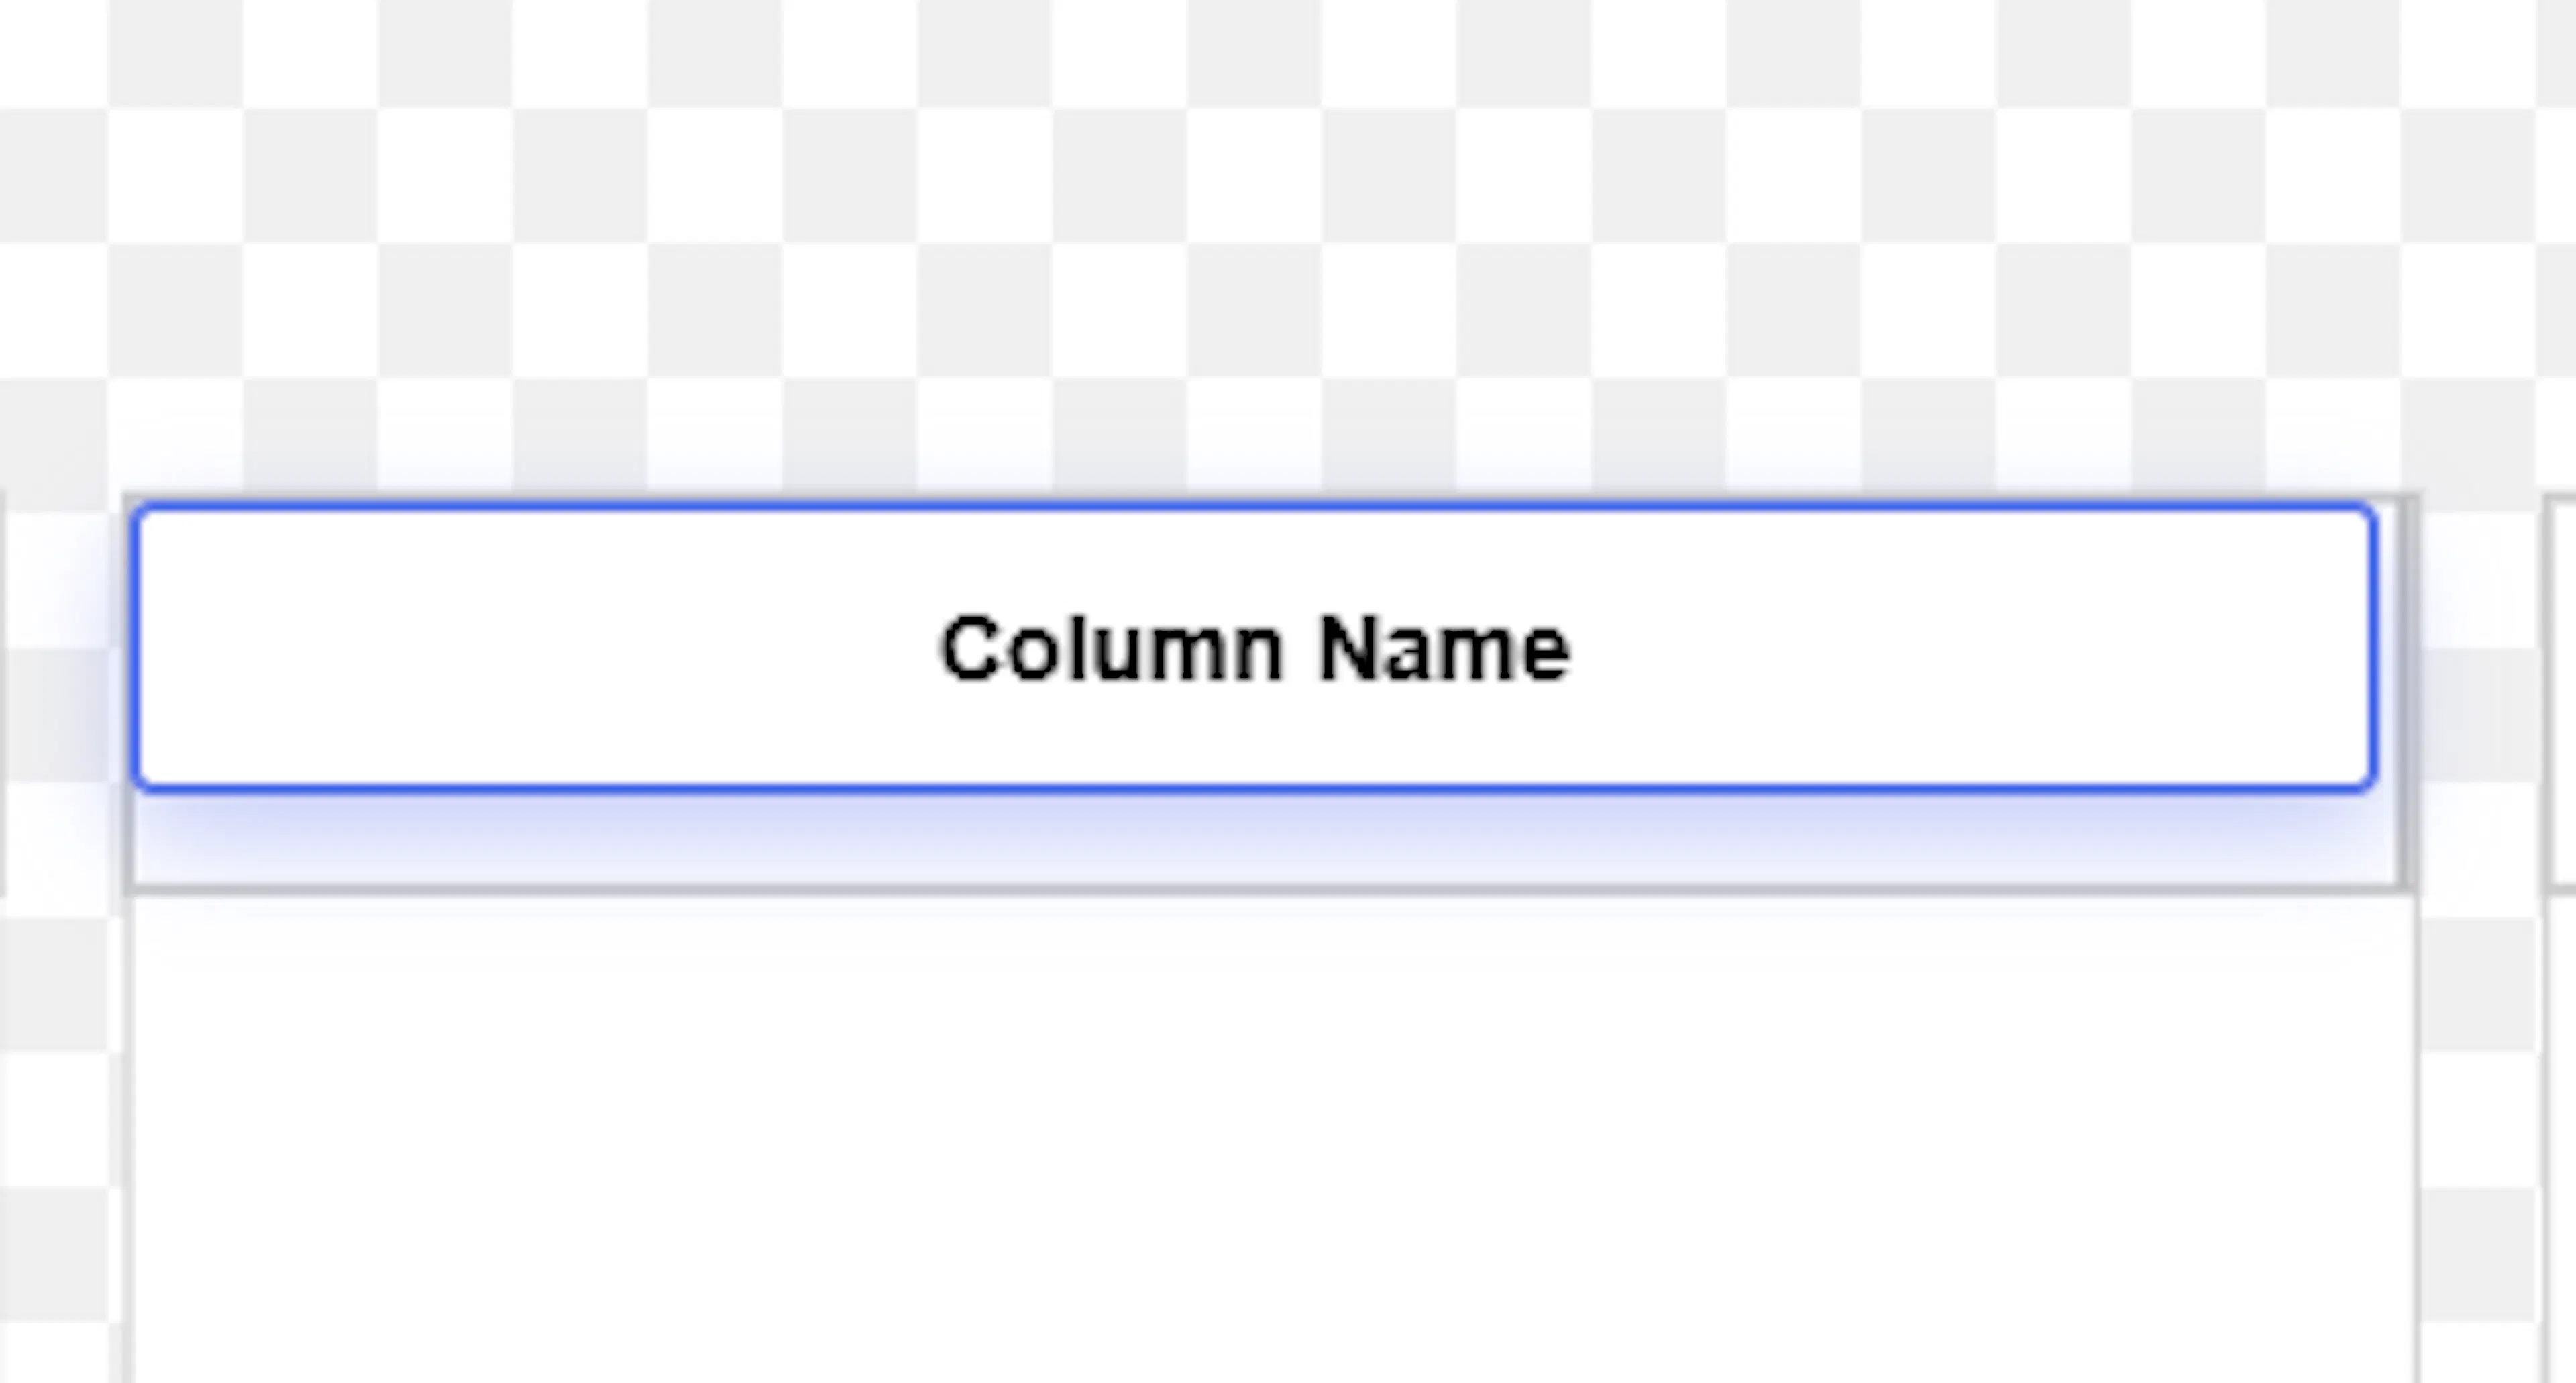
- Naming and Editing Columns: To add or edit a column's name, simply right-click on the column header. The header name field will become editable; just enter your desired name and press the Enter key.
- Resizing Columns:You can resize the columns, with the exception of the inbox column, which grows automatically as you add notes. To resize the other columns, hover the mouse pointer over the right-hand side of the column headers. You can only expand the width to twice its starting width; this restriction is to stop a single column dominating the board.
- Reordering Columns: You can shift your categories around the board to better organise your workflow. To do so, simply click and drag the drag handle located in the top left of the column headers.
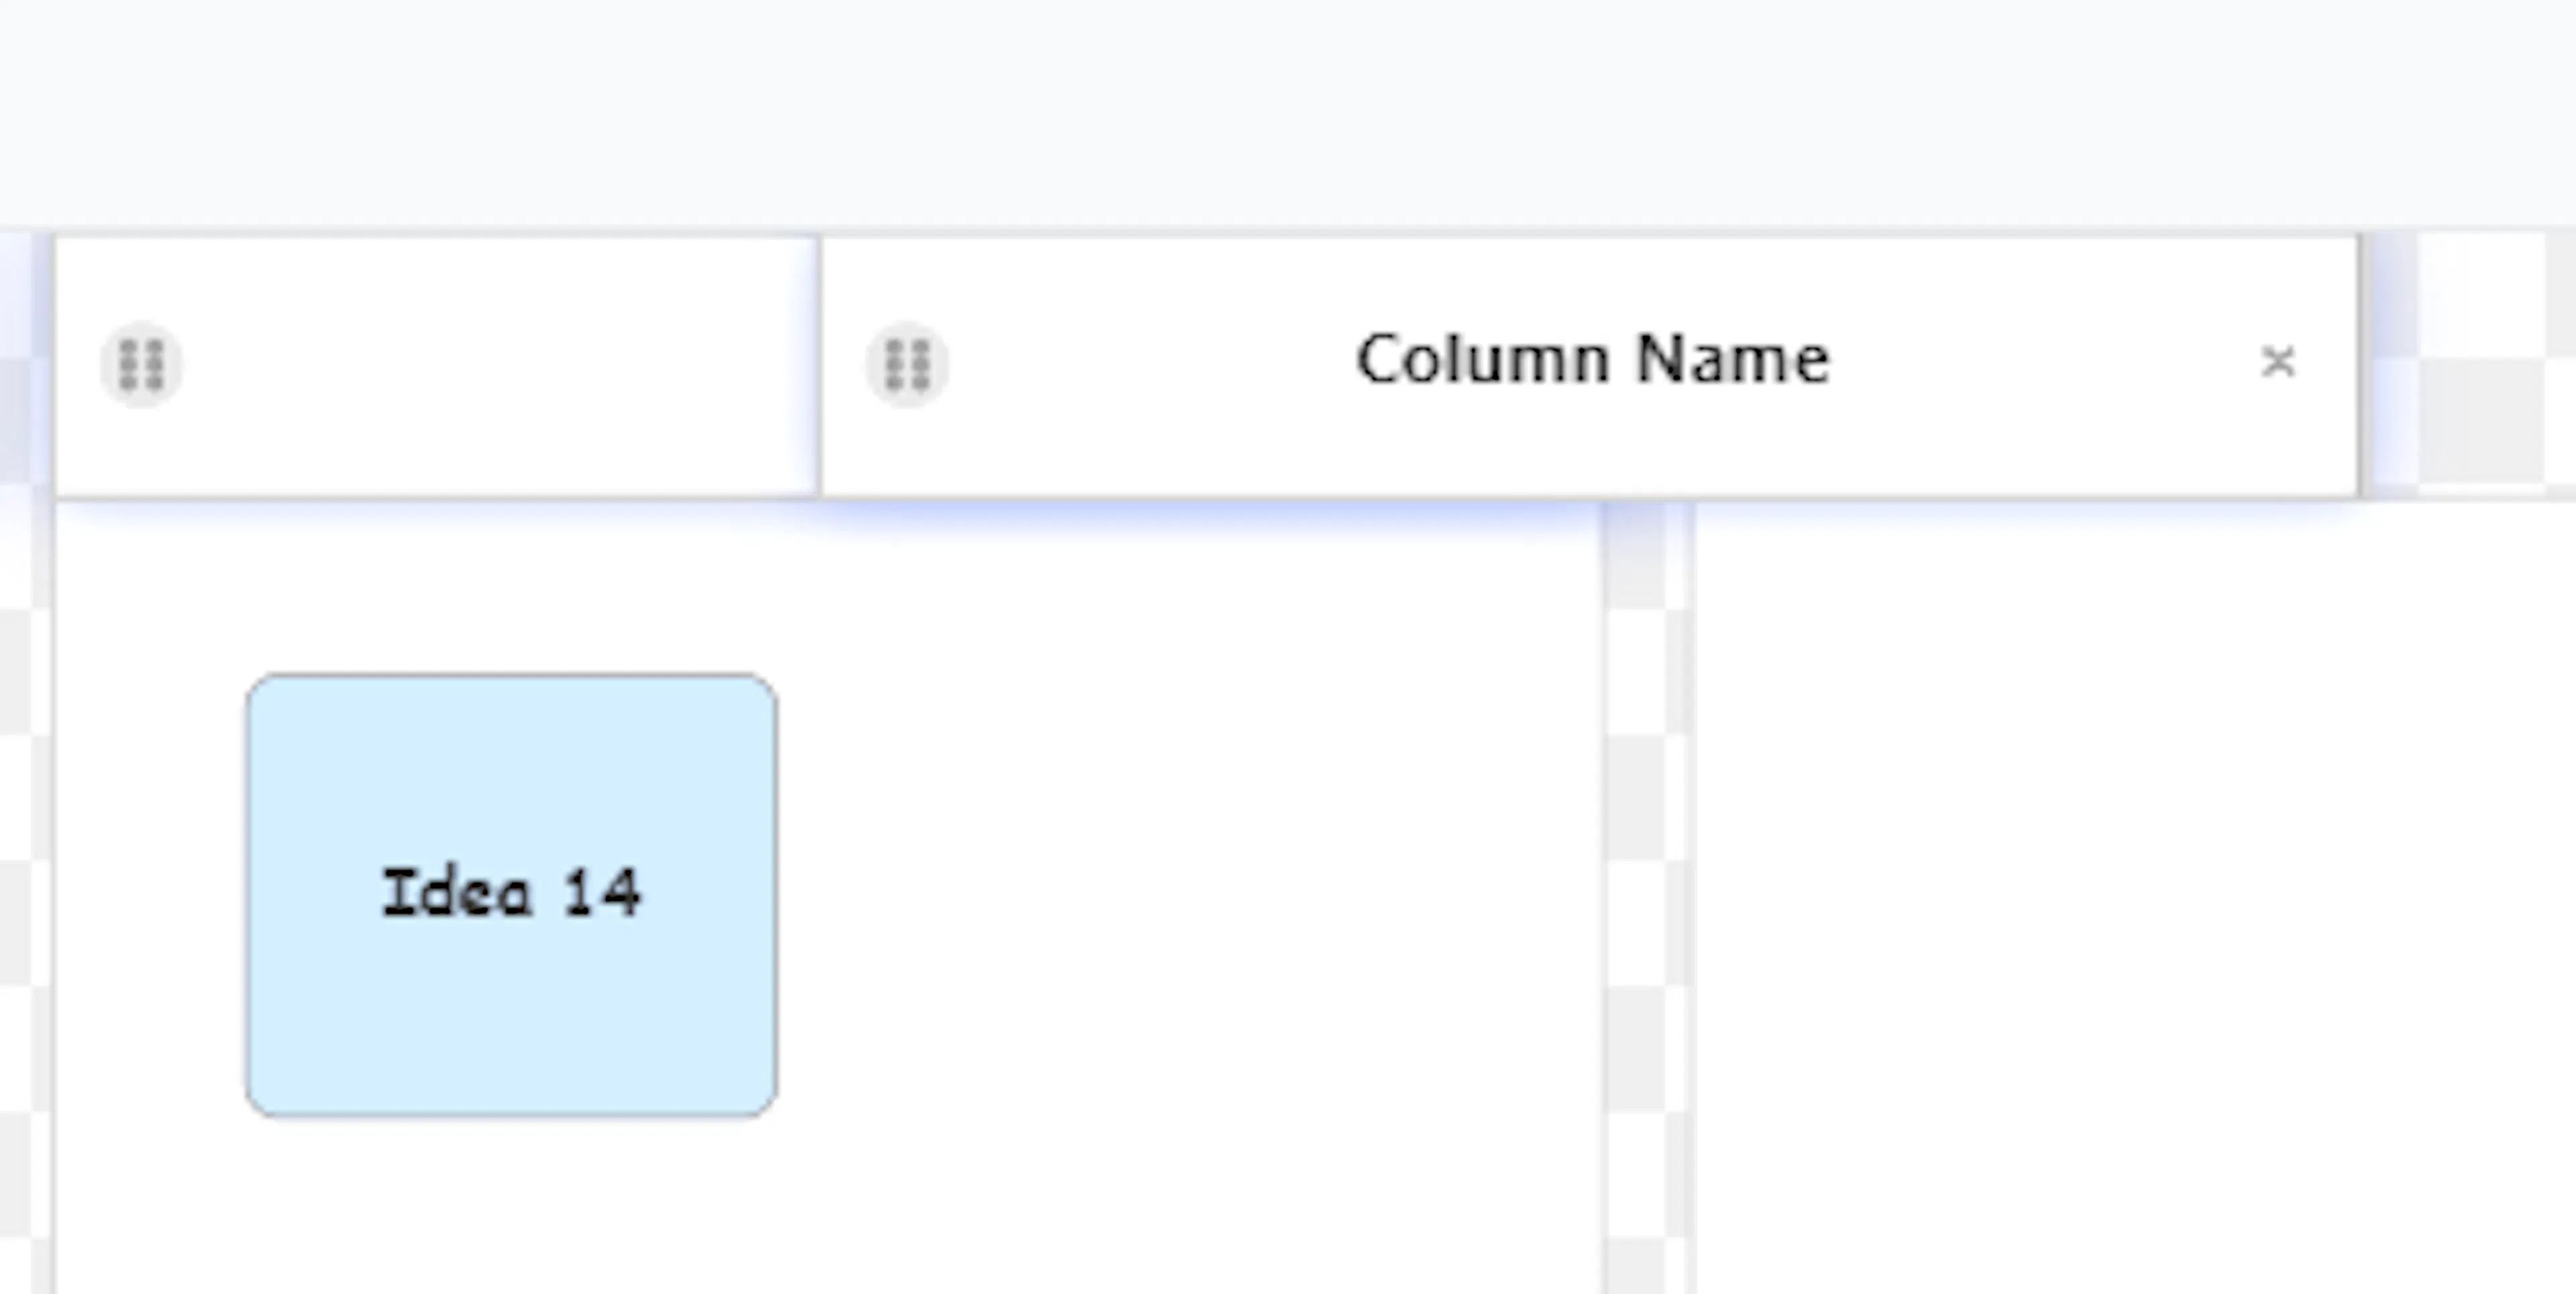
- Deleting Columns: If a category is no longer useful, you can delete the entire column by clicking the 'X' located at the top right-hand side of the header. This action immediately deletes the column, but your data is safe—any notes that were inside that column will automatically drop back into your inbox, ready for you to redeploy them elsewhere.
This level of structural organisation provides you with the exact tools you need to smooth the transition from raw brainstorming to refinement.
The Top Menu Bar: Essential Tools
Along the top of the Brainstorm screen, you will find a main menu bar containing several important tools to help you view, export, and manage your board.
-
Reset View: The Brainstorm canvas is an "infinite view". This means you can drag, pan, and zoom the canvas in any direction, and the workspace will simply continue to grow as you add more notes and columns. However, after extensive dragging and zooming, you might find that your canvas position is no longer ideal. To resolve the issue, simply click the Reset View button. The canvas will automatically realign to the top of the screen and adjust the zoom to neatly accommodate all of your columns.
-
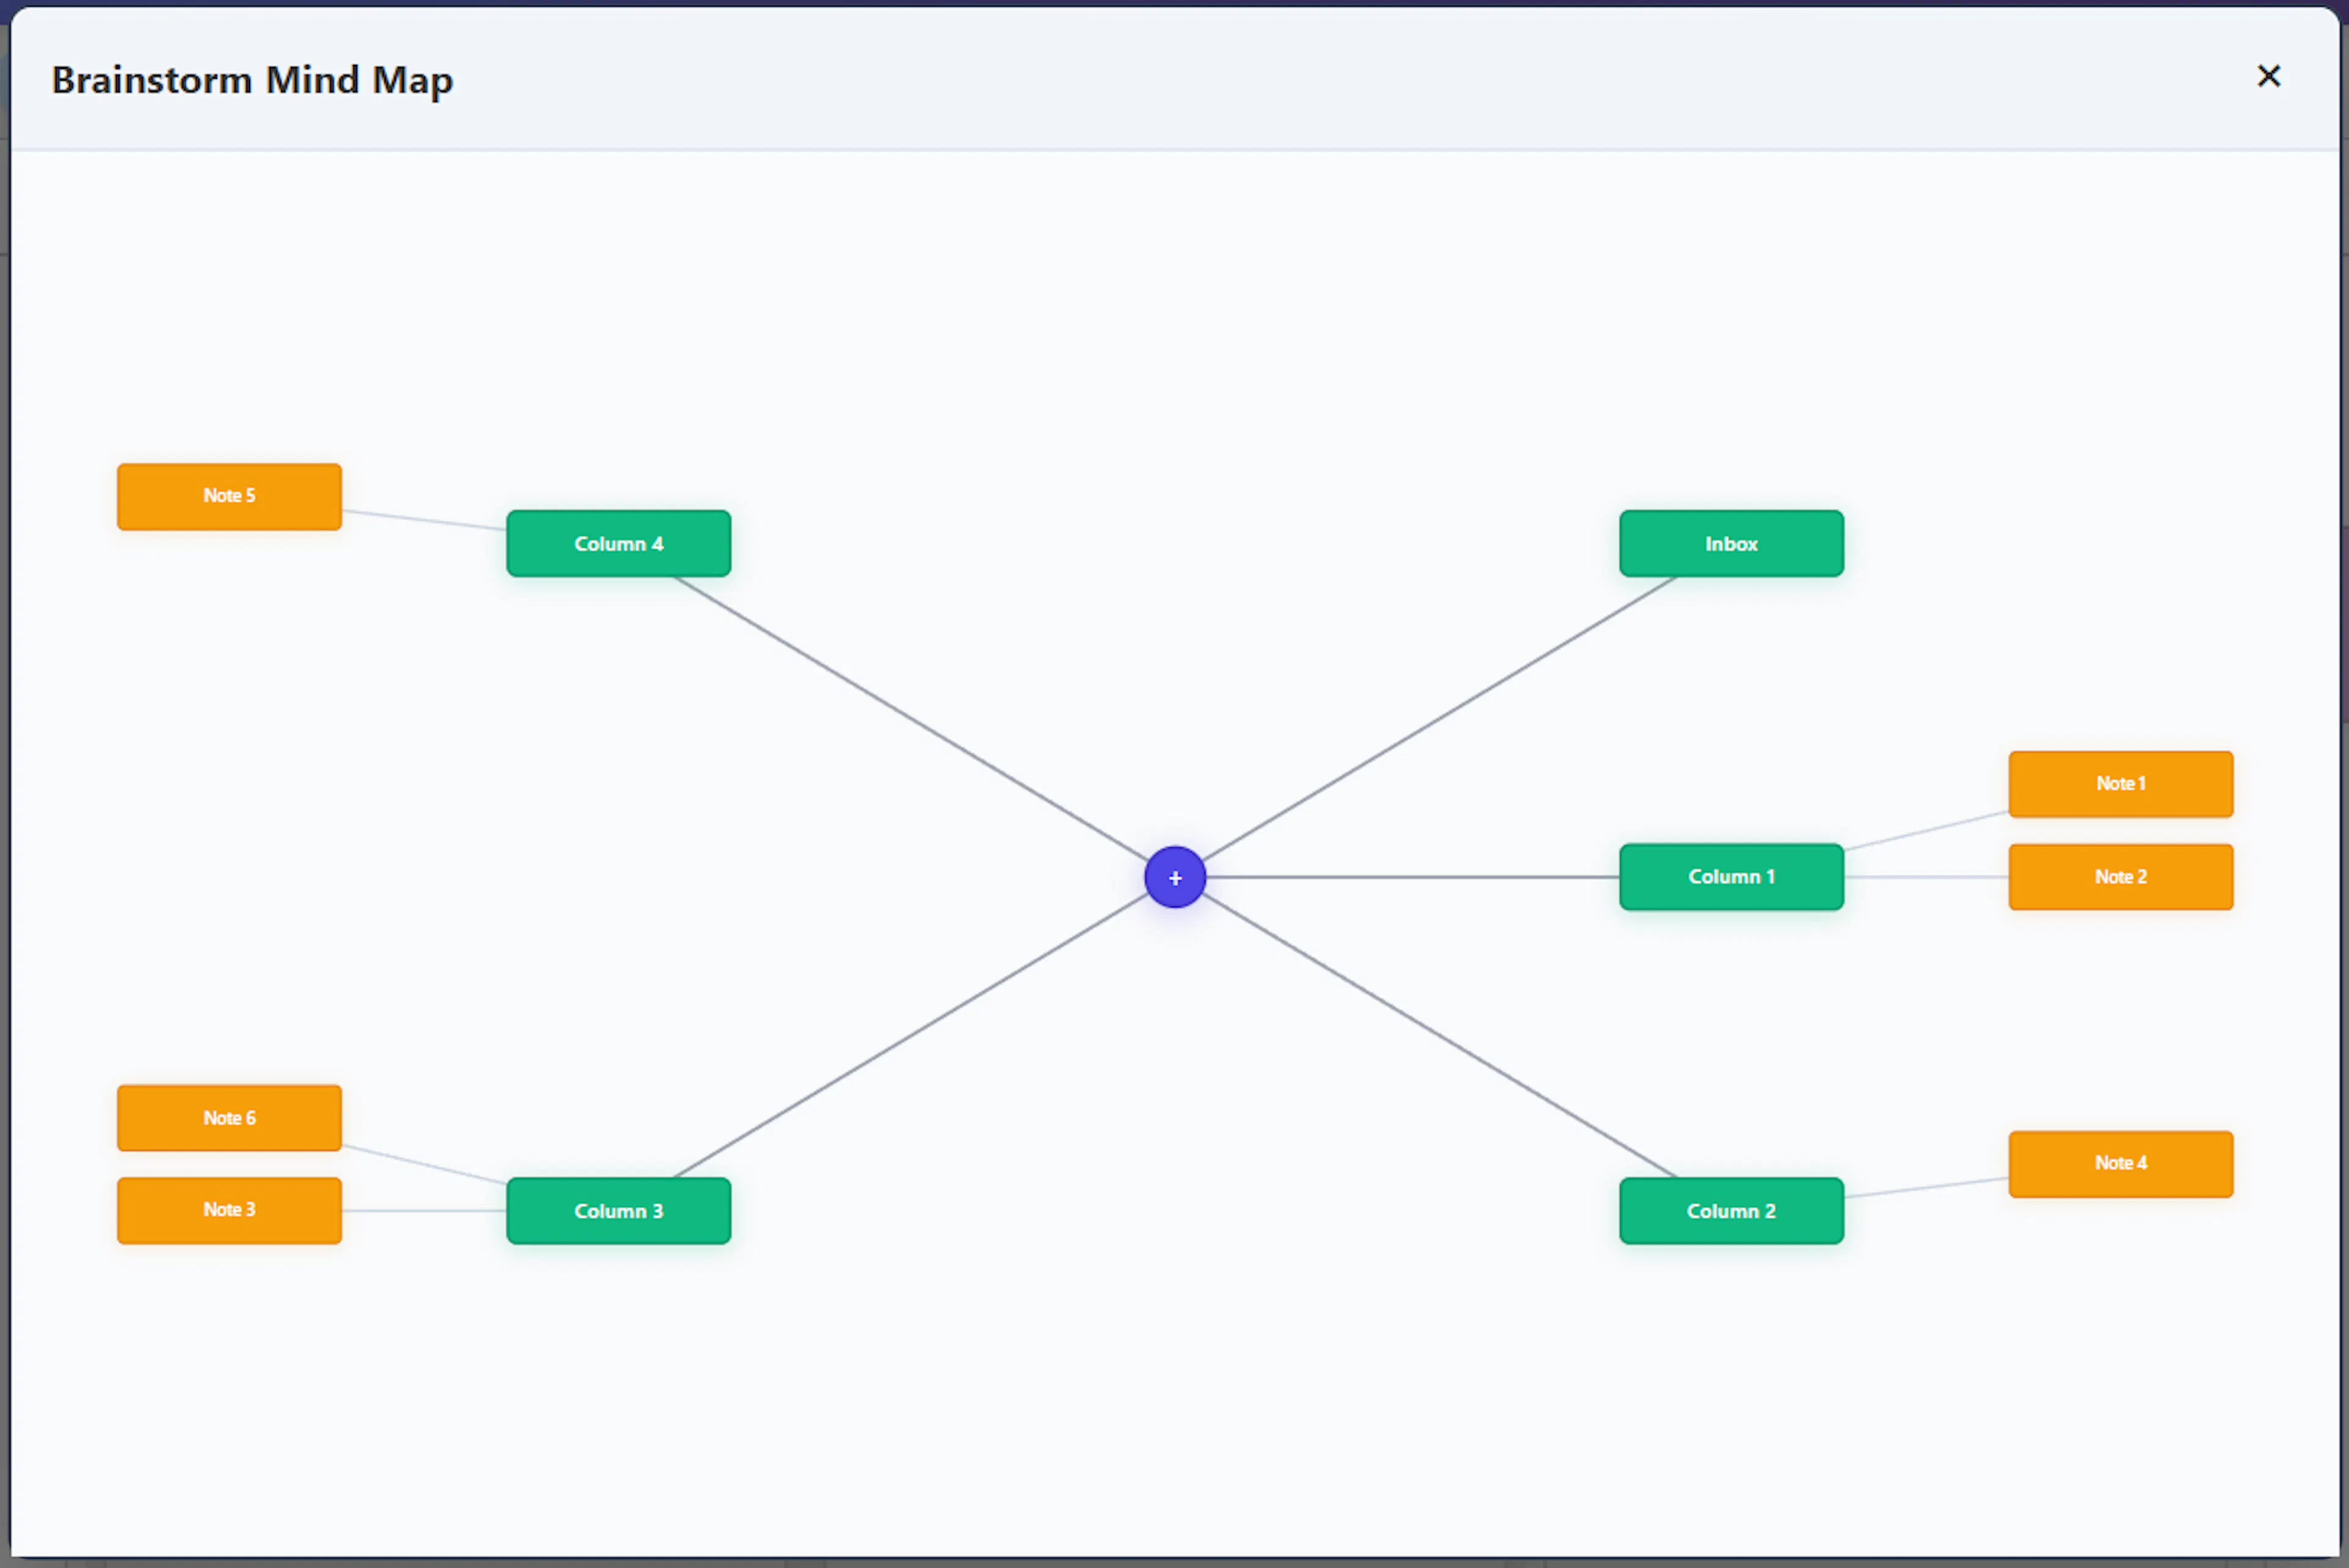
Mind Map: Clicking this button activates a special view that takes all your columns and notes and formats them into a simple, visual mind map. This is a basic overview designed to give you a quick idea of the layout of your data. In this view, your inbox acts as the starting point at the 1 o'clock position, and your columns are ordered sequentially in a clockwise direction.
- Export OPML: OPML stands for Outline Processor Markup Language. It is a standard, XML-based text format specifically designed to store and exchange structured, hierarchical outlines. Because it is a universal standard, many other mind mapping, outlining, and knowledge management systems can read it. When you click the Export OPML button, the system translates your brainstormed columns and notes into an OPML file. You will then be prompted to navigate to your preferred folder and save this file directly to your computer, making your data completely portable and ready to use in other applications.
The exported OPML will also contain metadata, including the note colour, creation details and, if used, the text label associated with the colour.
-
Clear Board: If you want to start completely fresh, use this button to completely reset your board. It will permanently remove all notes, erase all column names, and delete any extra columns you created, resetting the canvas back to the default inbox and 4 blank columns.
-
Saving Your Brainstorm If you are already familiar with Mind Dump, you know that the majority of your records are strictly organised and saved under specific "sessions." However, because brainstorming acts as the free-flowing precursor to a formal session, it operates slightly outside of this standard structure. To ensure you don't lose any of your valuable ideation work before it becomes a formal session, the Save feature steps in. You can click the Save Brainstorm button at any time while you work. This provides a safe, reliable means of storing your current whiteboard—preserving all of your ideas, columns, and hierarchies so they are ready for later development. Once saved, the brainstorm is continuously saved to the database.

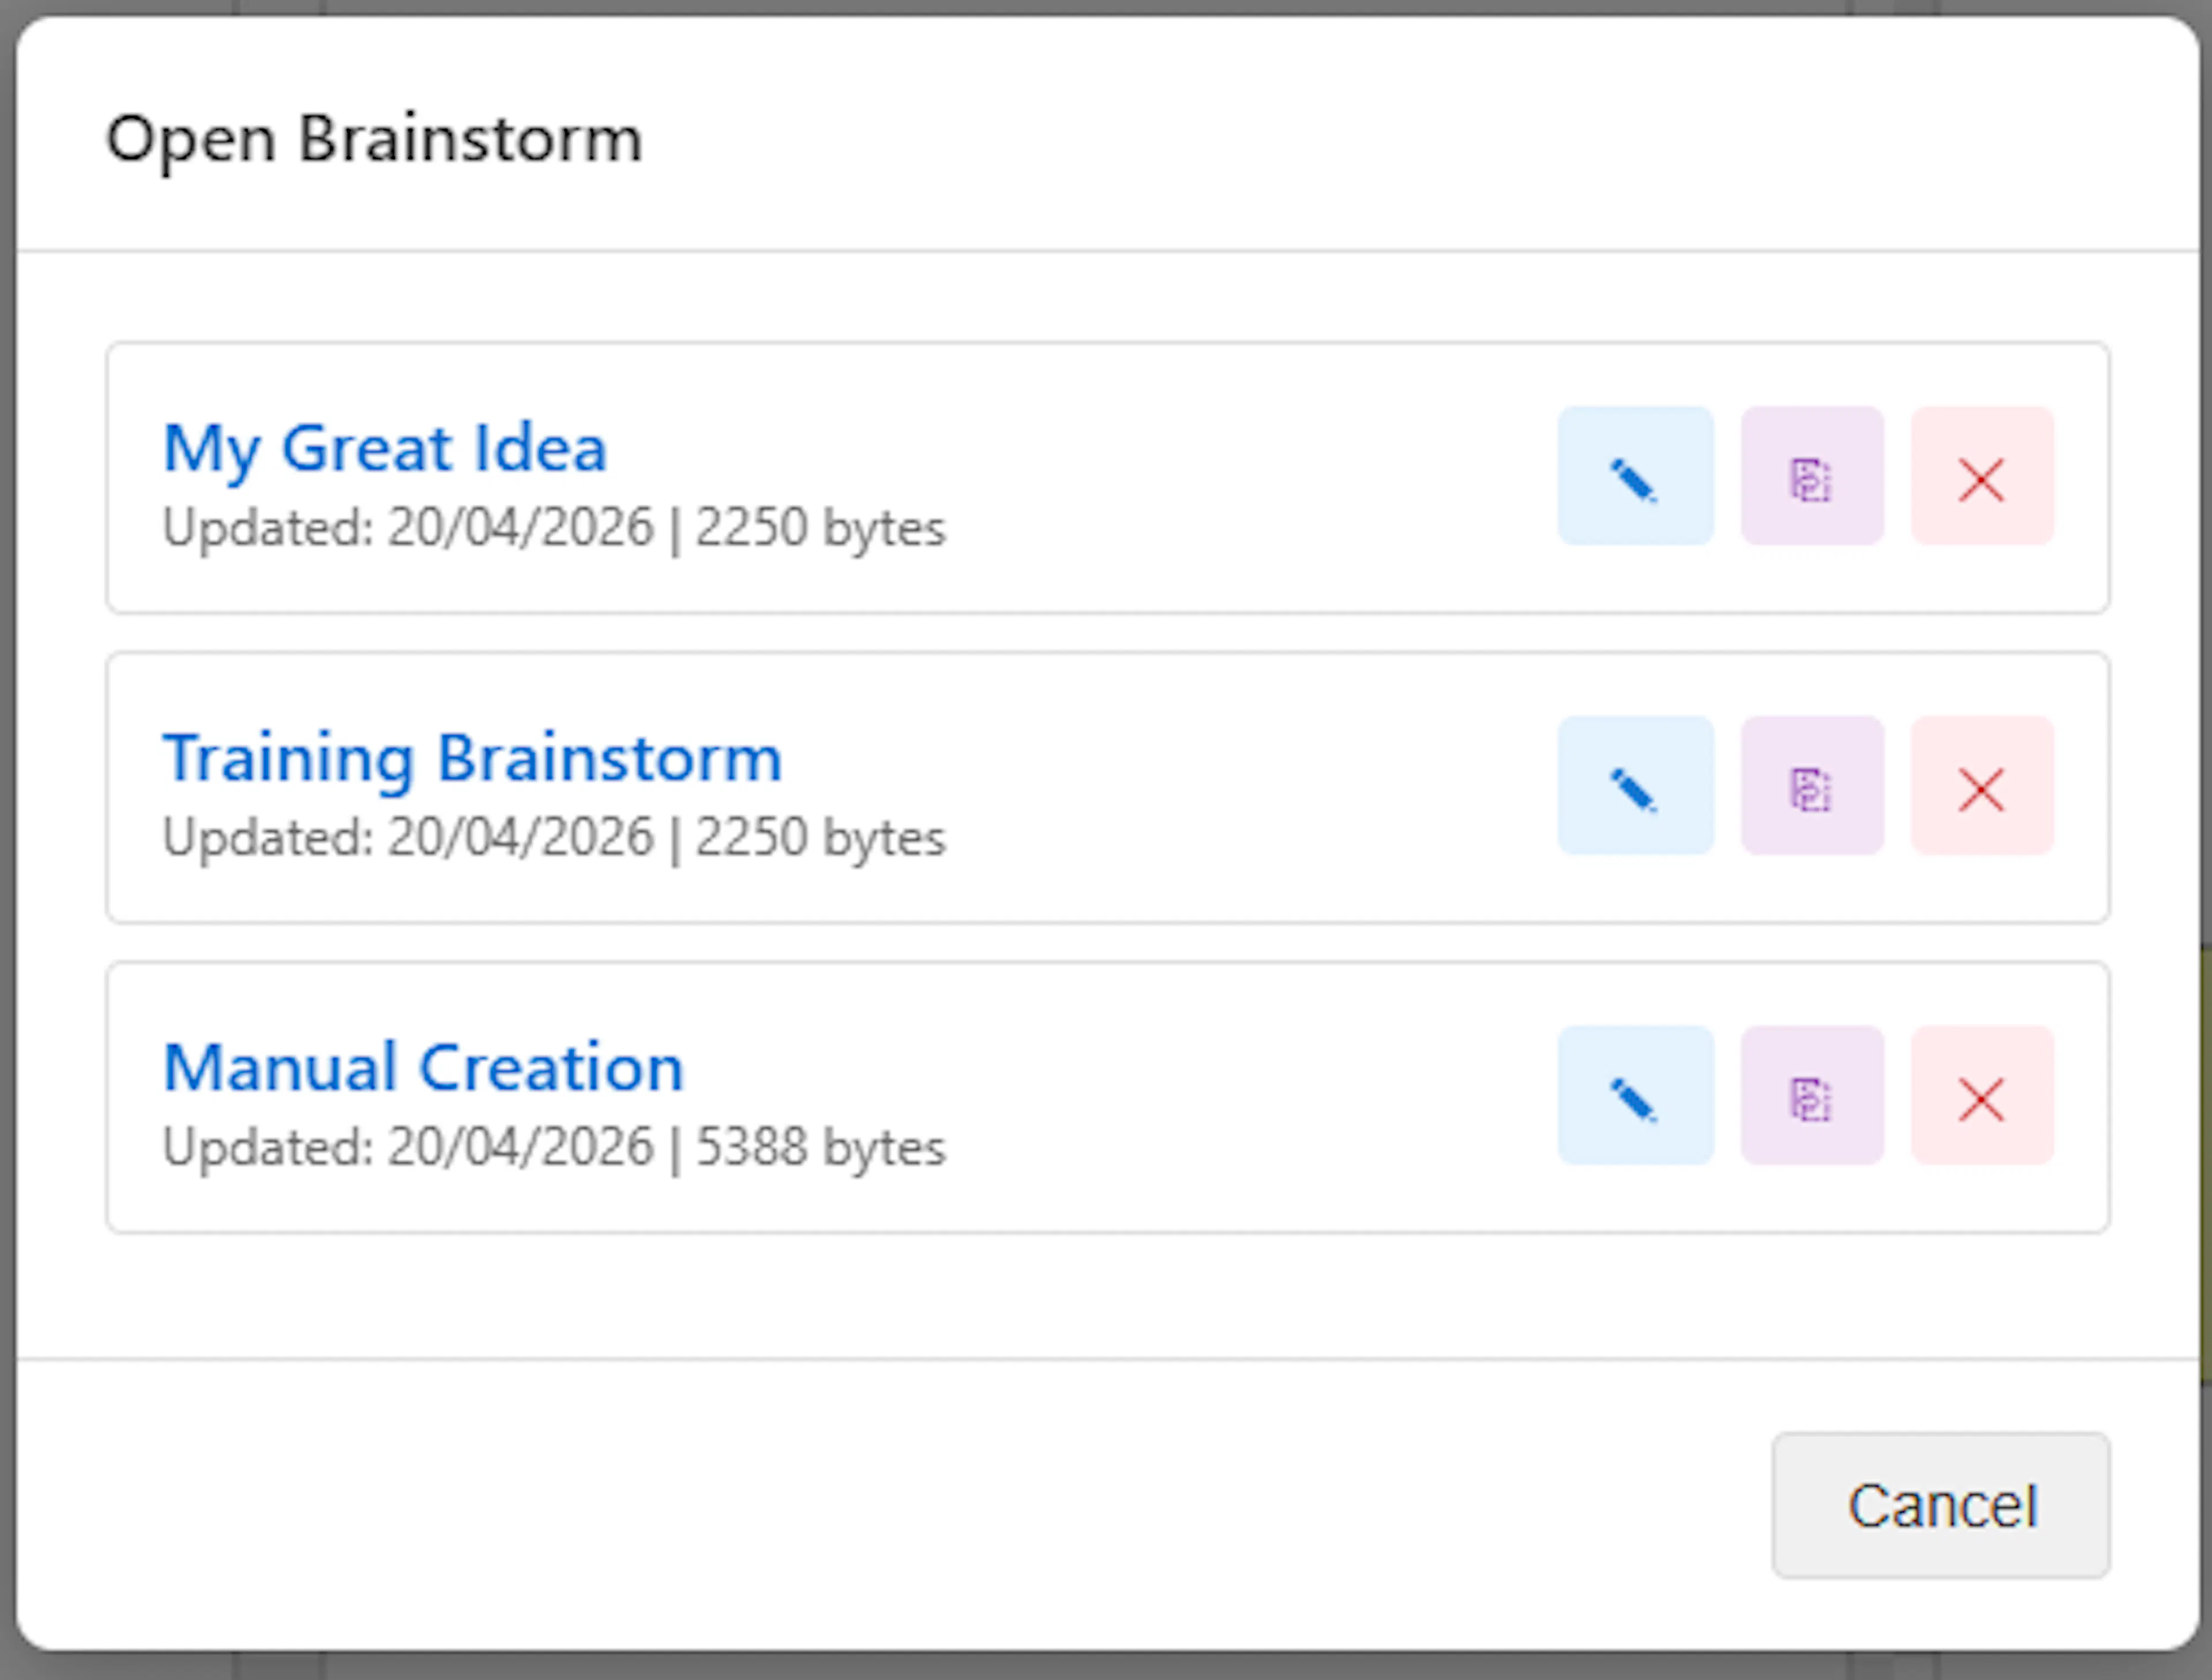
- Opening and Managing Saved Brainstorms Whenever you want to return to a previous ideation phase, you can recover your work using the Open Brainstorm button. Clicking this button will display a convenient list of all your previously saved brainstorming sessions. From this menu, you have full control to manage your saved boards:
-
Open and Edit: Simply click directly on the session's name to load the board and instantly resume editing right where you left off.
-
Rename: Click the pen icon next to a session to update its title as your ideas evolve.
-
Duplicate: Click the pad icon to create an exact copy of the session. This is incredibly useful if you want to take your existing ideas in an entirely new direction without altering your original brainstorm.
-
Delete: If a brainstorm is no longer needed, click the cross icon (X) to permanently remove the session from your list.
Transitioning to Action: Convert to Session
Once you have generated, clustered, and structured your ideas, the next step is to bring them into your main database. The Convert to Session button (located in the top menu bar) starts the process of turning your brainstorm whiteboard into a structured, actionable Mind Dump session.
(Note: Before you can convert your board, you must first ensure your progress is saved by clicking the************************Save Brainstorm************************** button).
The Conversion Process When you click the Convert to Session button, a helpful dialogue box will appear to guide you through the process step-by-step:

1. The Sanity Check First, you will be shown a list of the notes scheduled for conversion. You cannot pick and choose individual notes here; this list simply serves as a quick visual check to ensure you are converting the correct board and haven't left anything out.
2. Choose Your Destination Next, you will decide exactly where your brainstormed ideas should live. You have two flexible options:
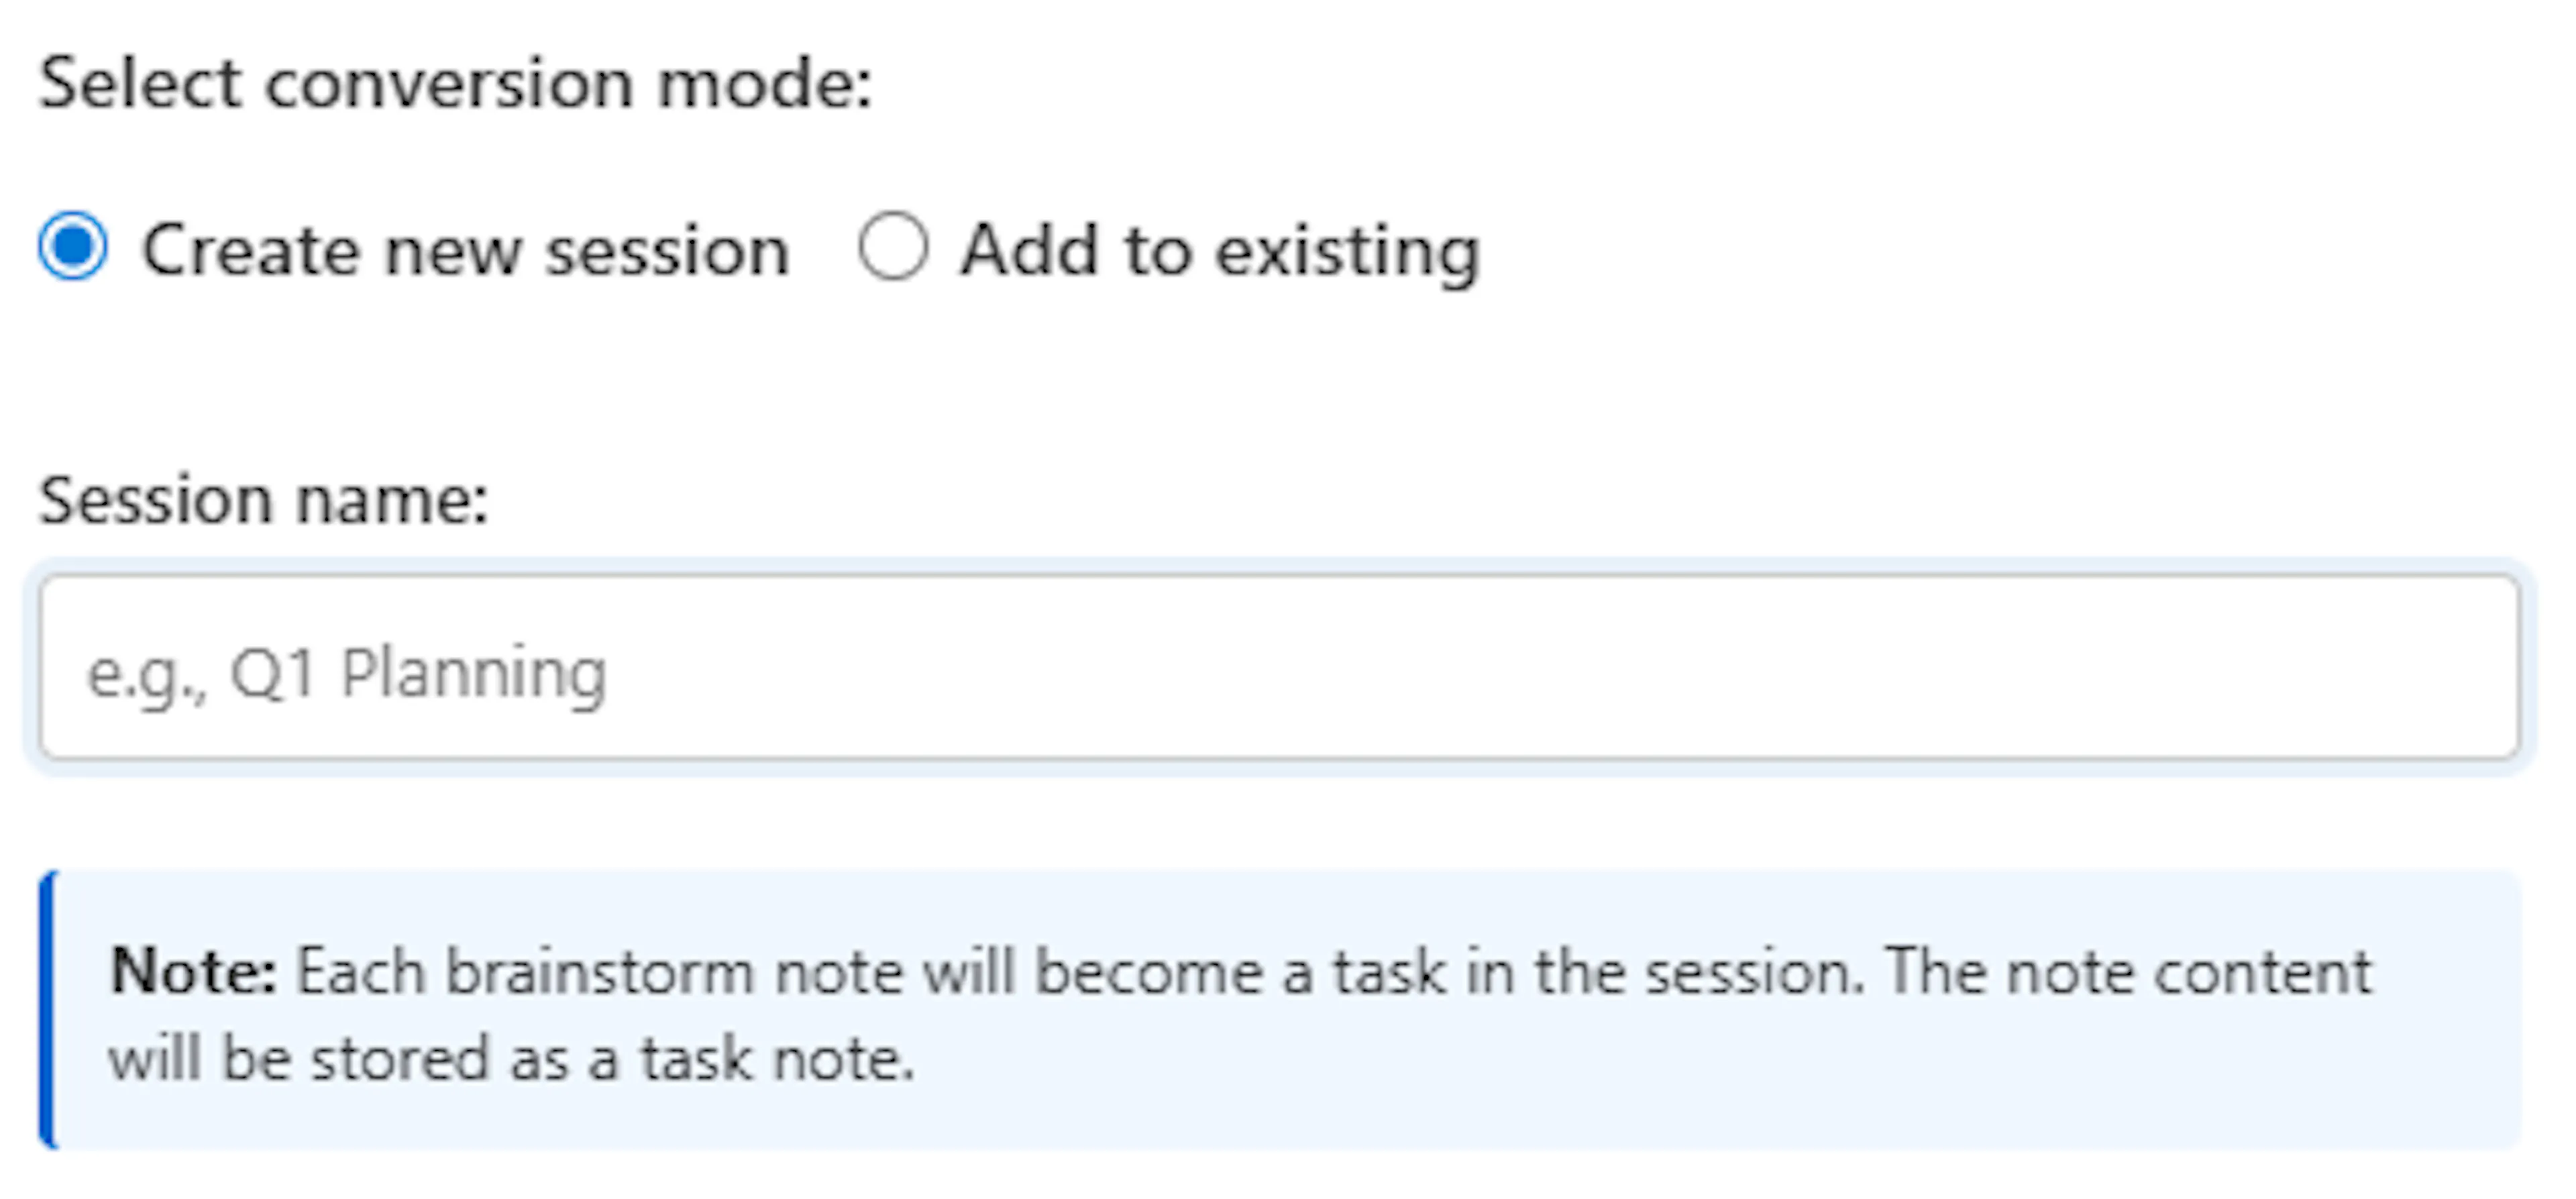
- Create a New Session: If this is a brand new project, simply enter a name for your session and click Convert. Mind Dump will immediately generate a new alphabetical session populated with all your notes. It will perfectly translate the spatial structure you built on the whiteboard—using the vertical overlapping positions to automatically form your root tasks, child tasks, and subtasks.
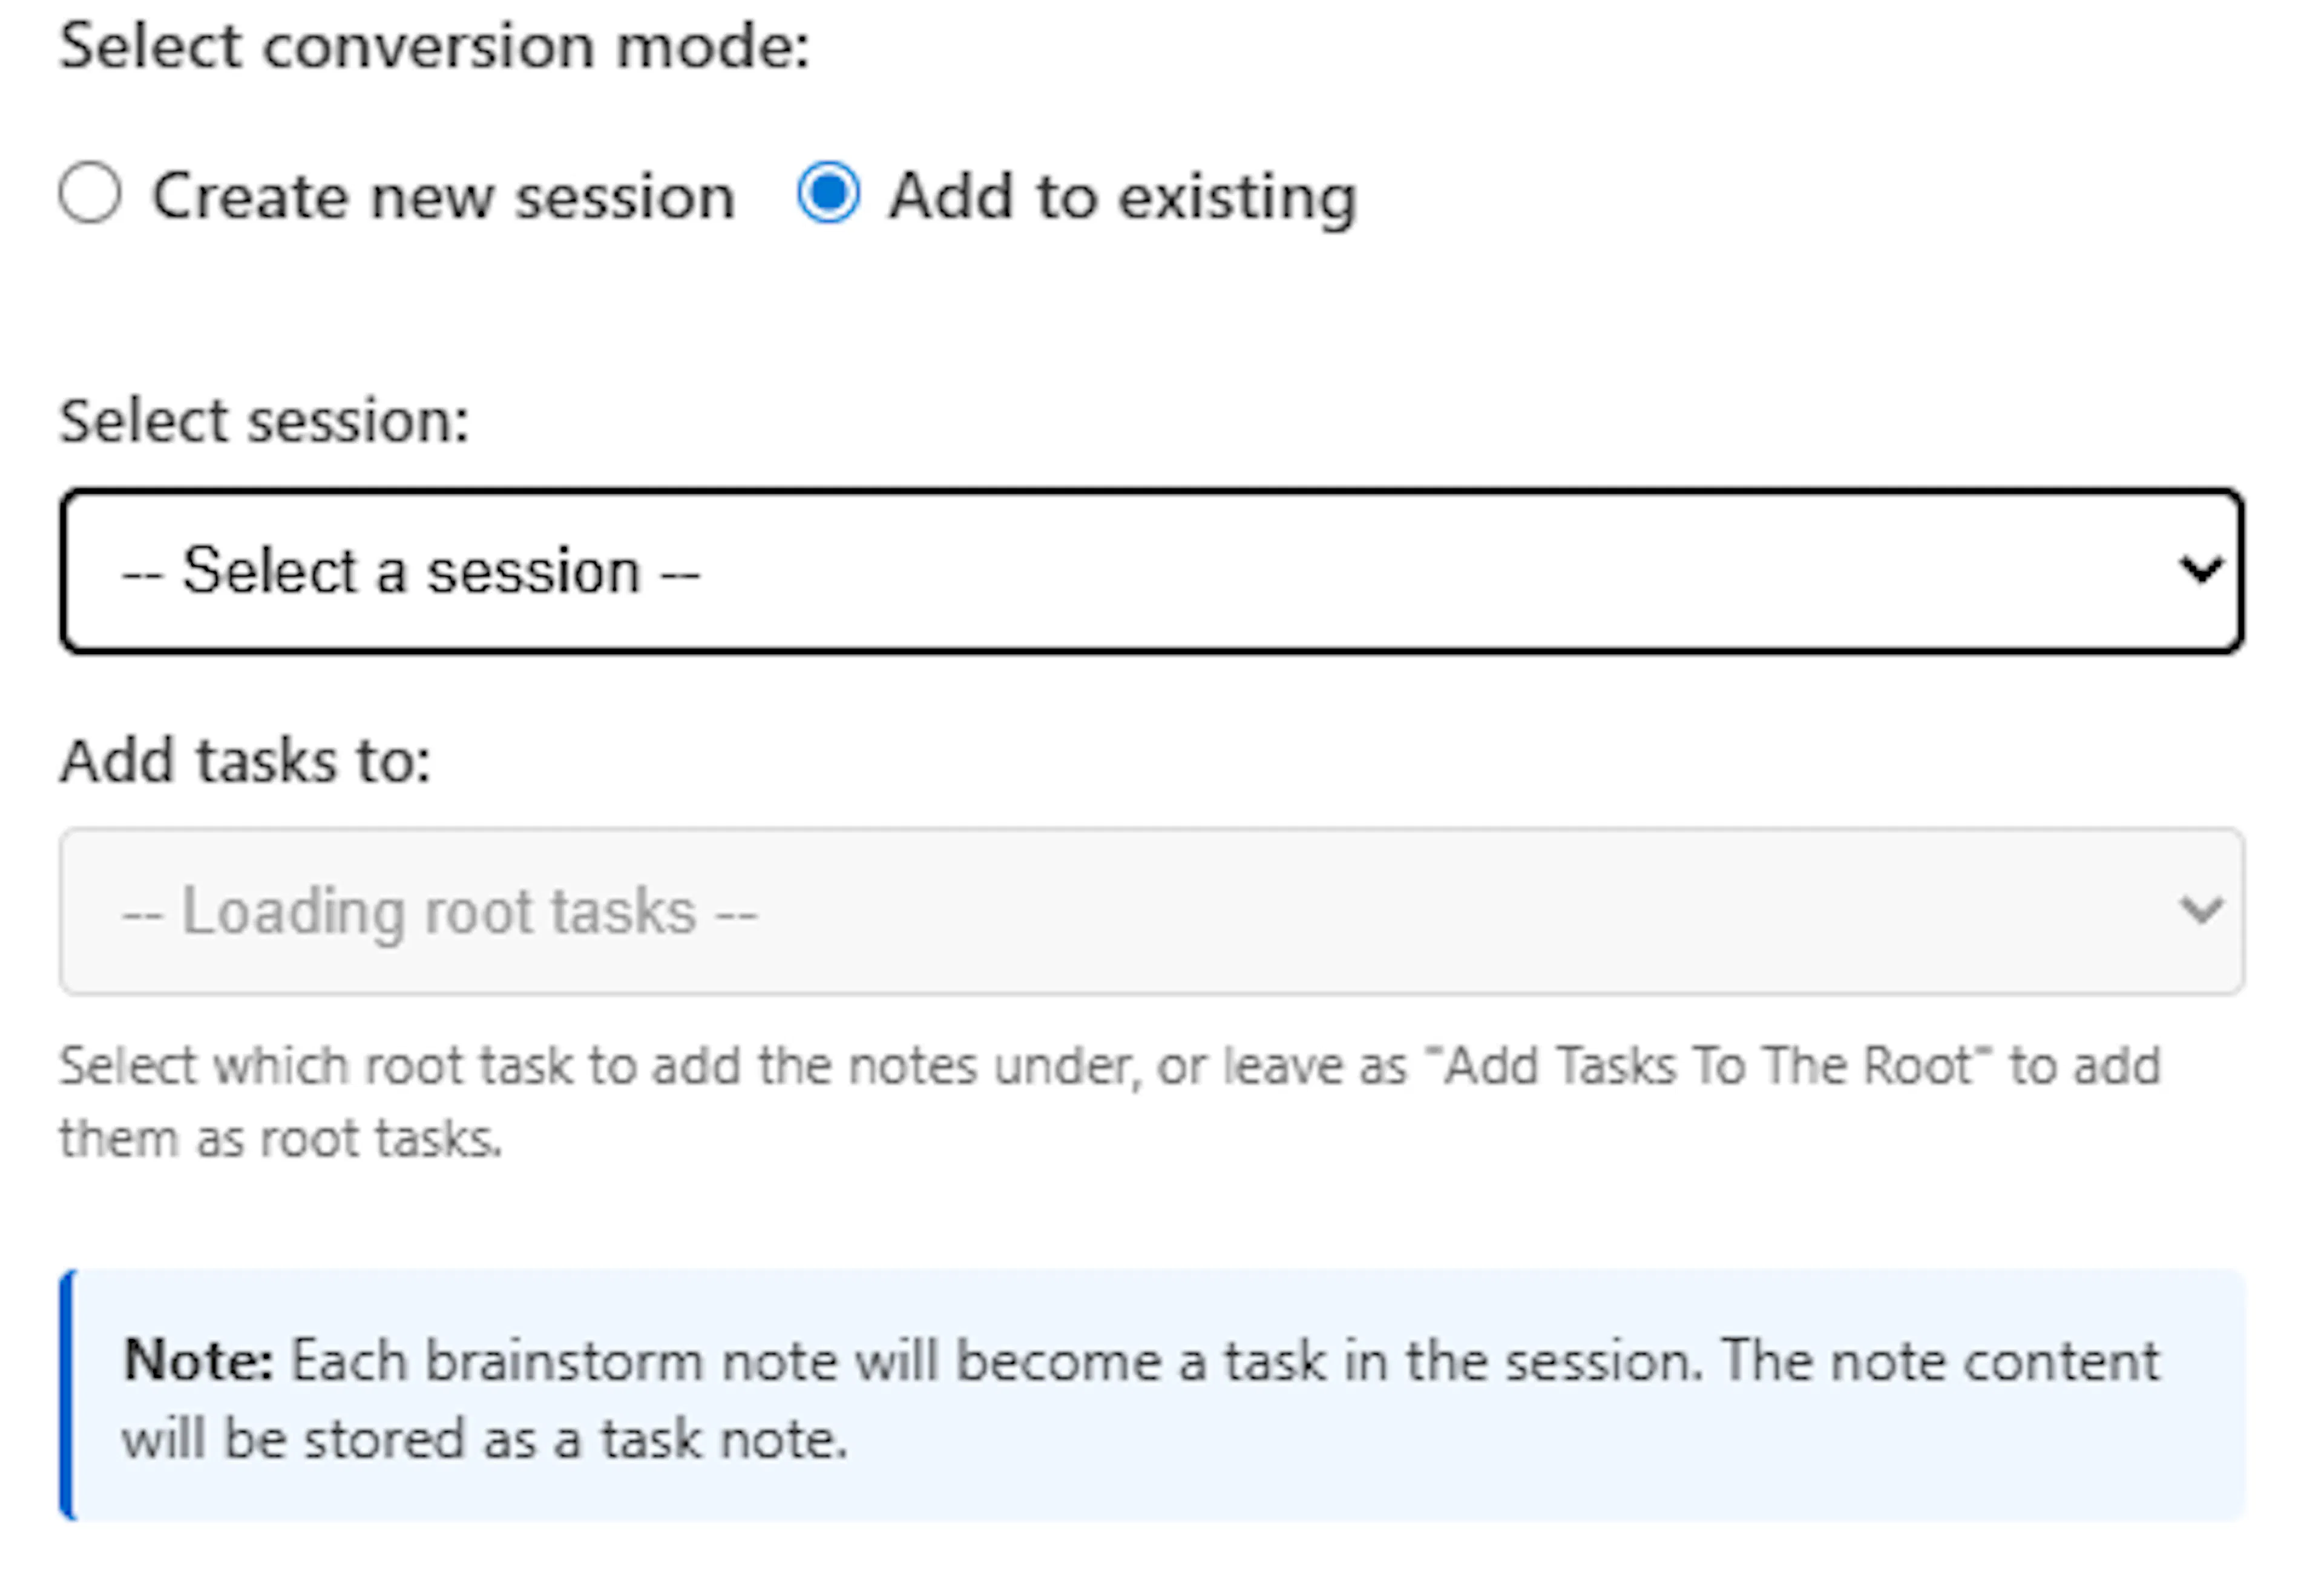
- Add to an Existing Session: If you want to merge your brainstorm into an ongoing project, first select the recipient session from the provided list. Then, you can choose whether you want to add your notes as brand-new root tasks or nest them as children under an existing root task within that session.
What happens to the original brainstorm? Don't worry about losing your original whiteboard! After your new tasks have been created, your saved brainstorm remains safely in the database for future reference, allowing you to revisit or branch off from your original ideation session at any time.
Advanced Organisation: Building Hierarchies
Once your notes are grouped into columns, you can take your organisation a step further by creating deep, logical relationships between individual ideas. Mind Dump does this using a highly intuitive spatial system—no drawing lines or clicking menus required.
Here is how you can build structured hierarchies directly within your columns:
1. The Power of Vertical Overlap The system relies entirely on the vertical placement of your notes. If you drag a note so that it overlaps with another note inside the same column, the system automatically understands that these two ideas are logically related to each other.
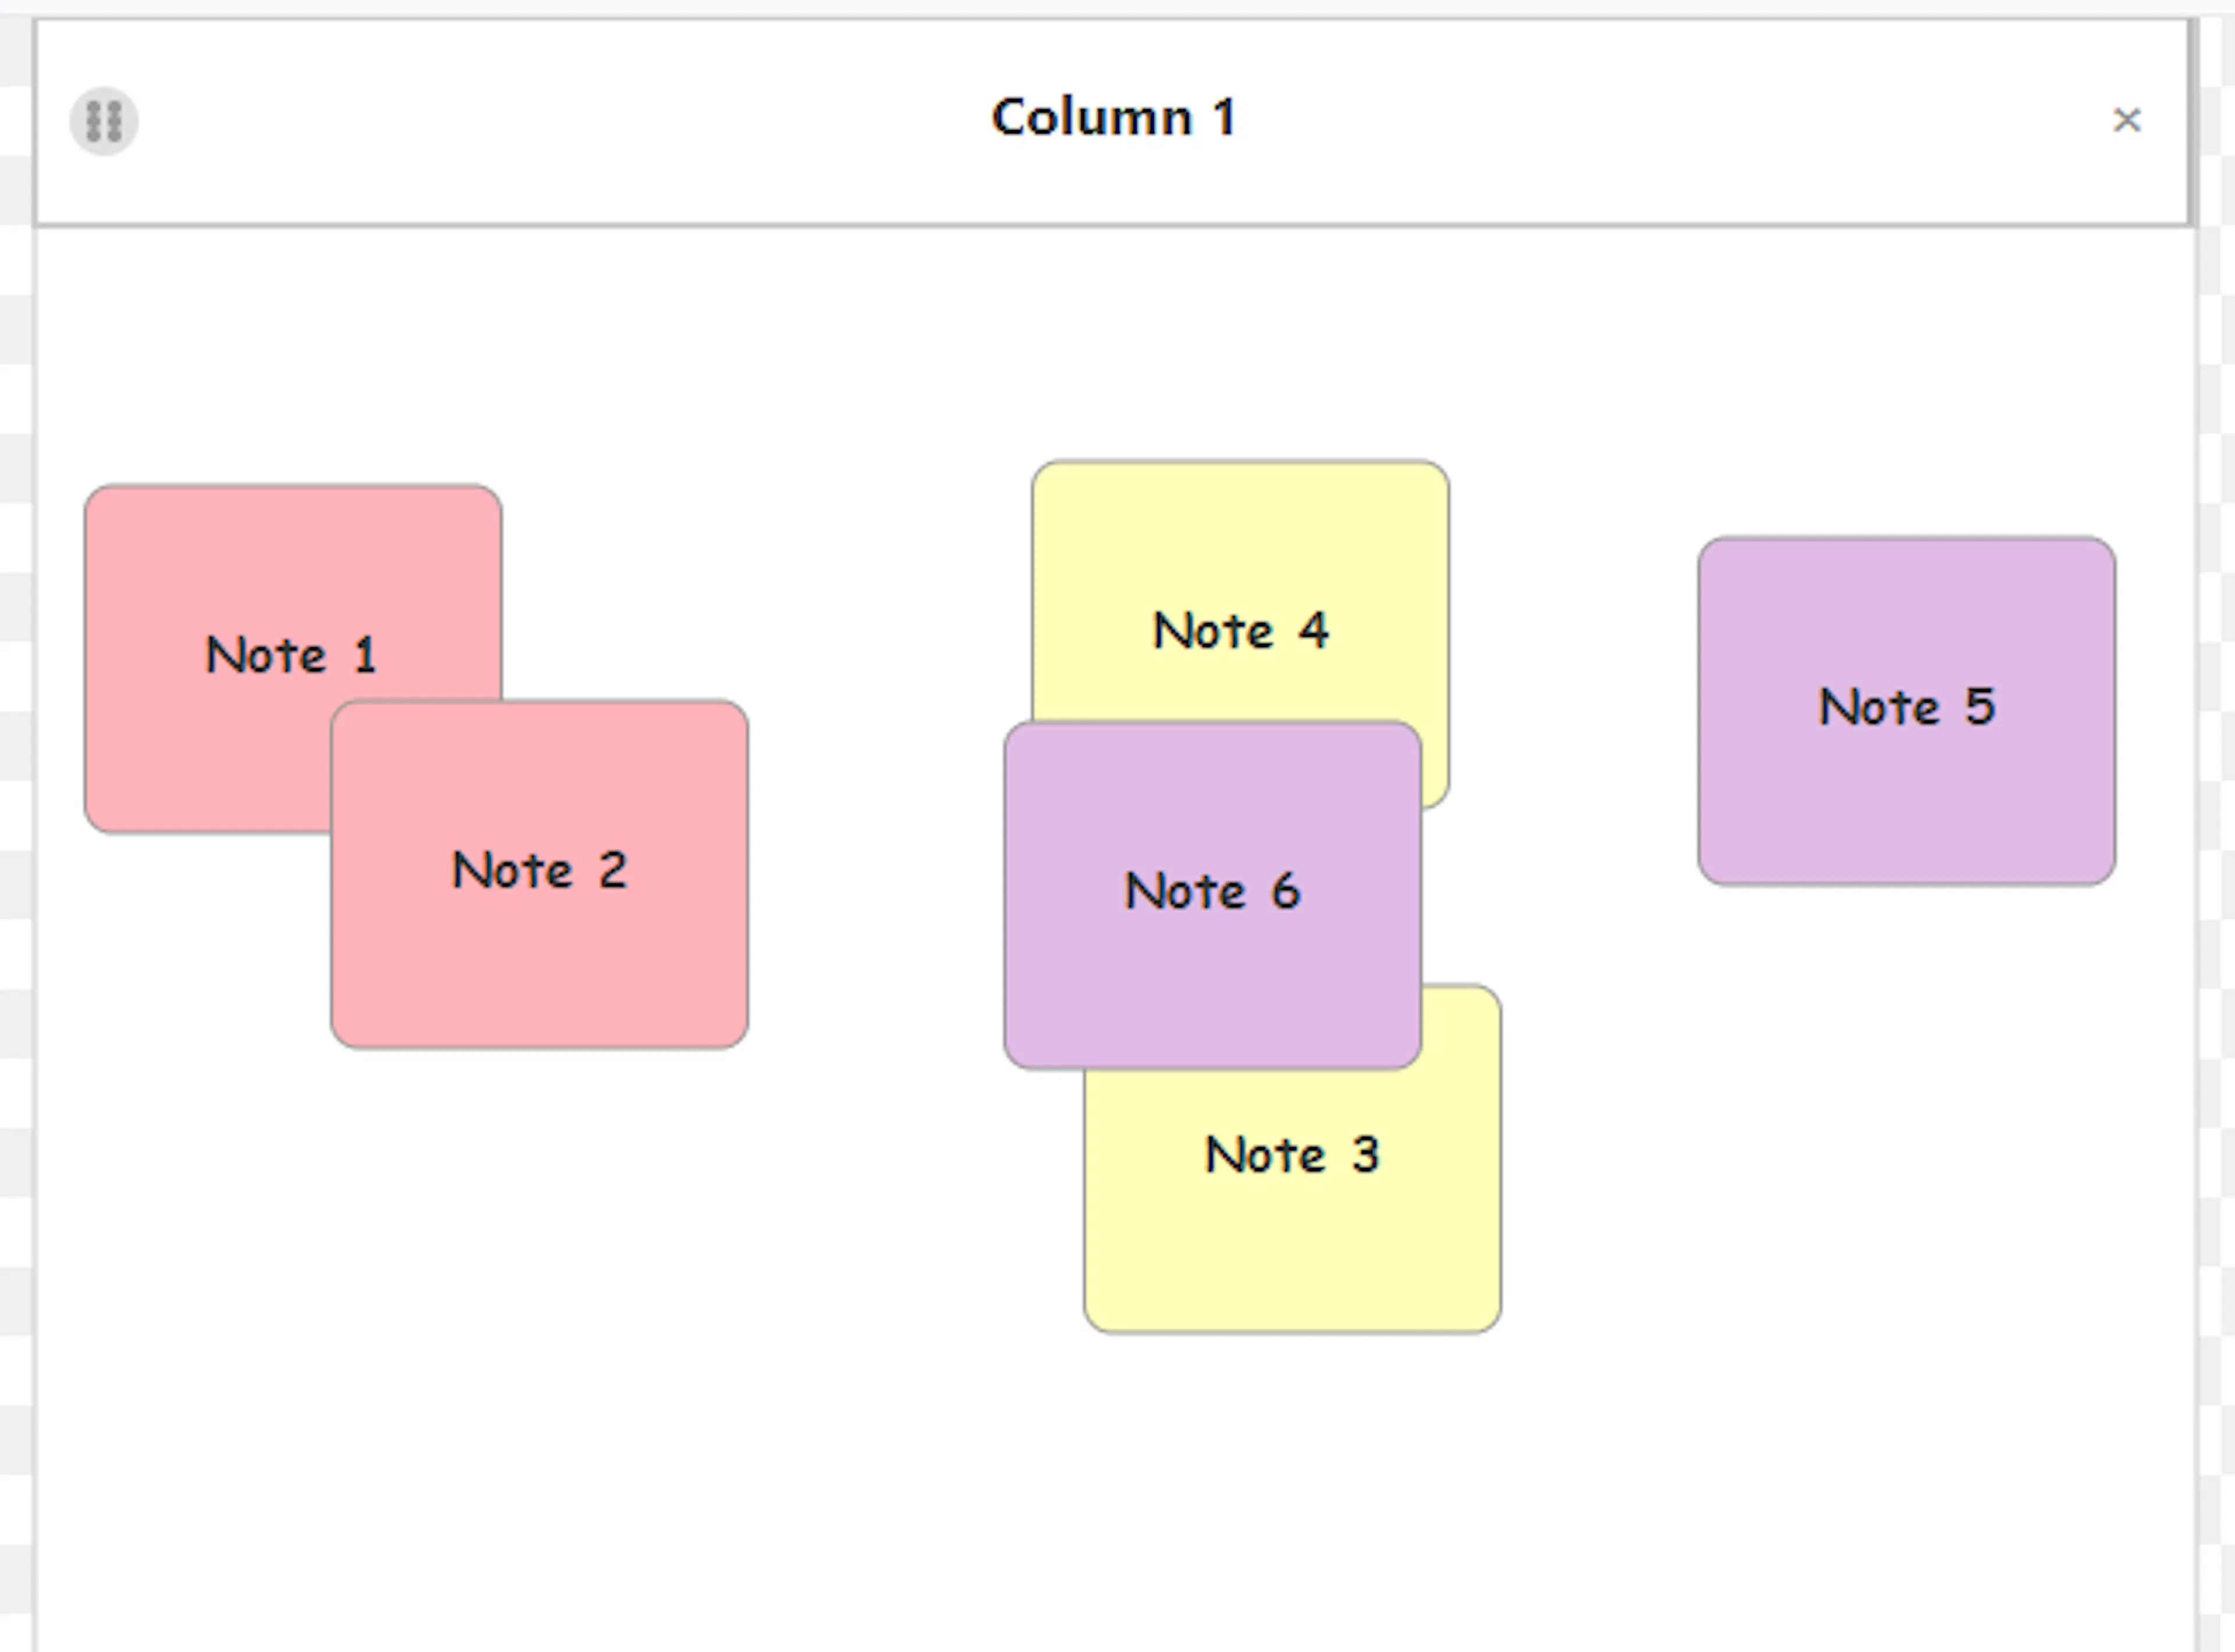
2. Parents, Children, and Siblings Dominance is determined by height. The note placed higher up in the column acts as the "dominant" parent idea. Any overlapping notes placed beneath them automatically become their "children".
-
Deep Hierarchies: By strategically stacking and overlapping notes, you can create multi-level structures. A note can be a child to the one above it and a parent to the one below it—allowing you to easily build parent, child, and grandchild relationships.
-
Siblings: If you place multiple notes side-by-side (or sequentially) so that they all overlap beneath the exact same parent note, they become sibling children sharing the same level of hierarchy.
3. Checking Your Structure (Mind Map View) Because this hierarchy is built invisibly through spatial overlapping, the best way to verify your structure is by using the Mind Map button in the top menu. Clicking this will instantly translate your overlapping columns into a visual tree, allowing you to clearly see if your parent, child, and grandchild relationships are structured exactly as you intended.

4. Exporting Your Hierarchy This vertical overlap isn't just a visual trick on the whiteboard; it actually builds a hardcoded database structure behind the scenes. When you click the Export OPML button, your structured hierarchies are permanently saved in the OPML file. Because OPML is designed specifically to handle nested lists, your ideas will perfectly retain their complex hierarchical structure when you import them into other outliners, mind-mapping tools, or knowledge management systems. Also, your hierarchies are retained when converting your brainstorm to a session.
Worked Example
Define the Challenge: Before adding any notes to the board, clearly identify the specific problem or topic you are keen to explore, ensuring it is simple and narrowed down to a single target.
-
Phase 1: Expanding Idea Generation: Click on the pastel-coloured squares in the top palette to open the central entry screen. Rapidly type your ideas (keeping them concise at up to 50 characters) and press the Enter key to instantly send them to your Inbox column. As you do this, remember the fundamental rules of brainstorming: withhold all criticism, welcome wild or unconventional ideas, and reach for the highest quantity of ideas possible.
-
Phase 2: Organic Organisation (Affinity Clustering): Once your raw ideas have accumulated in the inbox, begin dragging and dropping the notes into the blank, unlabelled columns. Look for common themes and group them together based on their natural relationships.
-
Advanced Organisation (Building Hierarchies): Within your clustered columns, begin establishing logical relationships between individual ideas using vertical placement.
-
Parent/Child: Drag a note higher in the column to make it the "dominant" parent idea. Drag a related note so that it vertically overlaps with the original note, making it a child note.
-
Grandchildren: Continue stacking and overlapping notes beneath children to create deep, multi-level structures.
-
Siblings: Place multiple notes side-by-side (or sequentially) so that they all overlap beneath the exact same parent note to create sibling children on the same hierarchical level.
-
-
Structural Refinement: After your notes are clustered and nested, right-click the column headers to give each category a definitive name that reflects the grouped ideas. At this critical stage, you can also right-click any individual note to edit and refine its text, or drag any unhelpful notes to the dustbin icon to discard them.
-
Review and Export: Click the Mind Map button to see a simplified, radial visualisation of your categories—this is a great way to verify that your parent, child, and grandchild relationships are structured exactly as you intended. Finally, click the Export OPML button to save your structured outline to your computer. Your ideas will perfectly retain their complex hierarchical structure when you import them into other applications, thanks to OPML's design for handling nested lists.