Tag Management
While tags can be applied to tasks on the fly, the central hub for overseeing your session's taxonomy is the Tag Management dashboard. Because tags are isolated to individual sessions, these settings apply only to the workspace you currently have selected.
The Tag Management Modal and Usage List
To access this dashboard, navigate to the main menu and click ⚙ Settings at the bottom of the sidebar, scroll down to the Session Settings section, and click the "📝 Manage Tags" button.
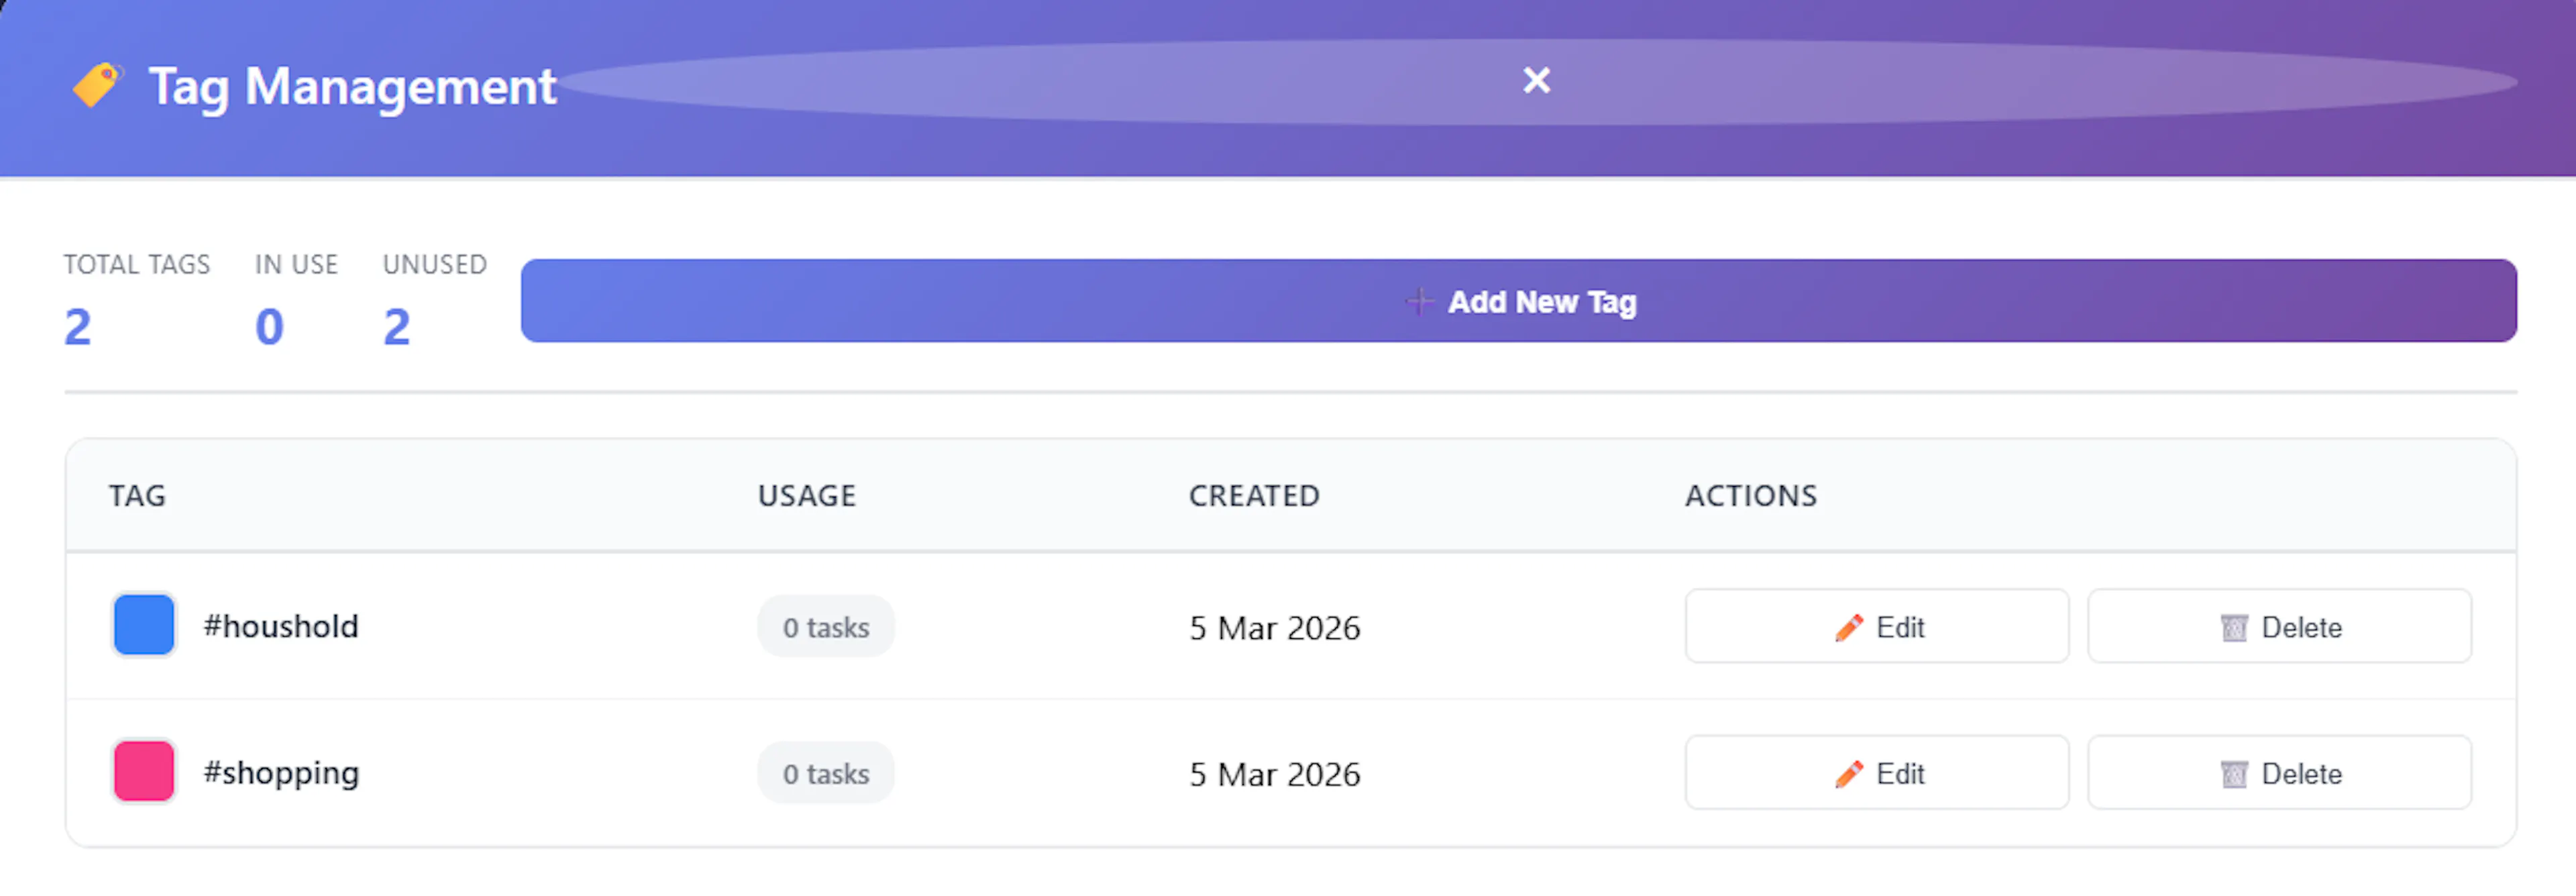
When you open Tag Management, you are presented with a comprehensive overview of your session's tags. At the top, quick statistics show you your "Total Tags", how many are "In Use", and how many are "Unused".
Below this is the Tag List, which displays every tag registered in the current database. For each tag, the table displays:
-
The Tag Colour: A visual colour block assigned to the tag.
-
The Tag Name: The formatted text of the tag (e.g.,
#client_meeting). -
Usage Count: A highly useful badge showing exactly how many active tasks are currently associated with this tag (e.g., "5 tasks").
-
Created Date: When the tag was first added to the system.
-
Actions: Buttons to edit or delete the tag.
Creating New Tags
To add a brand-new tag to your session:
-
Locate the "➕ Add New Tag" form near the top of the modal.
-
Type your desired tag name into the input box. Note: Mind Dump enforces a clean database taxonomy. If you type spaces, they will automatically be replaced with underscores (_). Special characters will be stripped out, and the text will be forced into lowercase.
-
Click the colour picker box next to the input to select a specific background colour for the tag badge.
-
Click "Create Tag".
Editing Existing Tags
Mind Dump allows you to easily modify a tag after it has been created. These changes will automatically reflect across all tasks currently using that tag.
-
To edit the Tag Name: Click the "✏️ Edit" button next to the tag in the list. This will open a browser prompt where you can type the new name for the tag. Click OK to save the change.
-
To edit the Tag Colour: Simply click directly on the coloured square preview next to the tag's name in the list. A prompt will ask you to enter a new hex colour code (e.g.,
#3b82f6).
Deleting Tags and Usage Restrictions
To keep your system tidy, you can delete tags you no longer need by clicking the "🗑️ Delete" button.
Important Deletion Rule: You cannot delete a tag if its Usage count is greater than 0. If a tag is actively connected to tasks, the Delete button will be disabled (greyed out) and hovering over it will display the message: "Cannot delete tag in use".
This safety mechanism ensures database integrity and prevents you from accidentally wiping out the categorization of existing records. If you receive an alert saying "Cannot delete this tag: it is being used by [X] task(s)," you must first remove the tag from all associated tasks—which can be done quickly from the main task list using the Bulk Tag Actions feature—before the system will allow you to permanently delete the tag definition.
Using Tags: Adding/Removing from Tasks
Adding Tags to Tasks
There are two primary ways to apply tags to your tasks in Mind Dump.
Method 1: The View/Edit Details Modal
The most prominent way to manage a task's categorization is by opening its View/Edit Details modal.
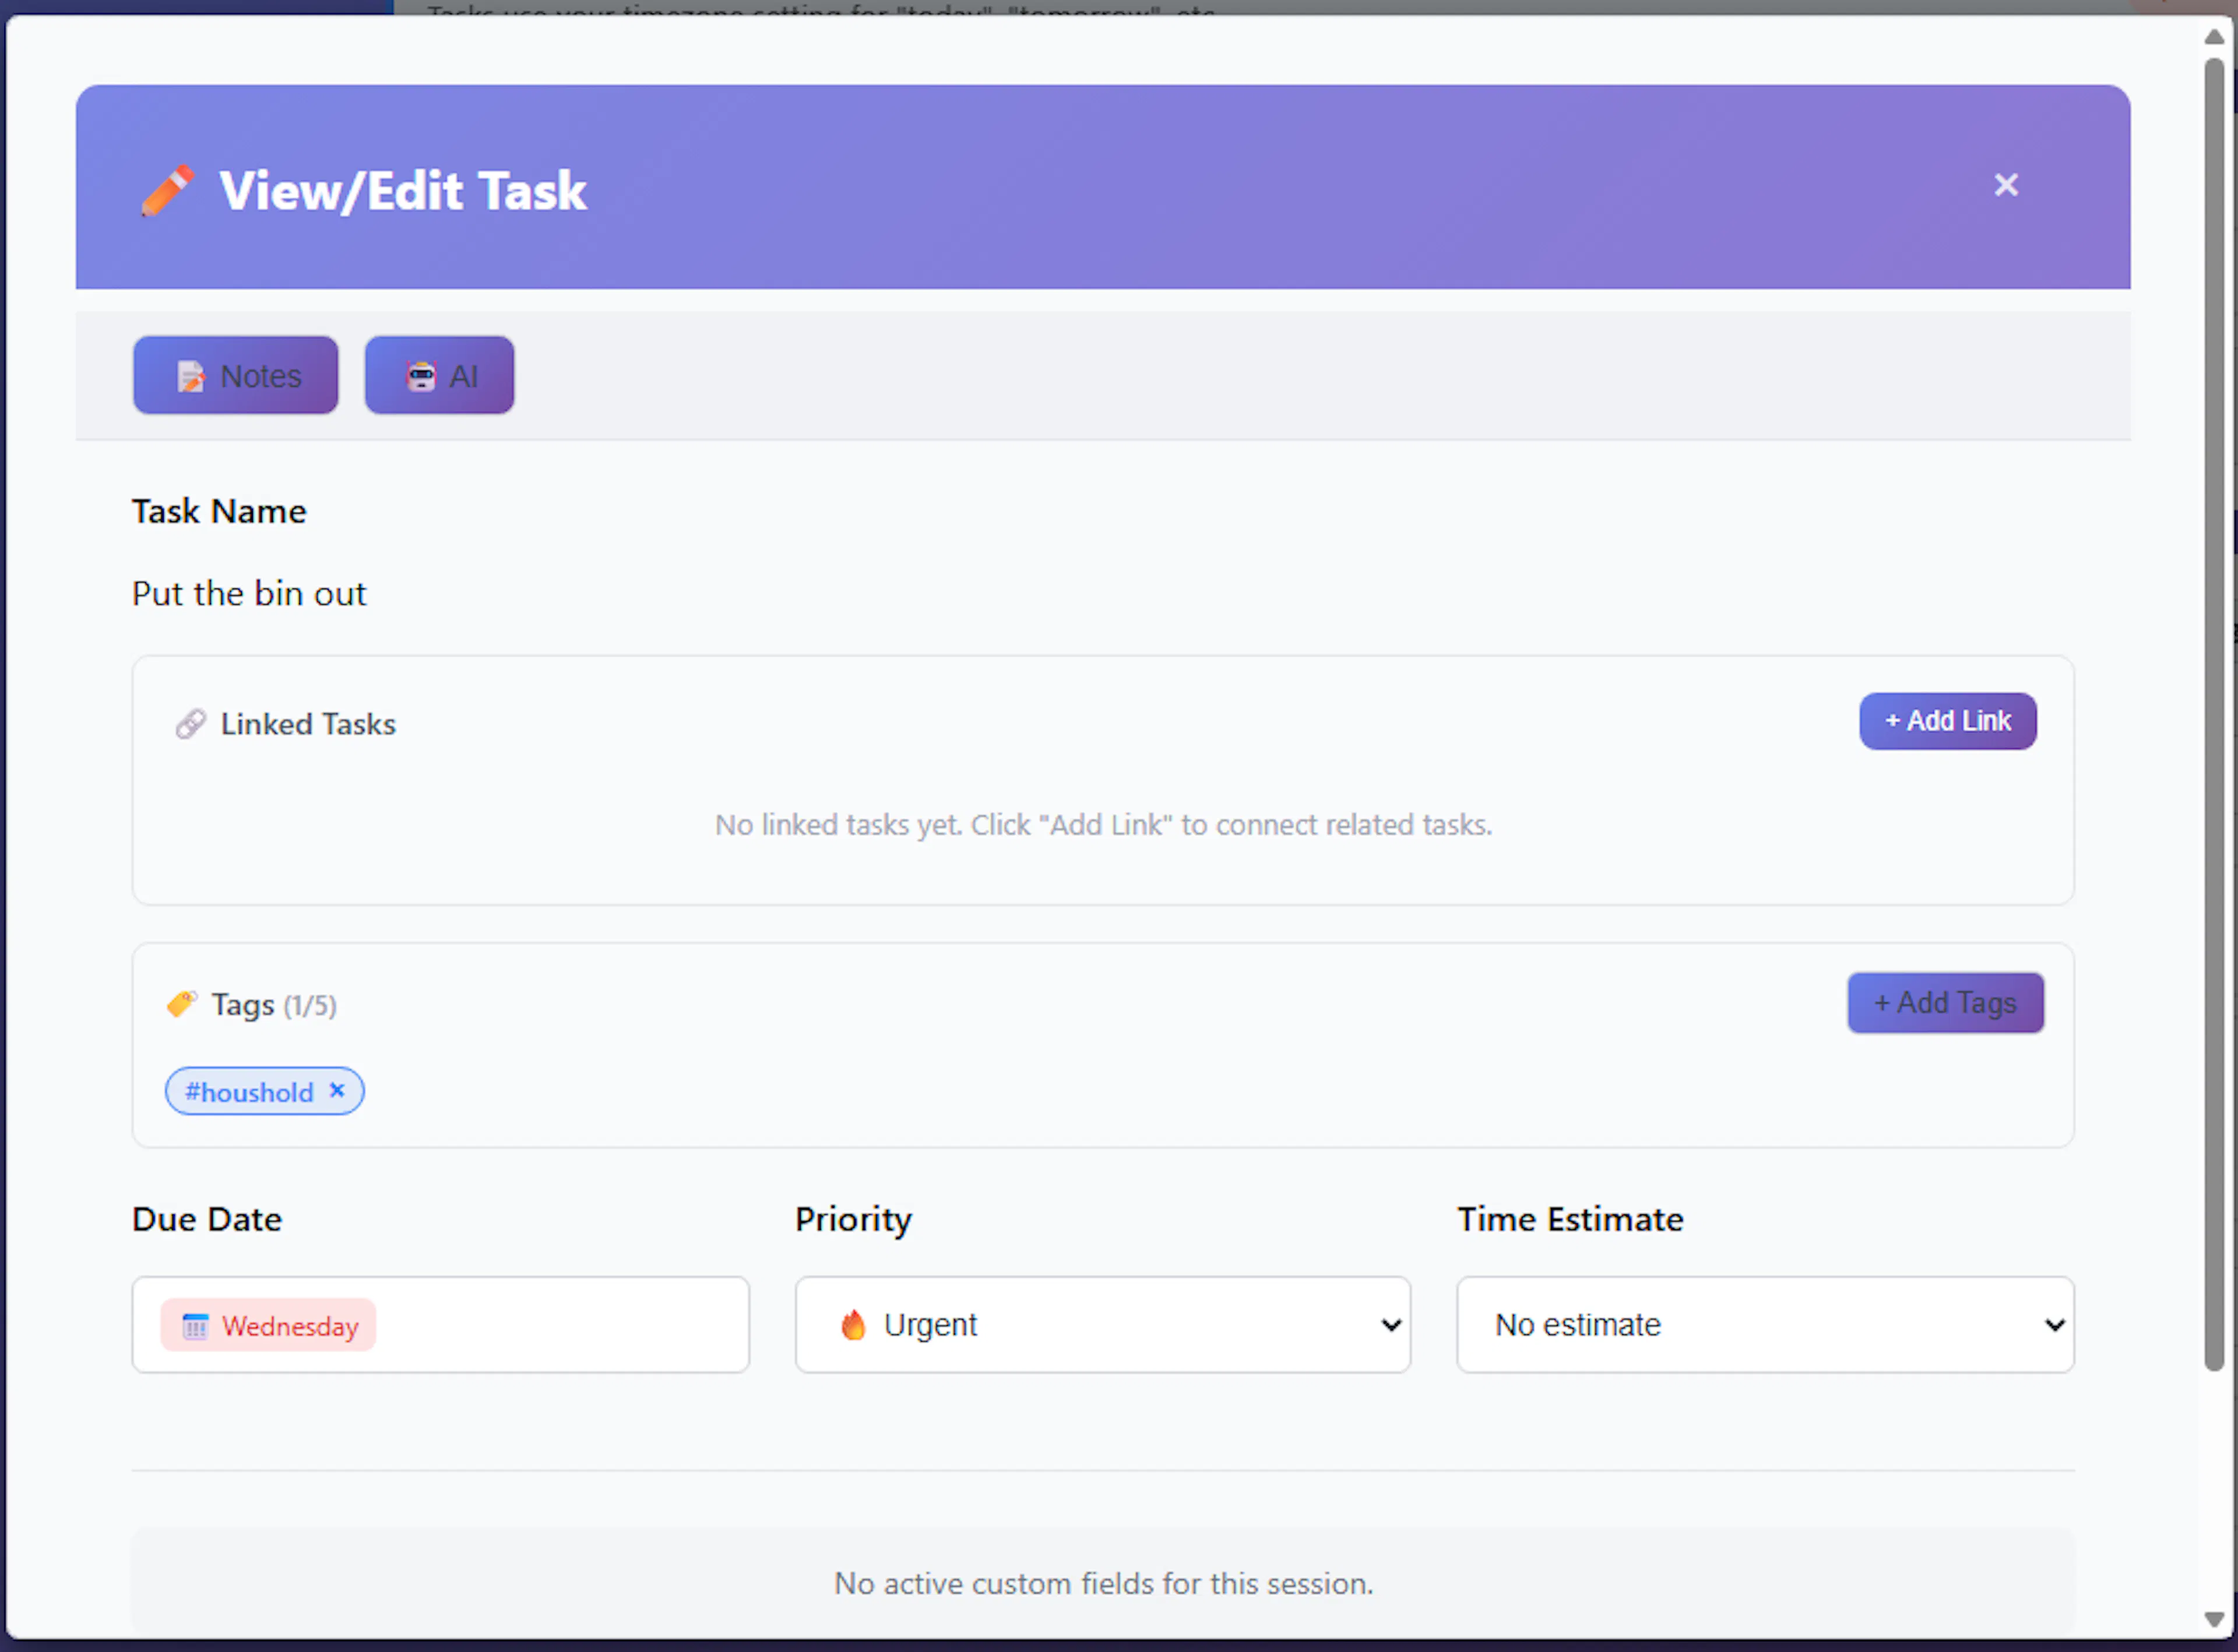
Within the modal, locate the dedicated Tags section:
-
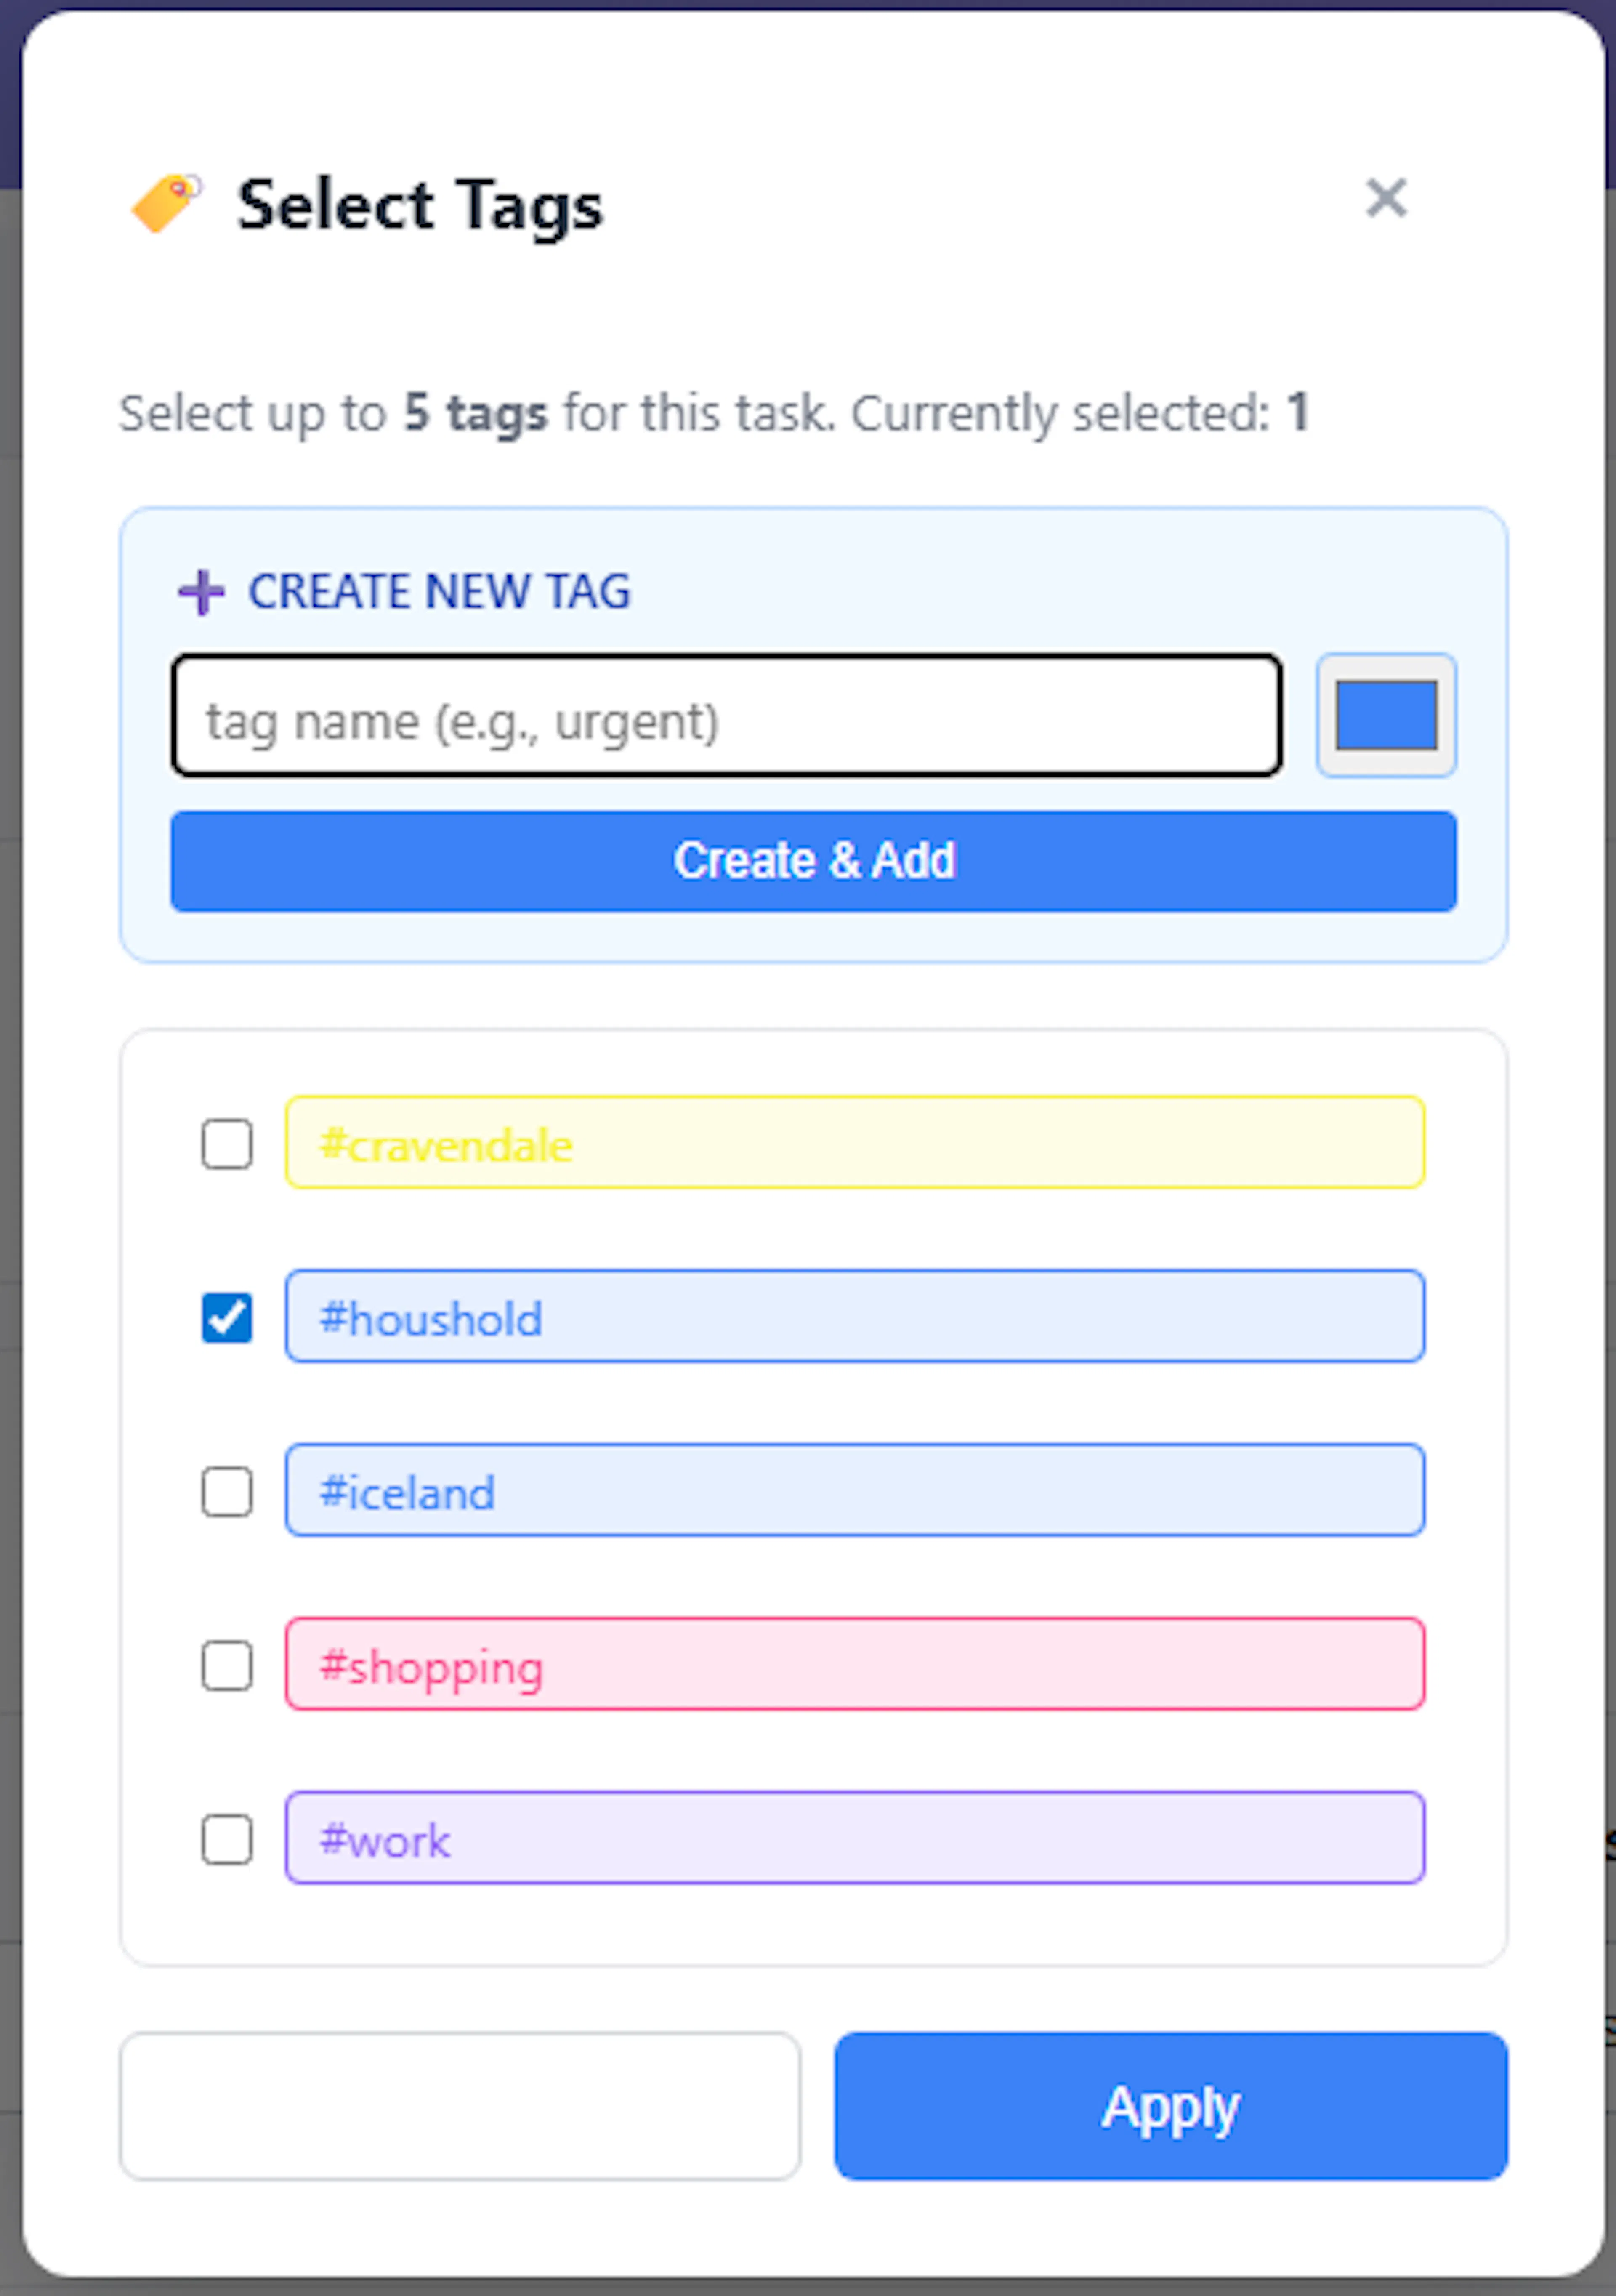
Adding Tags: Click the + Add Tags button to open the tag selection menu. Here, you can check the boxes next to the tags you wish to apply. If you need a completely new category, you can also create brand-new tags directly from this menu, making taxonomy management highly convenient.
-
Instant Saving: Any tags you select or deselect in this menu are immediately saved to the database. You do not need to click the main "Save Changes" button at the bottom of the task modal to apply tag updates.
-
Removing Tags: Once the selection menu is closed, your chosen tags will appear as colored badges inside the modal's Tag box. You can quickly remove a tag from the task by clicking the × icon directly on the tag badge itself.
-
Note: To keep the interface clean and readable, Mind Dump limits you to applying a maximum of 5 tags per individual task.
Method 2: The Extended Task Card
The second method for managing tags is by using the Extended Task Card directly from the main list or Kanban board.

While we have not yet covered the Extended Task Card in depth—we will explore this feature shortly—it allows you to quickly add, delete, and create new tags on the fly without ever needing to leave your current task list or open a full details modal.
Tag Template Management: Saving Complex Searches
As your task list grows, you will frequently need to access complex structures of information by filtering for multiple tags simultaneously. Tag Templates solve this by allowing you to save predefined groups of tags for instant access, rather than having to manually type out multiple tags every time you need to view a specific cross-section of your work.
Because templates are tied to the taxonomy of a specific database, they are configured at the session level. You can access this system by navigating to ⚙ Settings -> Session Settings and clicking on Manage Tag Templates.
Managing Tag Templates
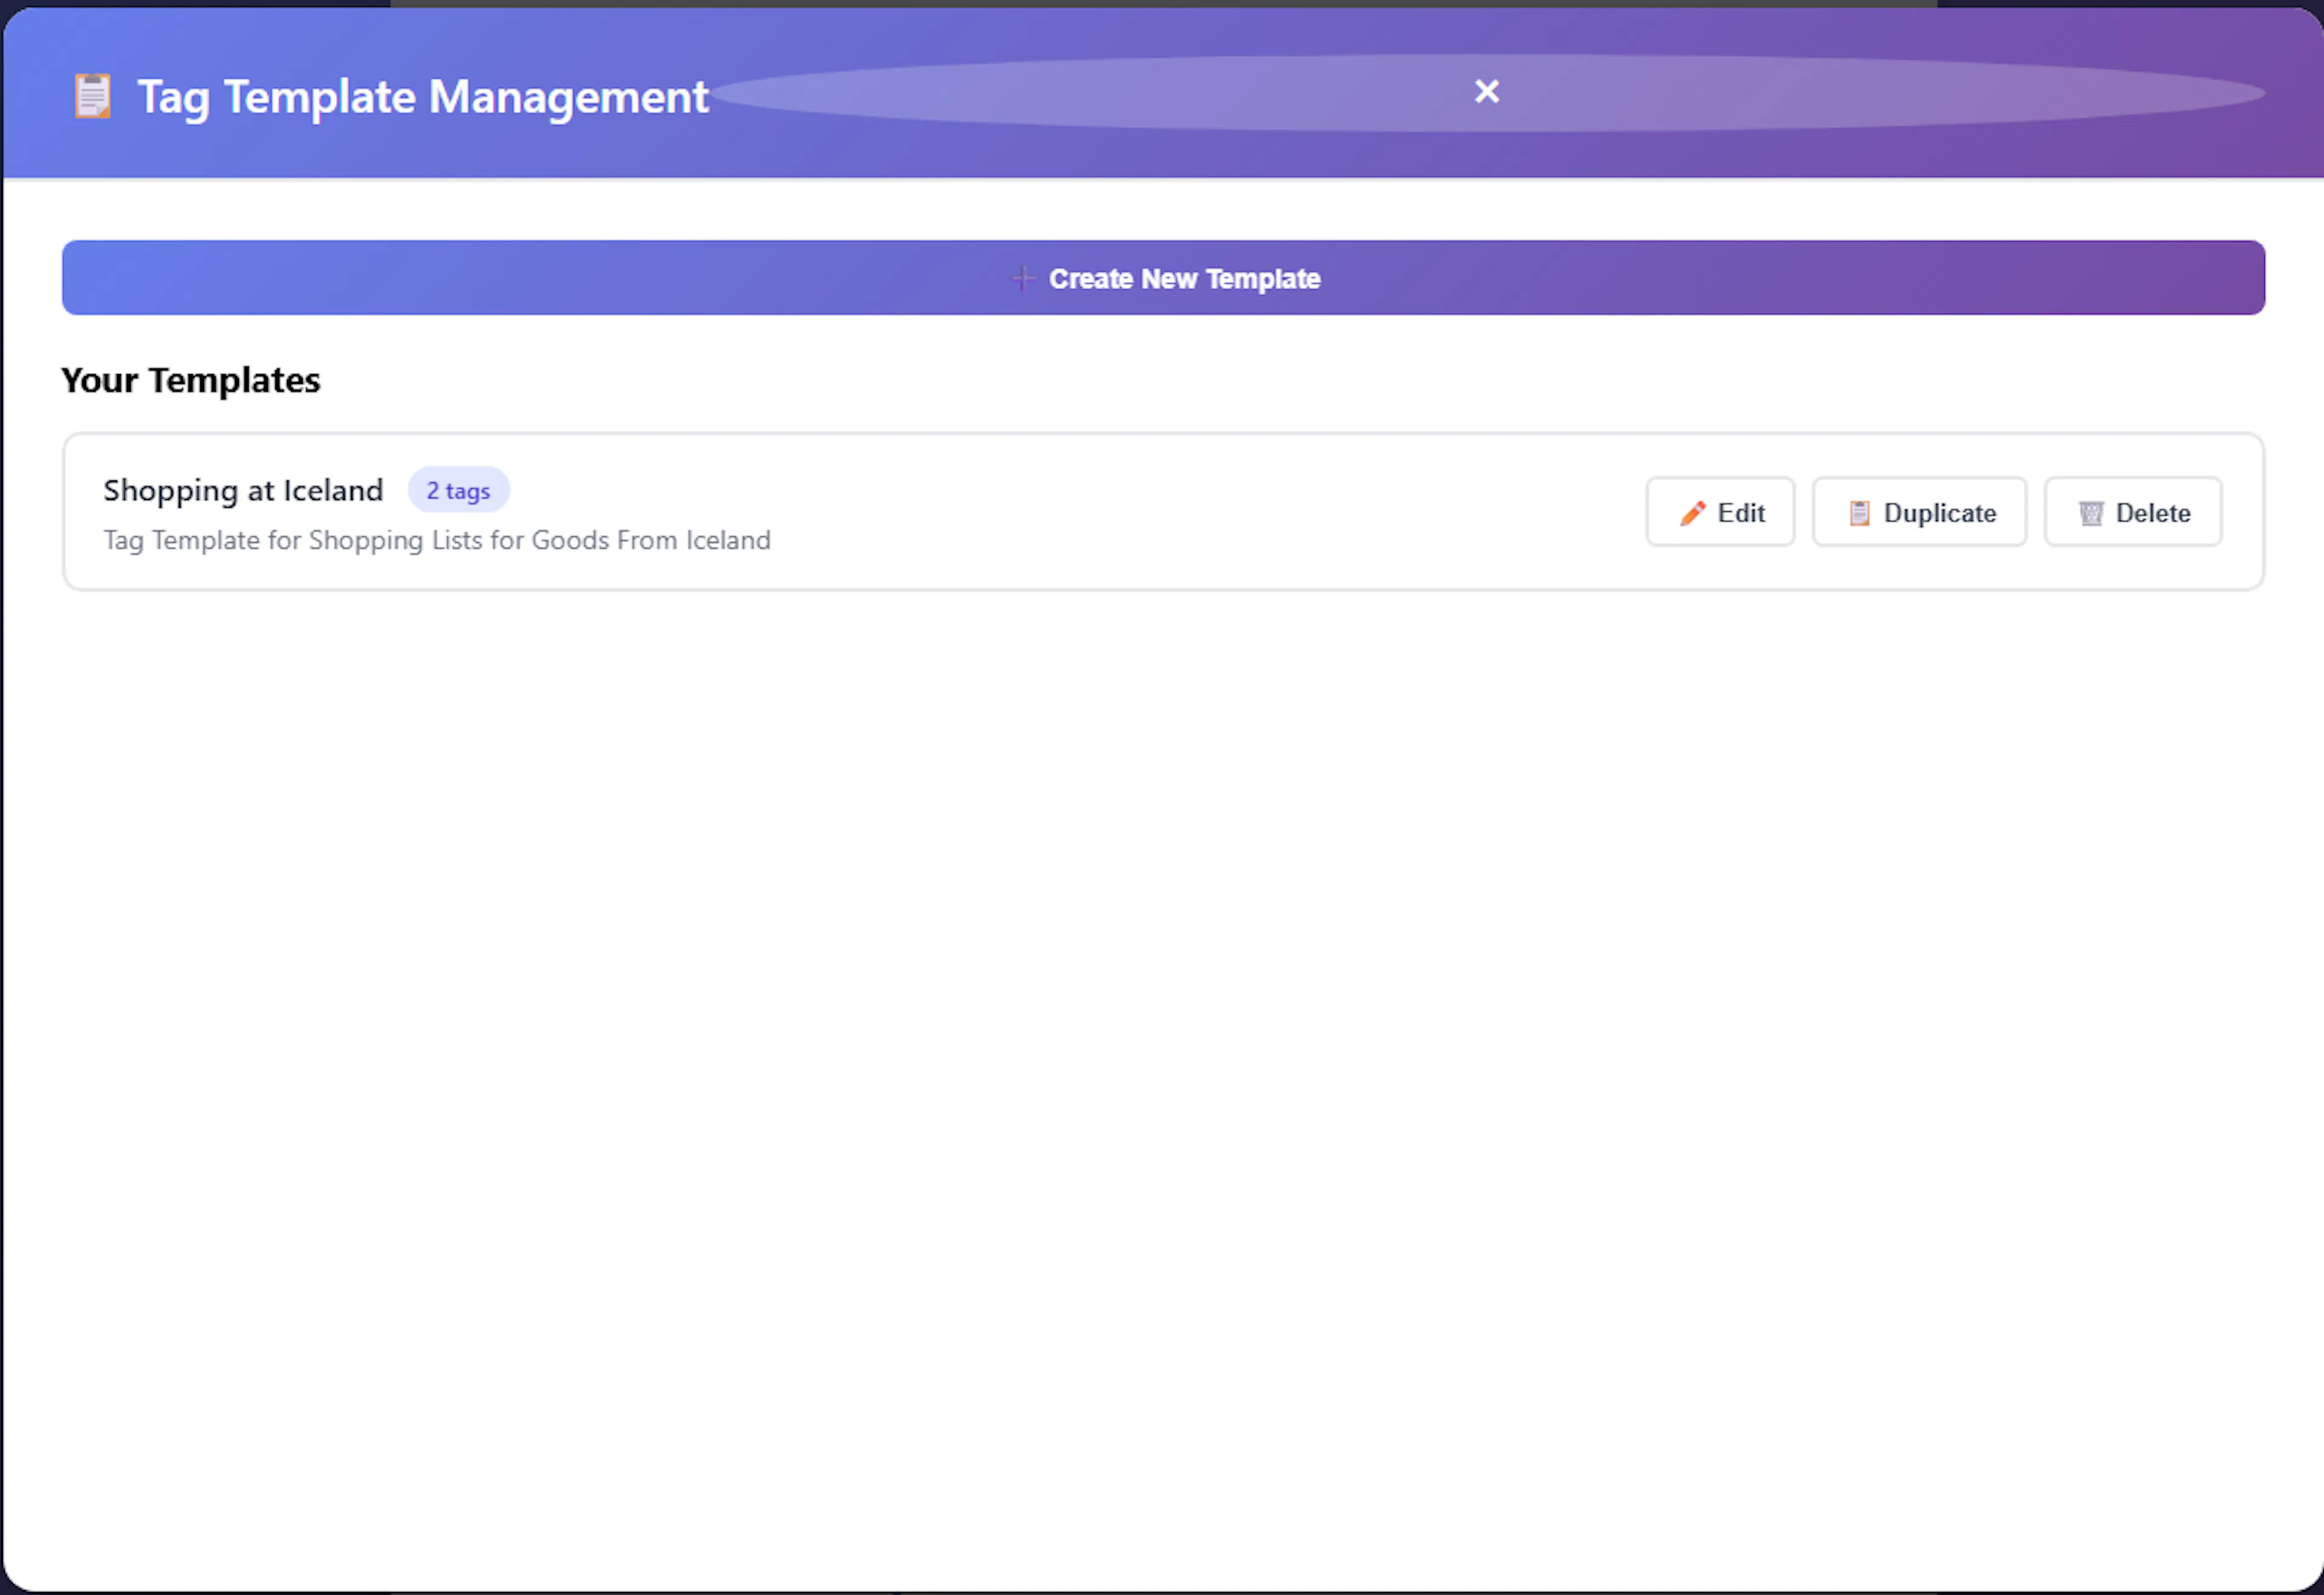
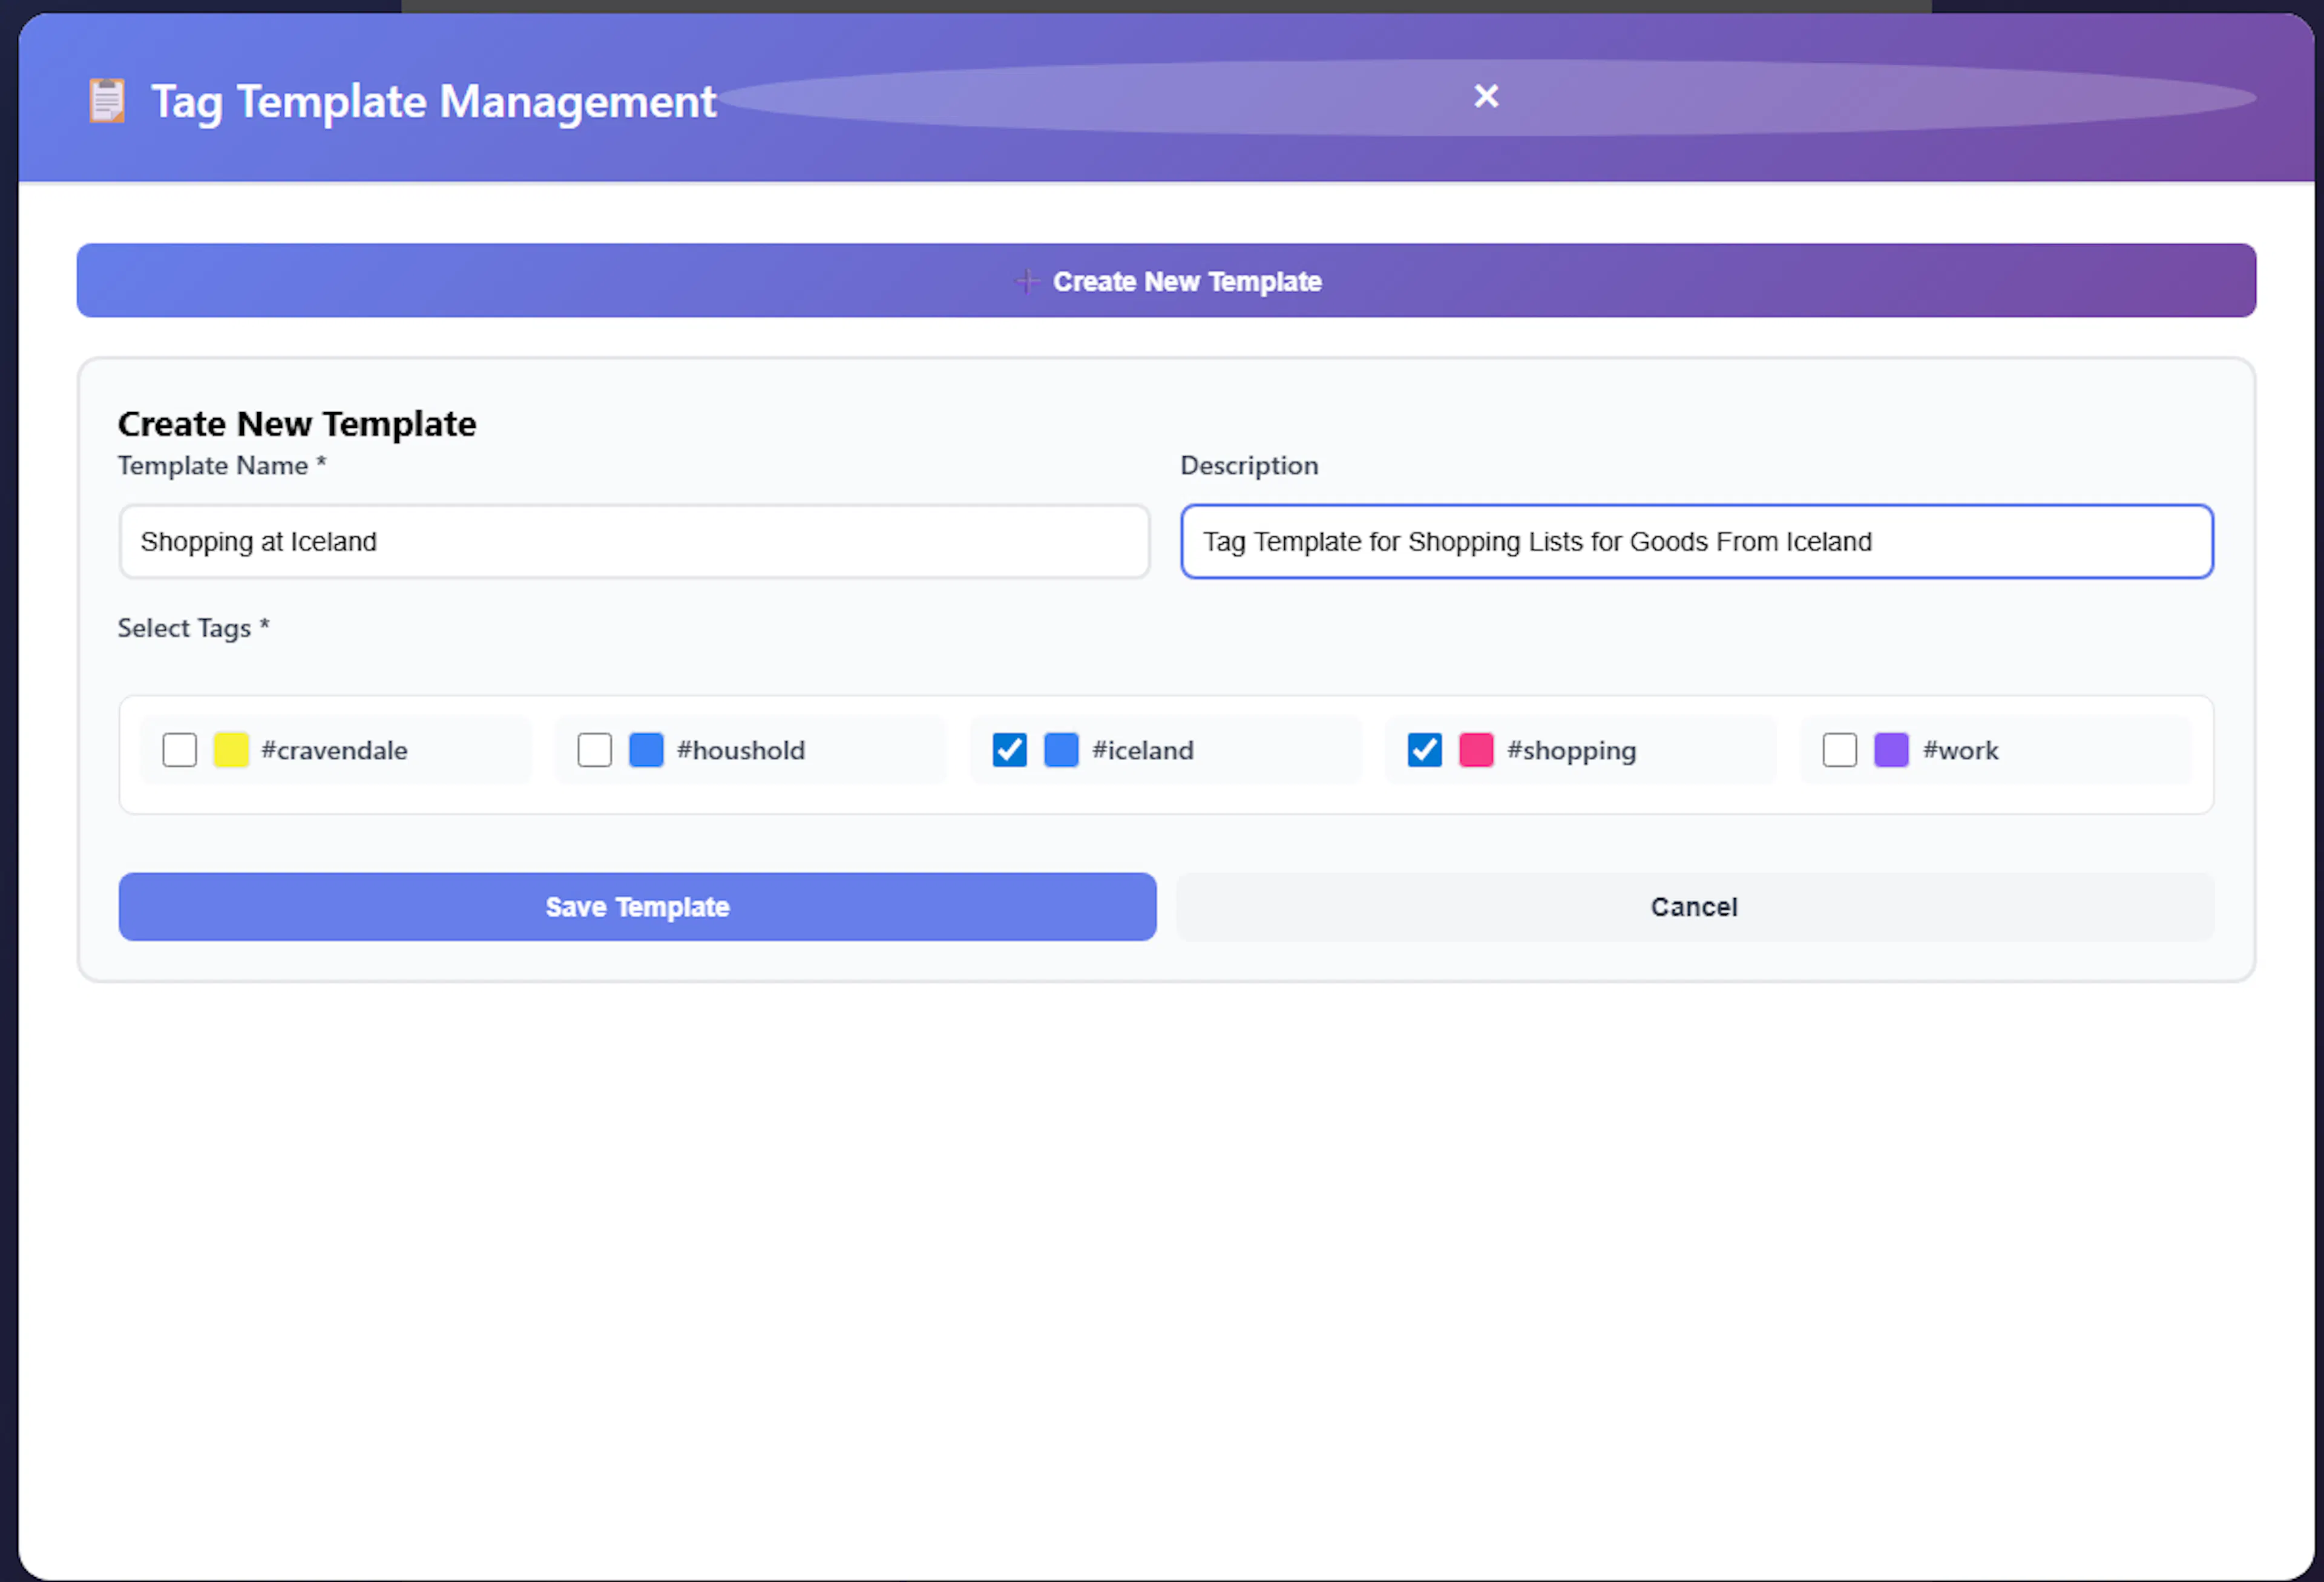
Inside the Tag Template Management modal, you have full control over your saved tag groups:
- Create a new tag template: Click the "Create New Template" button. You will be prompted to enter a Template Name, an optional Description, and select the specific tags you want to group together using the provided checkboxes,. Once selected, click "Save Template" to store it
-
Edit a template: In your list of templates, click the ✏️ Edit button next to an existing template. This opens the form and allows you to modify the template's name, its description, or check and uncheck the tags associated with it,.
-
Duplicate a template: If you want to create a new template that is only slightly different from an existing one, click the 📋 Duplicate button. This will open a new template form with the exact same tags pre-selected and "(Copy)" appended to the template name, saving you setup time,.
-
Delete a template: Click the 🗑️ Delete button to permanently remove a template you no longer need.
Using Quick Templates in Your Workflow
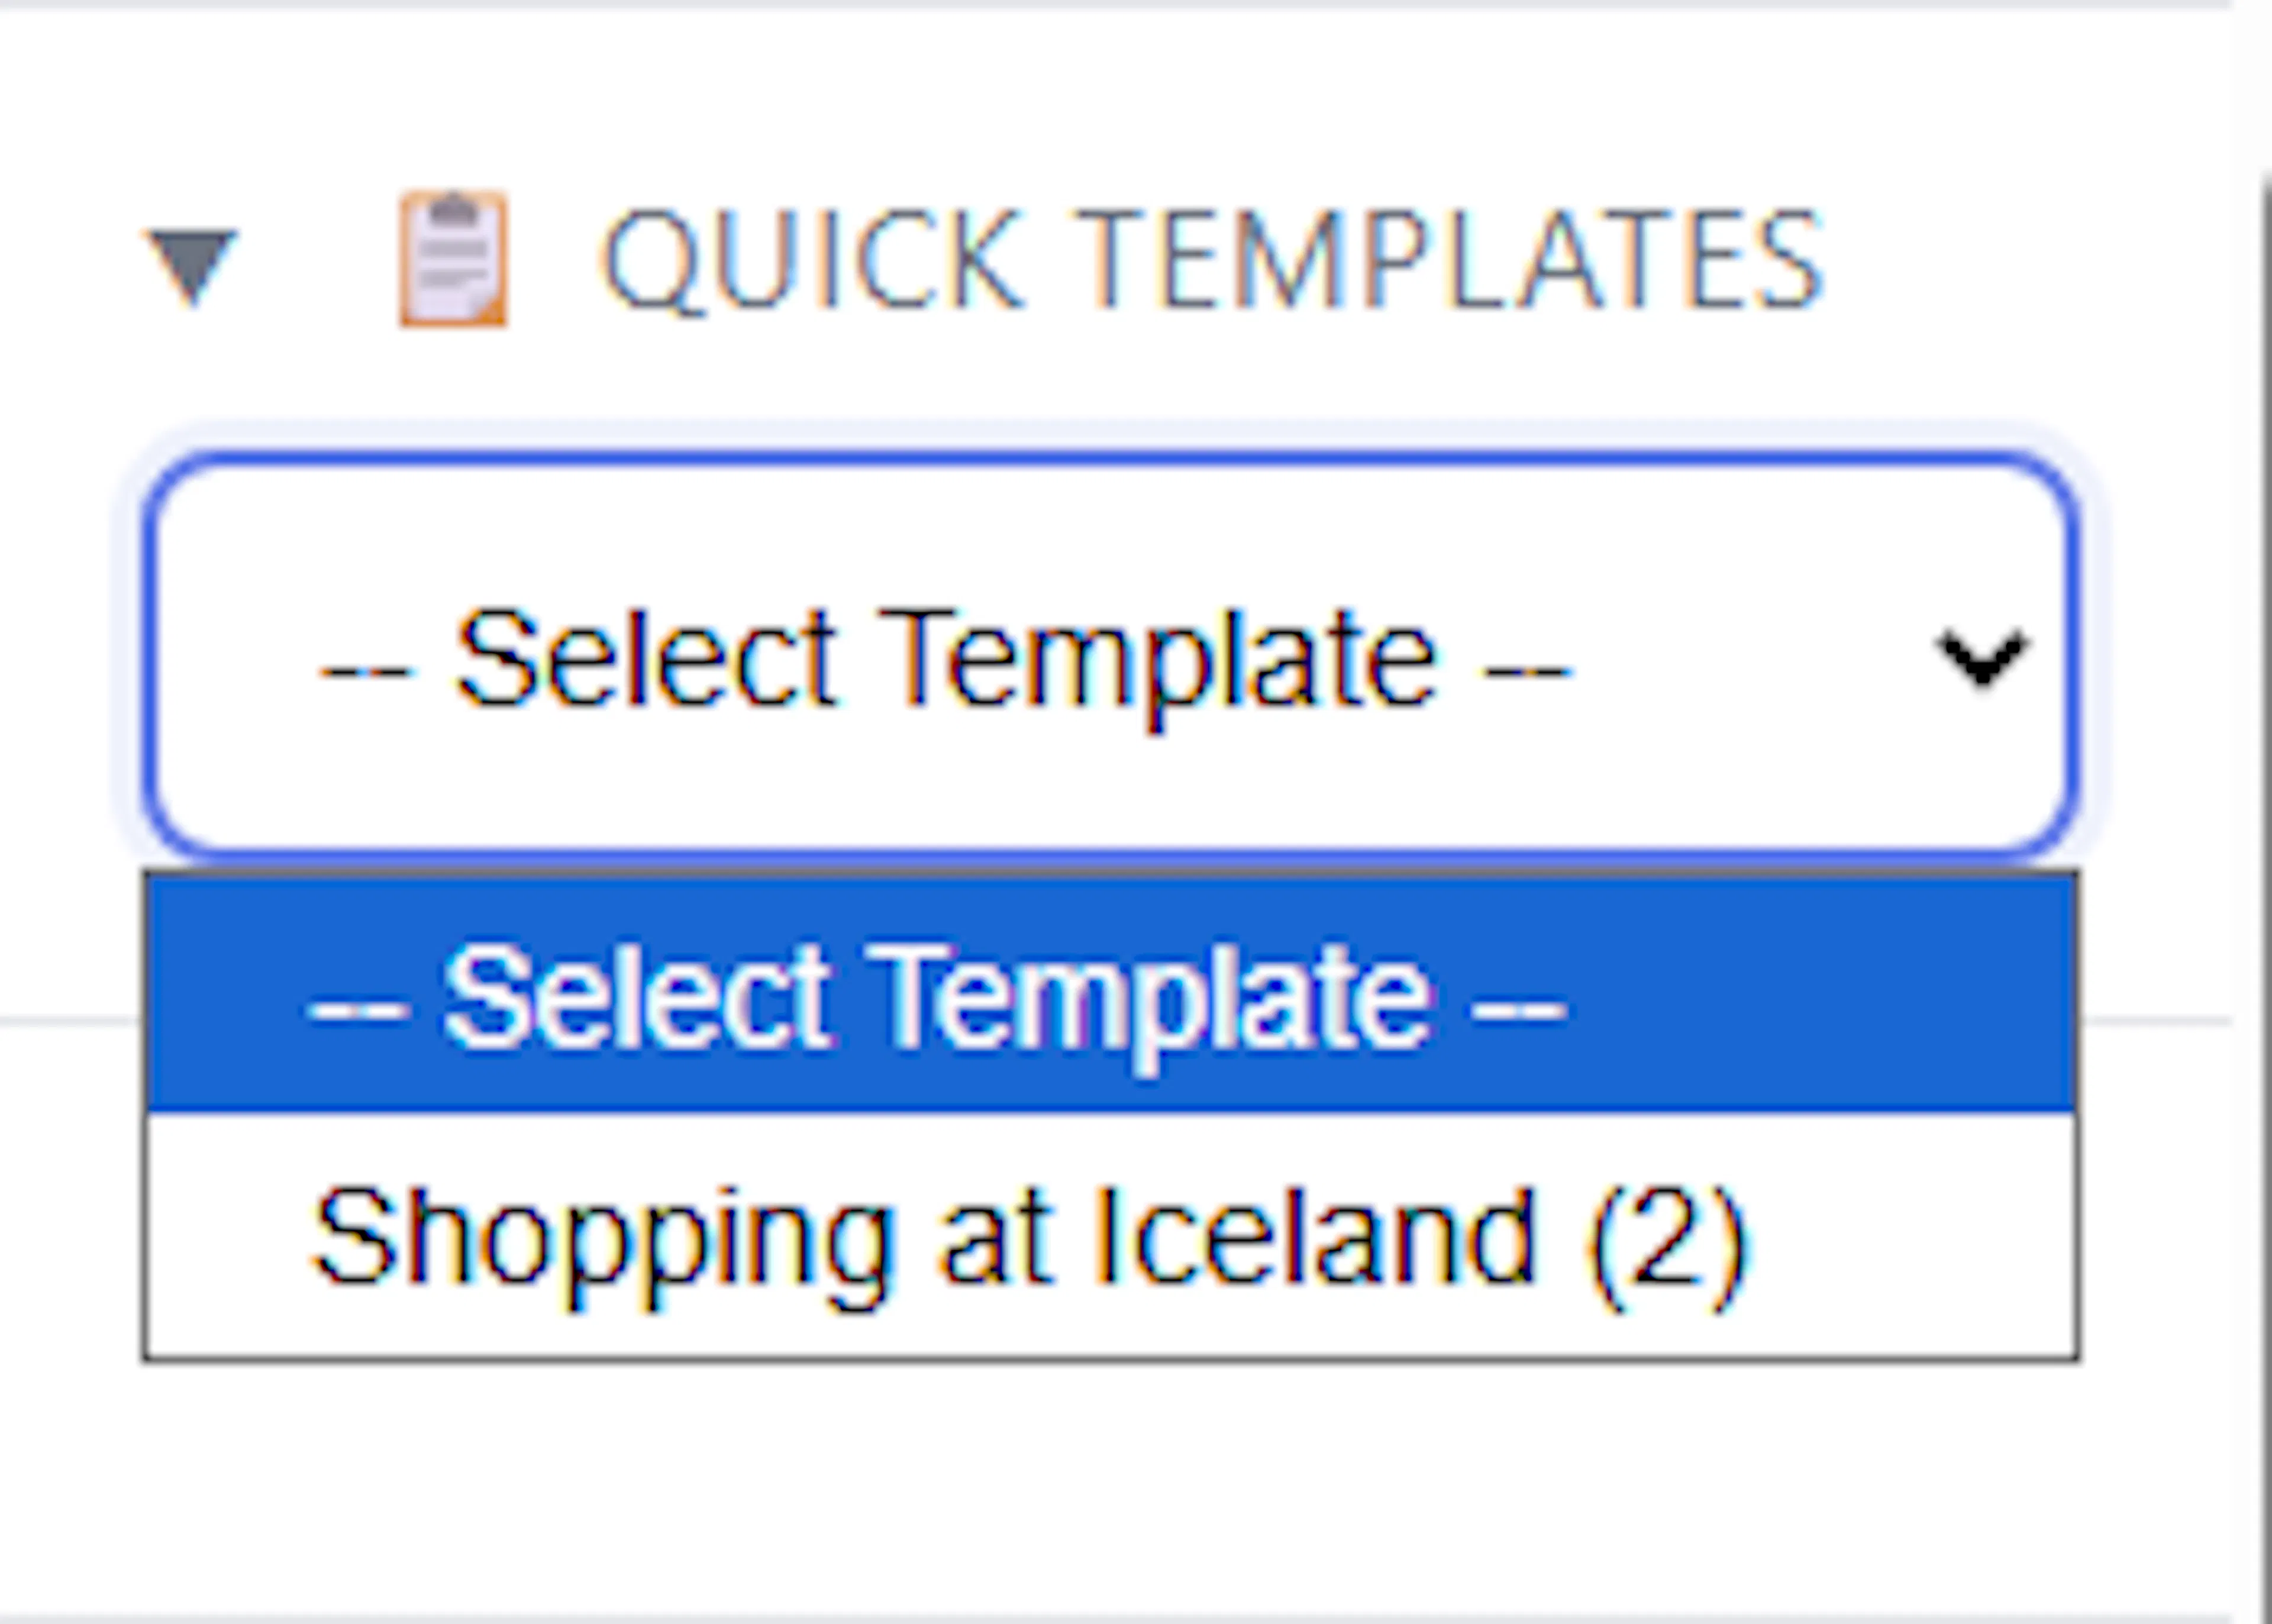
Once your templates are created, you don't need to return to the settings menu to use them.
In the main application sidebar, you will find the 📋 Quick Templates feature,. By dropping down the list and selecting the required template, Mind Dump automatically takes the group of tags from that template and applies them to your current view.
The task list will immediately refresh to show only the matching records. It is important to note that the logical relationship between the tags in a template is a logical AND. This means that for a task to be displayed in the filtered list, it must contain every single tag that is defined in the template.
When you are finished viewing the filtered records, you can easily clear the list and restore your full task view by clicking the ✕ Clear search button located near the search bar.
